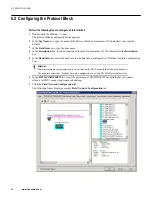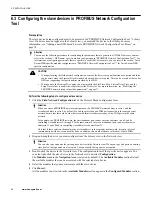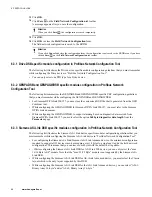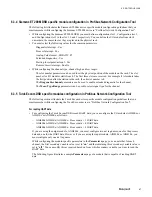
6.4.4 Changing the field network device address
1
Click the
Station Table
menu in the
Navigation Area
.
The Station Table appears in the right pane. The Station Table displays the field network device information
such as device address, device name, and vendor name.
2
Change the field network device station address, if required, in the
Station Address
column.
Attention
•
The address you set here must be identical to the address that is set on the device using the address switches.
Normally, the address on devices is defined by a dip switch.
•
You cannot change the field network device address, if the device net tags are referenced in any of the Device
Support Blocks.
3
Change the device name, if required.
4
Click
Apply
.
6.4.5 Changing the master settings
1
Click the
Master Settings
menu in the
Navigation Area
.
You can only change the watchdog time in the master settings.
The master settings appear in the right pane.
2
Change the watchdog time if required in the
Watchdog time
box.
3
Click
Apply
.
6.4.6 Detecting slave devices in the network
You can detect all the physical slave devices in the network from the Field Network Configuration tab of the
Protocol Block. This can be accomplished by performing a Network Scan. This scan lists all the physical slave
devices connected to the network. In addition, you can add a slave device to the network, if the device is not
added to the network.
Perform the following steps to detect all slave devices in the network
1
Click the
Field Network Configuration
tab of the Protocol Block in which you have configured the master
and the slave device.
2
Right-click the master and select
Network Scan
.
Attention
If you have not assigned the device to the hardware, an message appears.
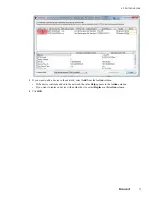
The
netDevice
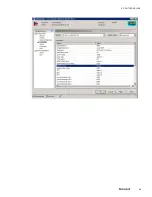
window appears as displayed in the following figure. This window lists all the physical
devices that are present in the network and also the details of the devices.
6 PROTOCOL BLOCK
76
www.honeywell.com
Summary of Contents for Experion PKS
Page 1: ...Experion PKS PROFIBUS Gateway Module User s Guide EPDOC XX88 en 431E June 2018 Release 431 ...
Page 8: ...CONTENTS 8 www honeywell com ...
Page 10: ...1 ABOUT THIS GUIDE 10 www honeywell com ...
Page 32: ...4 PROFIBUS GATEWAY MODULE PGM INSTALLATION 32 www honeywell com ...
Page 58: ...5 PROFIBUS GATEWAY MODULE PGM BLOCK 58 www honeywell com ...
Page 69: ...6 PROTOCOL BLOCK 69 ...
Page 103: ...5 Click OK 6 PROTOCOL BLOCK 103 ...
Page 110: ...6 PROTOCOL BLOCK 110 www honeywell com ...
Page 183: ...PDC Details tab Figure 6 Detail Display of PDC Details tab 7 DEVICE SUPPORT BLOCK DSB 183 ...
Page 186: ...7 DEVICE SUPPORT BLOCK DSB 186 www honeywell com ...
Page 231: ...9 PROFIBUS I O MODULE PIOMB FUNCTION BLOCK 231 ...
Page 232: ...9 PROFIBUS I O MODULE PIOMB FUNCTION BLOCK 232 www honeywell com ...
Page 236: ...10 PROFIBUS GATEWAY MODULE PGM CONFIGURATION EXAMPLE 236 www honeywell com ...
Page 264: ...13 PROFIBUS GATEWAY MODULE PGM TROUBLESHOOTING 264 www honeywell com ...

