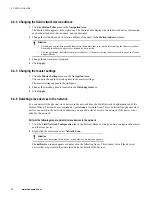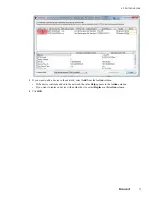
6.4 Configuring the master in Profibus Network Configuration Tool
While configuring the master, the mandatory task that you must perform is modifying the field network tag
name.
You can also perform the following tasks while configuring the master.
• Assign the device to the correct hardware.
• Change the PROFIBUS network setup values.
• Change the field network device address.
• Change the master settings.
Attention
To perform any of the above tasks, you must navigate to the
Field Network Configuration
tab of the Protocol Block
configuration form and double-click the master in the Network view.
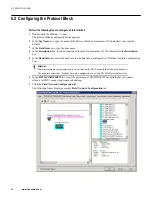
Perform the following steps to configure the master
1
Click the
Field Network Configuration
tab of the Protocol Block configuration form.
2
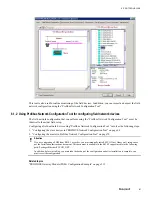
Double-click the master in the Network view.
You can also right-click the master in the Network view and select
Configuration
.
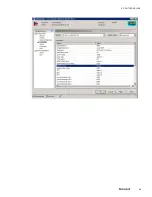
The configuration window appears. The
Device Assignment
menu in the
Navigation Area
is selected by
default. The device assignment details appear in the right pane.
3
Perform the following as required.
• “Assigning the device to the correct hardware” on page 70
• “Modifying the PROFIBUS network setup values (bus parameters)” on page 71
• “Configuring the field network tag names” on page 72
• “Changing the field network device address ” on page 76
• “Grouping adjacent modules into one logical module” on page 82
• “Changing the master settings” on page 76
• “About modifying the field network configuration during runtime” on page 86
4
Click
OK
.
5
Click
Save
in the
Field Network Configuration
tab toolbar.
A message appears after you save the configuration.
Attention
When you click
Save
, the configuration is saved temporarily.
6
Click
OK
.
7
Click
OK
to close the
Field Network Configuration
form.
The field network configuration is saved to the ERDB.
Attention
If you click
Cancel
and close the configuration form, the configuration is not saved to the ERDB even if you have
clicked
Save
on the
Field Network Configuration
tab toolbar.
6.4.1 Assigning the device to the correct hardware
You must assign the device to the correct hardware to monitor the status of the field network and the devices
online.
6 PROTOCOL BLOCK
70
www.honeywell.com
Summary of Contents for Experion PKS
Page 1: ...Experion PKS PROFIBUS Gateway Module User s Guide EPDOC XX88 en 431E June 2018 Release 431 ...
Page 8: ...CONTENTS 8 www honeywell com ...
Page 10: ...1 ABOUT THIS GUIDE 10 www honeywell com ...
Page 32: ...4 PROFIBUS GATEWAY MODULE PGM INSTALLATION 32 www honeywell com ...
Page 58: ...5 PROFIBUS GATEWAY MODULE PGM BLOCK 58 www honeywell com ...
Page 69: ...6 PROTOCOL BLOCK 69 ...
Page 103: ...5 Click OK 6 PROTOCOL BLOCK 103 ...
Page 110: ...6 PROTOCOL BLOCK 110 www honeywell com ...
Page 183: ...PDC Details tab Figure 6 Detail Display of PDC Details tab 7 DEVICE SUPPORT BLOCK DSB 183 ...
Page 186: ...7 DEVICE SUPPORT BLOCK DSB 186 www honeywell com ...
Page 231: ...9 PROFIBUS I O MODULE PIOMB FUNCTION BLOCK 231 ...
Page 232: ...9 PROFIBUS I O MODULE PIOMB FUNCTION BLOCK 232 www honeywell com ...
Page 236: ...10 PROFIBUS GATEWAY MODULE PGM CONFIGURATION EXAMPLE 236 www honeywell com ...
Page 264: ...13 PROFIBUS GATEWAY MODULE PGM TROUBLESHOOTING 264 www honeywell com ...

