70
ES-200X Series Manual —
P/N LS10131-000FL-E:C 7/25/2018
Programming
Master Programming Level
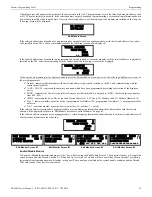
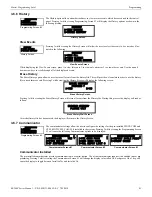
This display will show all of the zones that are disabled in the control panel. Note that an up and/or down arrow may appear in the upper
right corner of the display, indicating that additional screens of zone information exists. Press the up or down arrow keys to view the
additional zones.
Zone Type
Zone Types must be programmed only if a Communicator, programmed for zone reporting, is installed on
the control panel. Pressing
1
for Zone Types, while viewing Zone Setup Screen #3, will display a screen
similar to the following:
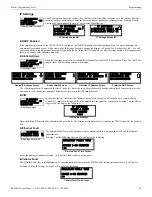
This display will show the system zones (default and user programmed) and their associated types. Note that an up and/or down arrow
will appear in the upper right corner of the display, indicating that additional screens of zone information exists. Press the up or down
arrow keys to view zones Z000 through Z099.
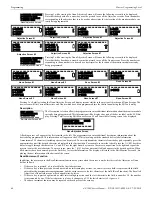
Zone types can be changed by pressing the keypad number key corresponding to the zone in each Zones Installed Screen. Available zone
types will be displayed in the resultant screens. For example, to change the zone type for zone Z002 in the screen illustrated above, press
3
. The following screens will be displayed:
To change the zone type for Z002 to Pull Station, scroll the display until Zone Type Program Screen #2 is displayed. Press
2
to program
zone Z002 as a Pull Station zone. The display will return to the Zones Installed Screen showing zone Z002 and the Pull Station program
type. Repeat the procedure for each zone to be changed.
IMPORTANT!
In Zone Type Program Screen #1, selecting WATERFLOW will assign a Waterflow silenceable zone type to the selected
zone. Any signaling devices programmed to the same zone can be silenced by pressing the Alarm Silence key or by using the auto-silence
feature.
To program a waterflow circuit as nonsilenceable, refer to “System Setup” on page 71.
Zones Available
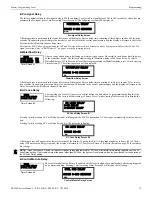
Pressing 2 while viewing Zone Setup Screen #3 will display the following screen:
The display will show all of the zones that are still available for programming. Note that an up and/or down arrow may appear in the
upper right corner of the display, indicating that additional screens of zone information exists. Press the up or down arrow key to view
additional screens.
Zone Message
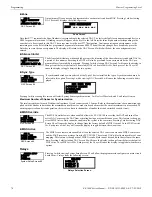
Pressing
3
while viewing Zone Setup Screen #3 will display the following screen:
ZONE SETUP
1=ZONE TYPES
2=ZONES AVAILABLE
3=ZONE MESSAGE
Zone Setup Screen #3
ZONE TYPE PROG
1=Z000 MONITOR
2=Z001 MONITOR
3=Z002 MONITOR
Zones Installed Screen
ZONE TYPE PROG
1=MONITOR
2=SMOKE PHOTO
3=WATERFLOW
Zone Type Program Screen #1
ZONE TYPE PROG
1=MEDICAL
2=HAZARD
3=TAMPER
Zone Type Program Screen #2
ZONE TYPE PROG
1=SUPERVISORY
2=PROC. MON.
3=SMOKE ION
Zone Type Program Screen #5
ZONE TYPE PROG
1=HEAT
2=PULL STATION
3=DUCT
Zone Type Program Screen #3
Zone Type Program Screen #4
ZONE TYPE PROG
1=NONE
NOTE:
Zone Types are only relevant for Central Station reporting. Changing a zone type will
only
change how it is reported to the Central
Station.
ZONE SETUP
1=ZONE TYPES
2=ZONES AVAILABLE
3=ZONE MESSAGE
Zone Setup Screen #3
ZONES AVAILABLE
001 002 003 004 005
006 007 008 009 010
011 012 013 014 015
ZONE SETUP
1=ZONE TYPES
2=ZONES AVAILABLE
3=ZONE MESSAGE
Zone Setup Screen #3
ZONE MESSAGE
1=Z000 NO MESSAGE
2=Z001 MESSAGE 1
3=Z002 NO MESSAGE


