GX-Series Control Panel Installation and Setup Guide
6-16
Access Log Information
The access log contains a reason why the door will not operate. These can be:
•
Not Grp Match
•
Reject Grp Set
•
Illegal Time
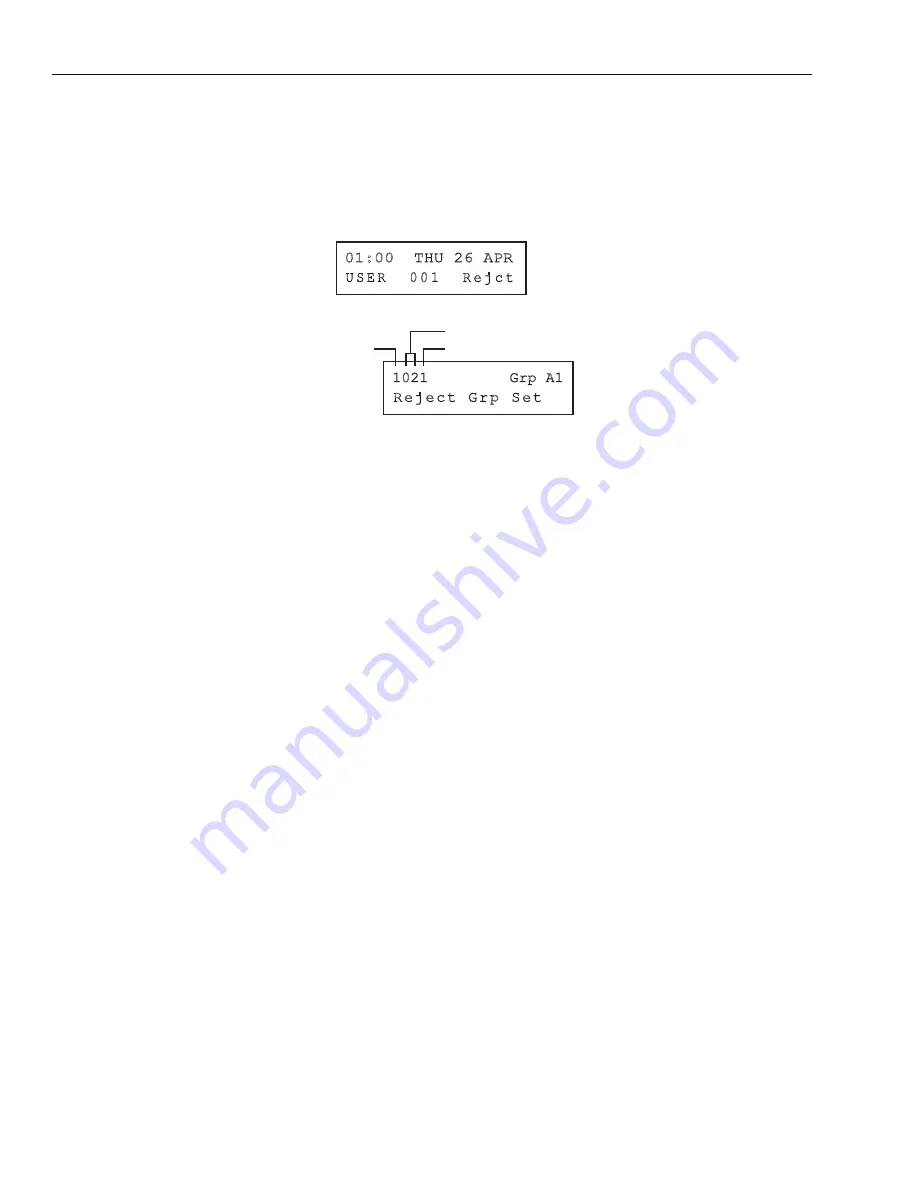
The keypad display in the access log also shows user information:
GX-070-V0
01:00
THU 26 APR
U S E R
0 0 1
R e j c t
Press the
#
key to view the reason for rejection:
GX-071-V0
1021
Grp A1
Reject Grp Set
DCM ADDRESS
READER NUMBER
LINE NUMBER
The line number for proximity card readers is in the format, for example 0013:
00 = not required
1 = line number 1
3 = Address number 3.
Access Log Print and Store Option
The Access Doors (Log) is printed on-line and stored in the event memory.
The Access Door Log print displays in the format of the Event Log and allows information to be accessed.
The format is as follows:
HH:MM_XXXXXXXXXX_USR_NNN_UUUUUU_MYYYY_—_ (39 character display)
Where:
HH:MM
= time in hour:minutes (5 characters). The date will be printed only at the beginning of every day,
that is midnight.
XXXXXXXXXX
= access message (10 character) Valid, Invalid Card, Reject Card
USR
= User (3 characters)
NNN
= User number to which proximity card is assigned (3 characters)
UUUUUU
= User descriptor (6 characters)
M
= Proximity reader address (1 character)
YYYY
= DCM physical address- (5 characters: e.g.,
M1072 = line 1, reader address 07, reader 2
)
-
(dash) = unused character slot
__
(underscore) = this represents a space and is not printed or displayed in the access log.
For example: A valid card read at DCM 1072 from the card held by user 020, name Albert, at 13:48 would be:
13:48 Valid USR 020 Albert M1072 –
Descriptor
The descriptor is a maximum of 16 characters entered in the
DCM Parameters
(
69.3.1
).
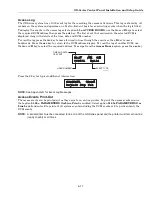
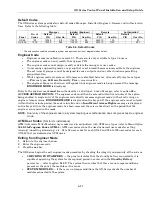
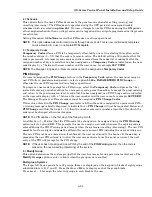
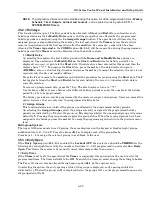
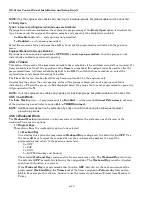
Engineer Mode
On accessing the
Access Doors
option in Engineering mode, each on-line DCM module displays its address
by lighting the appropriate LEDs. To help the engineer identify each of the DCM modules, the keypad
displays a graphic representation of the DCM module address. By matching the (LED off) and
■
(LED on)
image to the LEDs on the DCM, the engineer can identify each DCM module on the system.
Summary of Contents for GX-48
Page 2: ......
Page 6: ...GX Series Control Panel Installation and Setup Guide iv ...
Page 26: ...GX Series Control Panel Installation and Setup Guide 2 18 ...
Page 32: ...GX Series Control Panel Installation and Setup Guide 3 6 ...
Page 40: ...GX Series Control Panel Installation and Setup Guide 4 8 ...
Page 46: ...GX Series Control Panel Installation and Setup Guide 5 6 ...
Page 184: ...GX Series Control Panel Installation and Setup Guide A 4 ...
Page 194: ...GX Series Control Panel Installation and Setup Guide C 2 ...
Page 200: ...GX Series Control Panel Installation and Setup Guide D 6 ...
Page 204: ...GX Series Control Panel Installation and Setup Guide F 2 ...
Page 207: ......


