HA20 2-Channel Controller
HA20 Technical Manual
1-3
1.1 Data Display Screens
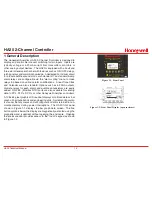
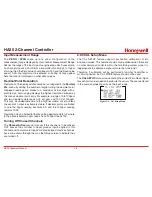
The HA20 Controller offers three modes for displaying monitored data,
as shown in Figure 1-3.
Figure 1-3. Data Display Screens
1.1.1 Main Data Screen
The HA20 Main Data screen shown in Figure 1-3 allows each channel
to be viewed simultaneously. Engineering unit values and bar graph
values are both displayed in real time. Arrows below the bars indicate
alarm trip point values, making it easy to identify channels at or
near alarm level. The direction the horizontal 45º side arrow points
indicates either a HIGH or LOW trip point. In
Figure 1-1
where Ch 1
points right indicating high trip levels and Ch 2 points left indicating
low trip levels. Left and Right hand arrows located at the
ends
of
each bar graph point towards Channel Alarm LED’s on the front panel
associated with this reading. The 10-digit ASCII fields for identifying
engineering units and Channel ID for each channel are also shown
on the Main Data screen.
1.1.2 Trend Screen
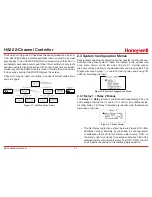
In addition to the Main Data screen described above, the HA20 also
provides 30-minute trend screens for each channel as shown in Figure
1-3. Use the Next key to scroll between data screens.
1.1.3 Blind Mode Screen
The HA20 Blind Mode screen (Figure 1-3) does not allow viewing of
channel engineering unit values. It only indicates the system’s alarm
status and time / date. Some applications require only alarm status be
displayed and prefer monitored values not be shown. A SECURITY
menu (see
Section 2.4
) allows locking all configuration parameters
and having only the Blind Mode screen available for viewing.
1.3 Specifications
1.3.1 Power Supply Requirements
The HA20 is equipped with an integral 15 watt (or 50 watt, depending
on the configuration) universal AC input / 24 VDC output switching
power supply. Standard HA20 AC power requirements are 100-240
VAC 50/60 Hz @ .45 amp max (including inrush) and 20 watts steady
state, applied to TB5 on the motherboard. If AC power is not available,
the HA20 may also be powered with 24 VDC applied to TB1 on the
motherboard. A primary DC source or back-up DC source capability
should be determined by the total system power budget calculation
with guard-band included. A back-up DC power source may also be
connected to TB1 for automatic switchover if the AC power source
fails. See
Figures 3-1 & 3-2
for wiring information.
WARNING
A back-up or external DC power source DOES NOT source aux power
output (TB3 - see
Figure 3.1
)
Summary of Contents for HA20
Page 6: ...HA20 2 Channel Controller HA20 Technical Manual v ...
Page 7: ...HA20 2 Channel Controller HA20 Technical Manual 1 1 1 General Description ...
Page 12: ...HA20 2 Channel Controller HA20 Technical Manual 2 1 2 Operation ...
Page 22: ...HA20 2 Channel Controller HA20 Technical Manual 3 1 3 Motherboard Interface PCB ...
Page 30: ...HA20 2 Channel Controller HA20 Technical Manual 3 9 ...
Page 31: ...HA20 2 Channel Controller HA20 Technical Manual 3 10 ...
Page 32: ...HA20 2 Channel Controller HA20 Technical Manual 4 1 4 Enclosures ...
Page 35: ...HA40 4 Channel Controller HA40 Technical Manual 5 1 5 Parts List ...
Page 37: ...HA20 2 Channel Controller HA20 Technical Manual 6 1 6 Specifications ...
Page 39: ...HA20 2 Channel Controller HA20 Technical Manual 7 1 7 Warranty ...


