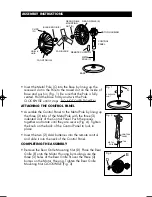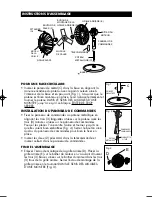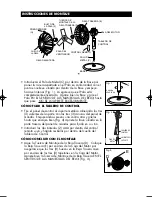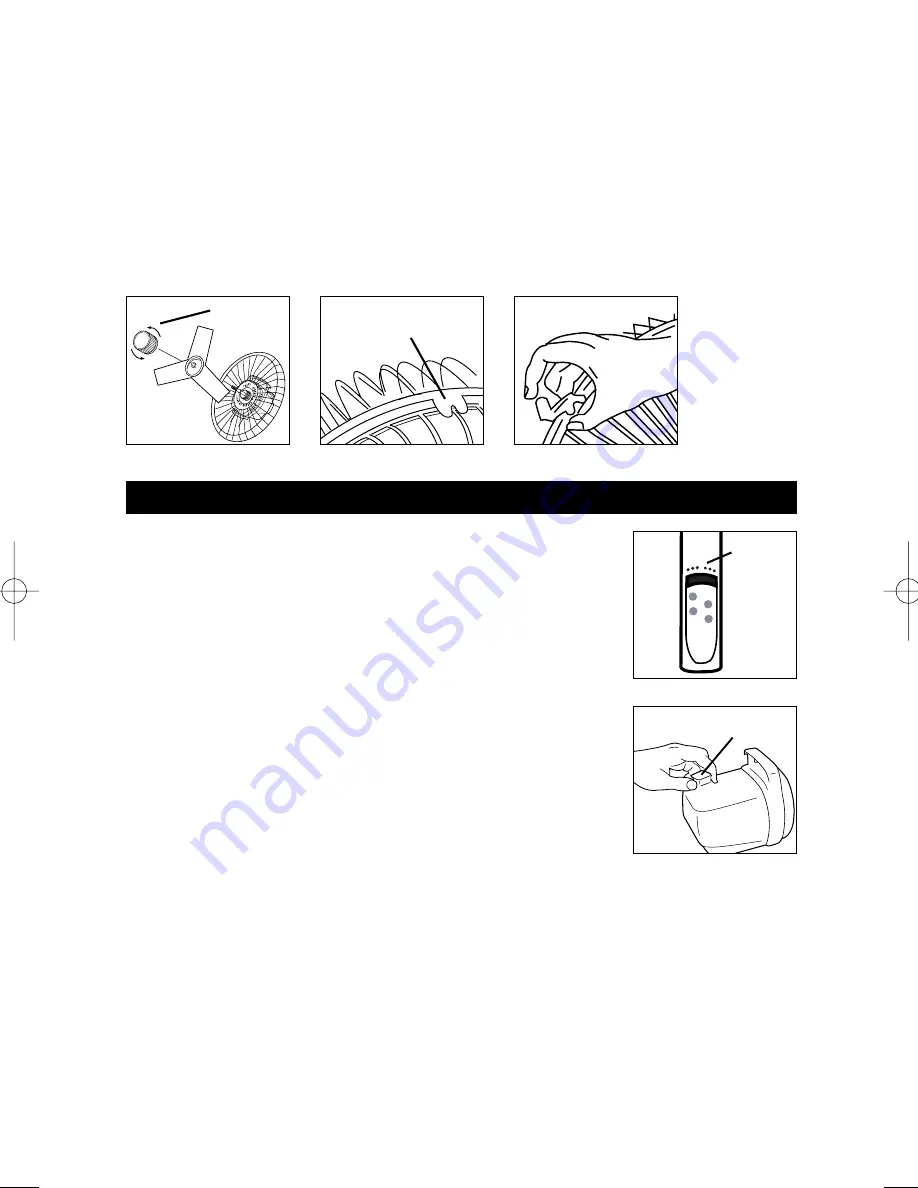
• Push the Fan Blade onto the Motor Shaft, lining up the blade with the D-shape
on the Motor Shaft’s end. Tighten the Blade Knob (F) by turning it COUNTER-
CLOCKWISE (Fig. 4).
• Properly align the Front Grille and hook the top Grille clip (G) onto the Rear
Grille (Fig. 5).
• Fasten the built in clips around the Front Grille onto the Rear Grille (Fig. 6).
NOTE: The tilt angle of the Motor Assembly can be changed by simply tilting the
Motor up or down once the fan is completely assembled.
Fig. 4
Fig. 5
G
Fig. 6
F
OPERATION
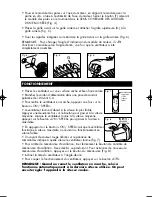
• Place your fan on a level and dry surface.
• Plug the power cord into a 120 Volt AC wall outlet.
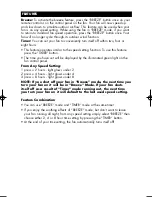
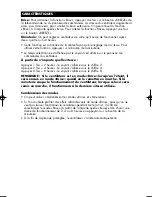
• To turn fan on press the “ON/SPEED” button one time.
• When fan is on it will start in low speed. Press button again
while on low speed and fan will switch to medium speed.
While on medium press “ON/SPEED” button and fan will
switch to high speed.
• When your fan is on high speed, pressing the
“ON/SPEED” button will return your fan to low speed.
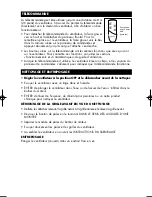
• You will see a red light illuminated on the control panel of
the fan showing you what speed your fan is on (Fig. 7).
• To stop the oscillation feature, pull up hard on the
Oscillation Control Knob until you feel two clicks. To
restart oscillation feature press button down (Fig. 8).
• Tilt the fan head to desired angle.
• To turn the fan off press the “OFF” button.
NOTE: Once your fan is off, the next time you
turn it on it will automatically default to the last
used speed setting. You can then adjust the speed
as desired.
BREEZE
TIMER
ON/SPEED
OFF
TIMER
ON/SPEED
2 4
8
L M
H
Fig. 7
Fig. 8
illuminated
for “LOW “
speed
OSCILLATION
CONTROL KNOB
035-00371-003_R1 HFS-641PC 2/27/04 2:15 PM Page 4


