Maintenance
HON 5020 gas pressure regulator with HON 630 pilot
88
Figure
Step
Description
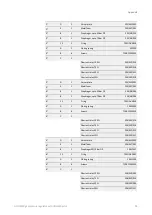
3
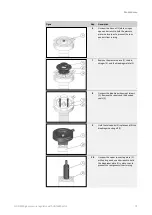
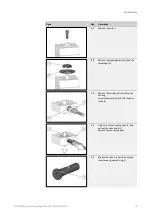
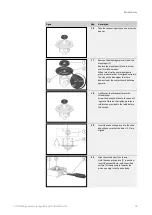
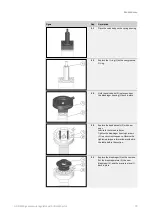
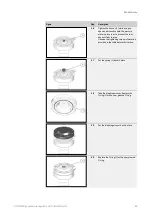
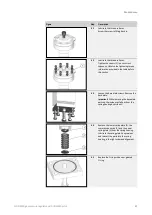
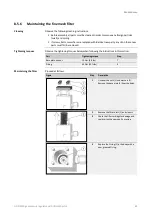
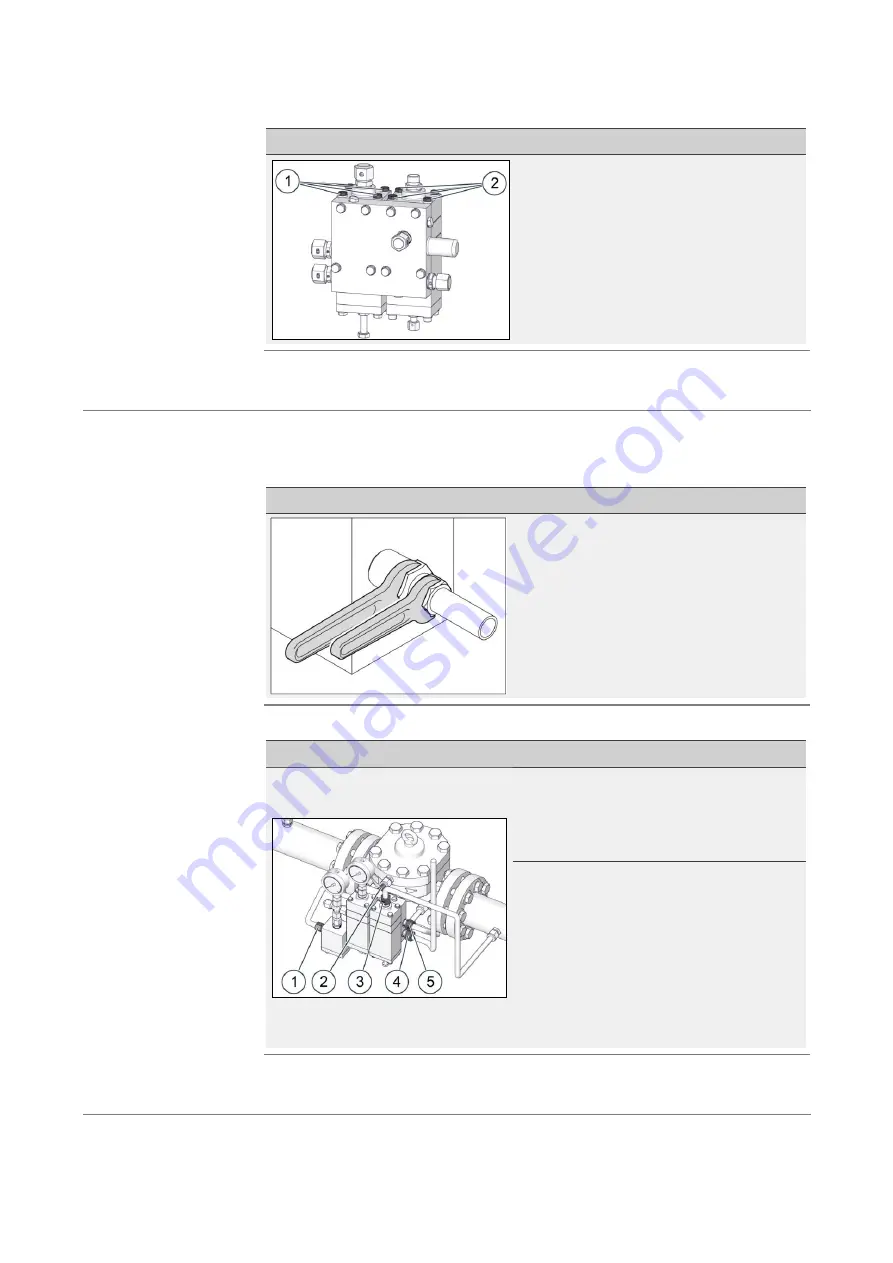
Tighten the 4 hex bolts on the control stage
(1) cover and on the load limiting stage (2)
cover. Observe the tightening torque
information provided in the table before
this section.
Proceed as follows:
Completing the maintenance
(see page 88)
8.6
Completing the maintenance
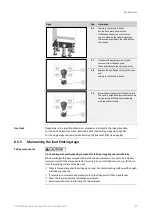
When conducting work involving the pipework, please always observe the following:
Figure
Description
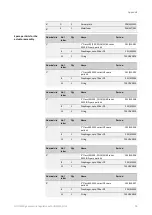
Do not twist the pipe connections in the assemblies.
Use a second spanner wrench for securing when
loosening and tightening pipe joints.
Proceed as follows:
Figure
Step
Description
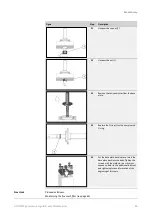
1
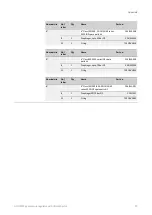
Reinstall all the pipes you removed previ-
ously on the actuator assembly.
Inlet pressure line (1)
Motorization line (2)
Outlet pressure line (5)
2
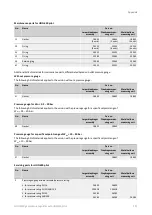
Reinstall all the pipes you removed previ-
ously on the pilot.
Inlet pressure line (1)
Motorization line (2)
Measuring impulse line (3)
Vent line (4)
Outlet pressure line (5)
Result:
The pilot is now installed on the actuator
assembly and in the gas regulating line.
Proceed as follows:
Checking the system for leaks
(see page 37)
Next task
Protecting the pipe con-
nections from being
twisted
Installing
components
Next task

