Maintenance
HON 670 / HON 671 Controllers Component Documentation
29
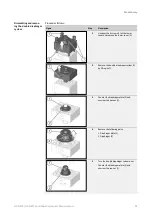
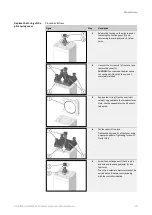
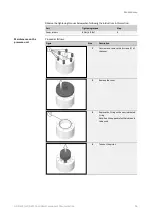
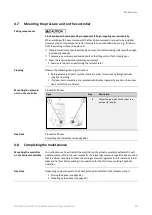
Proceed as follows:
Figure
Step
Description
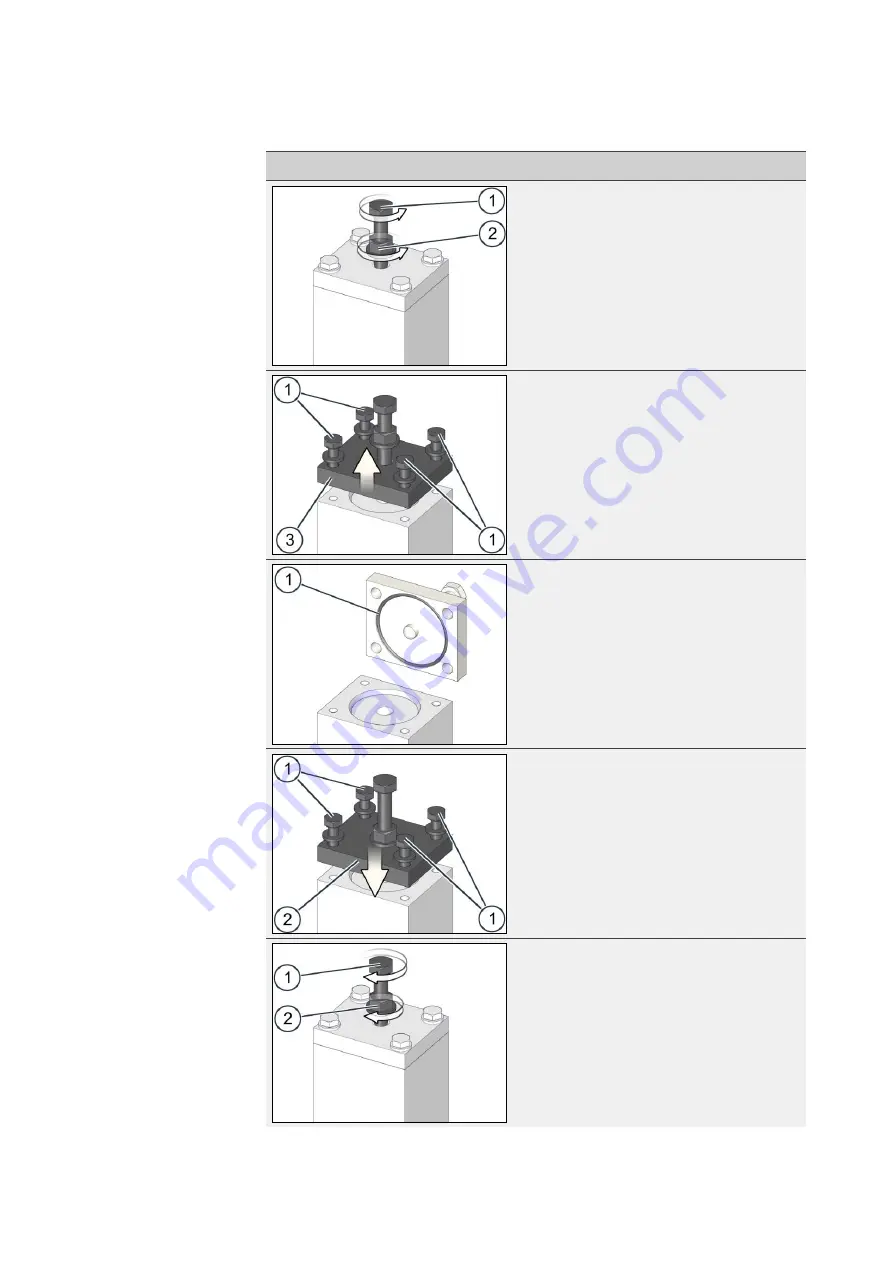
1
Release the tension on the pilot spring by
loosening the hex flange nut (2) and
unscrewing the spring adjuster (1) a few
turns.
2
Unscrew the 4 screws (1) of the cover and
remove the cover (2).
CAUTION!
The cover and the pilot spring
can spring out if the pilot spring is not
completely relaxed
3
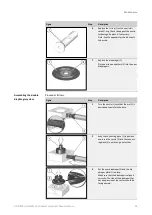
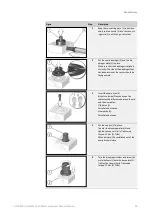
Replace the O-ring (1) with a new, lubri-
cated O-ring. Lubricate the thread surfaces.
Note: See the appendix for the lubricants
to be used.
4
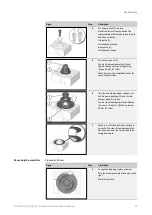
Put the cover (2) in place.
Tighten the 4 screws (1) of the cover using
a crosswise pattern. Tightening torque: 12
Nm (9 ft lbs)
5
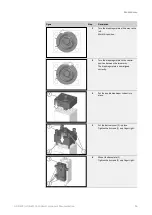
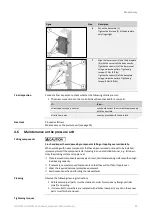
Screw the hex flange nut (2) back in a bit
and screw in the spring adjuster (1) by a
few turns.
The correct setpoint adjustment cannot be
carried out until before commissioning
with the controller installed.
Replace the O-ring of the
pilot spring cover

