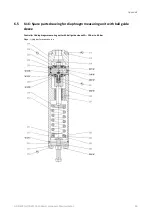
Maintenance
HON 670 / HON 671 Controllers Component Documentation
33
Figure
Step
Description
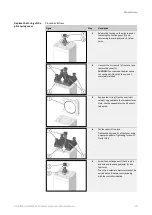
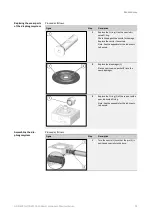
2
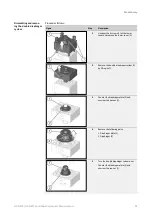
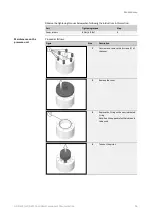
Keep the connecting piece (1) in position
and insert the nozzle (2) into the connect-
ing piece (1) until it can go no further.
3
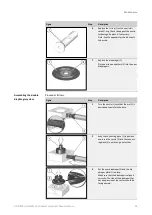
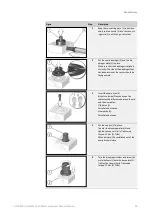
Put the new diaphragm (2) and the dia-
phragm plate (1) in place.
Make sure that the diaphragm is aligned
correctly: The side of the diaphragm that
has a depression at the center should be
facing upward.
4
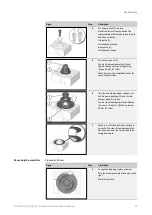
Insert the new piston (2).
Risk of confusion! Please observe the
characterizing difference between the old
and the new piston:
Old piston (1):
Castellated nut closed
New piston (2):
Castellated nut open
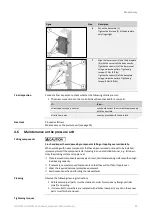
5
Put the cap nut (1) in place.
Counter the diaphragm plate (2) and
tighten the cap nut firmly. Tightening
torque: 15 Nm (11 ft lbs)
When doing so, the castellated nut of the
new piston will close.
6
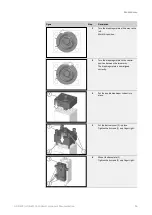
Turn the diaphragm system and screw the
metal bellows (1) onto the base plate (2).
Tighten the screws firmly. Tightening
torque: 15 Nm (11 ft lbs)


