Maintenance
HON 670 / HON 671 Controllers Component Documentation
35
Figure
Step
Description
6
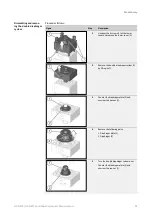
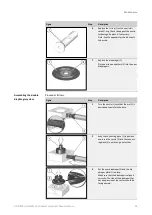
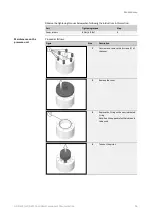
Put on the baseplate (1).
Tighten the 4 screws (2) of the baseplate
only finger tight.
7
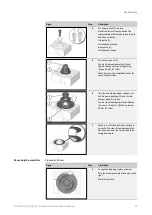
Align the lower cover (2) and the baseplate
(4) with the corners of the body exactly.
Tighten the screws (1) of the lower cover
using a crosswise pattern. Tightening
torque: 12 Nm (9 ft lbs)
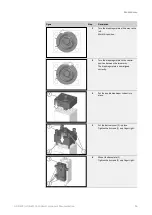
Tighten the screws (3) of the baseplate
using a crosswise pattern. Tightening
torque: 8 Nm (6 ft lbs)
Conduct a final inspection to check whether the following criteria are met:
▪
The screw connections on the controller have been checked for a secure fit.
If …
then …
at least one criterion is not met
you should correct the error before proceeding
with the next task.
all criteria are met
you may proceed with the next task.
Proceed as follows:
Maintenance on the pressure unit
(see page 35)
4.6
Maintenance on the pressure unit
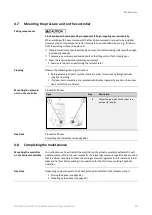
Crush and impact hazard posed by components falling or toppling over accidentally.
When working with heavy components that have been removed or are yet to be installed,
injury may result if the components start moving in an uncontrolled manner, e.g., fall
down
from the working surface or topple over.
Place removed components exclusively on level, horizontal working surfaces with enough
load-bearing capacity.
If necessary, secure removed components so that they will not fall or topple over.
Wear the required personal protective equipment.
Exercise caution when performing the relevant tasks.
Observe the following cleaning instructions:
▪
Before assembly, all parts must be cleaned in order to remove any foreign particles
(swarf) and soiling.
▪
If screws, bolts, or washers are replaced with identical new parts, any oil on these new
parts must first be removed.
Final inspection
Next task
Falling components
Cleaning
Tightening torques


