


178 | Performance Series HREP2 DVR User Guide
www.honeywell.com/security
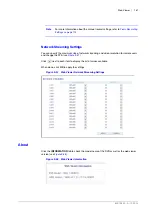
Using the Log View
1.
From the main menu, tap
(see
).
You can check the log of the data stored.
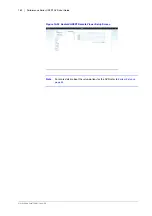
Figure 10-20 Android HREP2 Remote Viewer Log View
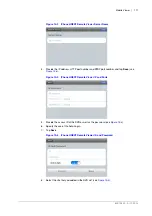
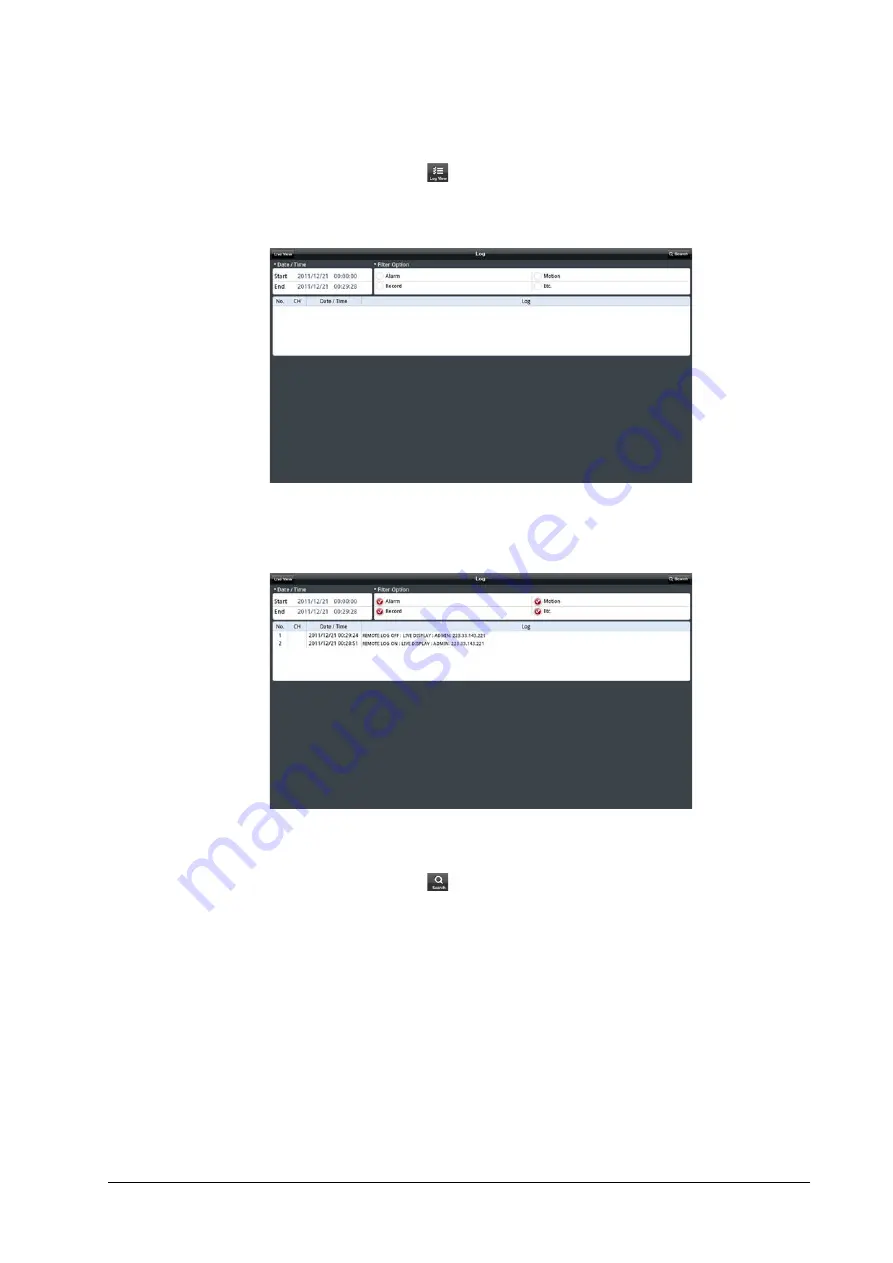
2.
Select one or more from
Alarm
,
Motion
,
Record
,
Etc.
and click
Search
.
You will view the log of related items (see
).
Figure 10-21 Android HREP2 Remote Viewer Log View with Search Results
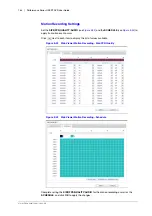
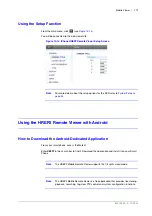
Using the Search Function
1.
From the main menu, tap
.
You can view the video of the recording data.
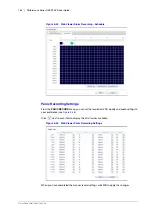
2.
Select a desired time and date.
You can use the vertical time bar to specify the start time (see
).
Summary of Contents for HREP216
Page 2: ......
Page 3: ...User Guide ...
Page 4: ...Revisions Issue Date Revisions A 09 2013 New document prepared for product launch ...
Page 10: ...10 Performance Series HREP2 DVR User Guide www honeywell com security ...
Page 16: ...16 Performance Series HREP2 DVR User Guide www honeywell com security ...
Page 22: ...22 Performance Series HREP2 DVR User Guide www honeywell com security ...
Page 24: ...24 Performance Series HREP2 DVR User Guide www honeywell com security ...
Page 32: ...32 Performance Series HREP2 DVR User Guide www honeywell com security ...
Page 42: ...42 Performance Series HREP2 DVR User Guide www honeywell com security ...
Page 122: ...122 Performance Series HREP2 DVR User Guide www honeywell com security ...
Page 128: ...128 Performance Series HREP2 DVR User Guide www honeywell com security ...
Page 168: ...168 Performance Series HREP2 DVR User Guide www honeywell com security ...
Page 190: ...190 Performance Series HREP2 DVR User Guide www honeywell com security ...
Page 194: ...194 Performance Series HREP2 DVR User Guide www honeywell com security ...
Page 199: ......


