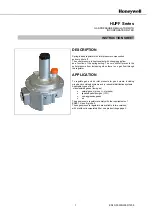
Gas pressure regulator with incorporated filter
EN1C-0003NL05 R
1205
5
HUPF Series
ADJUSTMENTS
Caution
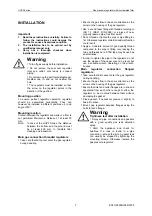
• Adjustments must be made by qualified
personnel only!
Outlet pressure adjustment
(Tolerance: better than 15% of outlet pressure setting)
1. Remove the upper cap (1).
2. To obtain the required outlet pressure value, turn the set
screw (4). Turn this set screw clockwise to increase the
outlet pressure, counter-clockwise to decrease it.
3. Clearly mark the adjusted value of the outlet pressure.
4. Replace the upper-cap (1) and seal it with lead if necessary.
Replacing spring
1. Remove the upper-cap (1) of the pressure regulator.
2. On fully unscrew the ring nut (4)
3. Remove old and replace new spring.
4. Screw the ring-nut (4) back in.
5. Adjust the required outlet pressure by proceeding with
step 1 to 4 of
„Outlet pressure adjustment“
section on
this page.
Final checkout of the installation
Set the appliance in operation after any adjustment and
observe several complete cycles to ensure that all burner
components function correctly.
MAINTENANCE
The regulators are completely maintenance-free. In the event
of a breakdown, a general overhaul and factory testing is
recommended.
Filter maintenance (HUPF)
1. Remove the screws at the bottom of the gas regulator and
remove the cover.
2. Remove the filter cartridge
and/or membrane
and clean the filter housing
thoroughly.
3. Replace the old filter element
and/or membrane
with the new one.
4. Reassemble the cover, ensuring that the guides inside the
cover is aligned with the filter cartridge.
5. Tighten the screws, and check for gas leak by performing
a tightness test.
Replacement filter cartridges
Filter
cartridge
Used with model


