System Operation and Configuration
38
Configuring a Camera
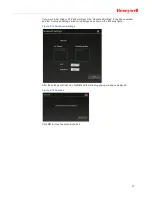
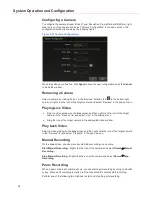
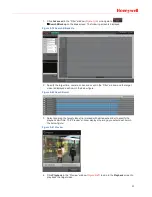
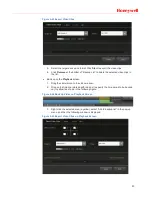
To configure the camera stream (Codec Type, Resolution, Frame Rate and Bit Rate), right
click the icon of the camera and select “Camera Configuration” in the pop-up menu, the
configuration window is shown as the following figure:
Figure 5-17 Camera Configuration
When the settings are finished, click
Apply
to save the new configuration and click
Cancel
to close the window.
Removing a Camera
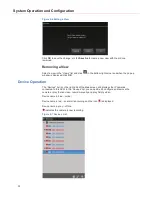
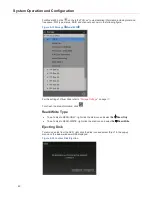
Select a camera by clicking its icon in the “Devices” list and click
in the bottom right
corner; or right click the icon of the target camera and select “Remove” in the pop-up menu.
Playing Live Video
x
Select a video window on the
Live
screen and then right click the icon of the target
camera in the “Devices” list and select “Live” in the pop-up menu;
x
Drag the icon of the target camera to the designated video window.
Play back Video
Select a video window on the
Live
screen and then right click the icon of the target camera
in the “Devices” list and select “Playback” in the pop-up menu
Manual Recording
On the
Live
screen, you can manually start/stop recording on a camera.
Start Manual Recording
ü
Right click the icon of the camera and select
Record
Æ
Manual
Recording
.
Stop Manual Recording
ü
Right click the icon of the camera and select
Record
Æ
Stop
Recording
.
Panic Recording
When a panic or duress condition occurs, you can start panic recording by using one button
or key. When panic recording is started, all the connected IP cameras start recording.
Perform one of the following two methods to start and stop the panic recording:


