41
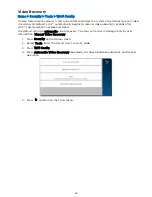
Video
Home > Video
The Controller can display live video from as many as eight Wi-Fi®-connected cameras.
The Controller’s built-in camera is dedicated solely to Total Connect® remote services. The images it
captures can be viewed only through Total Connect.
NOTE Lyric™ and its cameras must be on the same Wi-Fi network.
IMPORTANT
If the Controller loses AC power, the Video function is disabled to minimize drain on
the backup battery.
If power is lost while you are watching Wi-Fi cameras on the Controller, video
display may continue briefly before being suspended.
When power is restored, the Controller looks for available cameras. See
Remember that interruption of AC power to your Wi-Fi cameras and your router
can also affect the Video function, even if the Controller has AC power.
Viewing and Naming Cameras
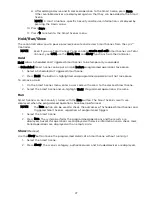
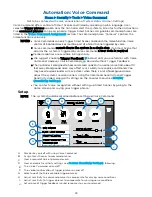
1.
Press Video on the Home screen. Video appears in windows or the cameras appear in a
list.
OR
The system may scan for cameras; when the scan is complete, the camera list appears.
From these screens, you can:
•
Press
to return to the Home screen.
•
View live video.
•
Name cameras.
•
Add cameras to the system.
2.
Select one or more cameras (as many as four) in the list.
•
When multiple cameras are available, you may select as many as four.
•
Selected cameras are highlighted and the Display option appears.
•
You can also press Scan to search for other available cameras.
•
Press a camera’s name again to de-select it.
3.
Select Display to see video from the selected camera(s).
•
Select Camera List to return to the list view.
•
With multiple cameras displayed, you can select one to work with by tapping its
video window.
4.
Viewing a single camera displays its details, which vary with the camera selected.
For all compatible cameras, you can:
•
Name the camera. Select Name above the video display or Edit at right.
•
Press Save on the on-screen keyboard.
•
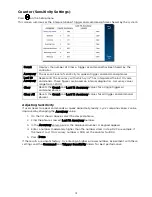
Press
to show the camera full-screen.
•
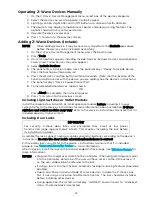
Press
to return to the detail view.
Some cameras offer additional options such as pan/tilt and built-in lighting.
Adding a Camera
•
Make sure that the camera is on the same Wi-Fi network as the Lyric system.
•
Install the camera according to its instructions.
With the camera installed:
1.
View or list cameras as above.
2.
Press Scan. The system looks for available cameras.
3.
When the new camera is found, you can name it as described above.
Summary of Contents for Lyric
Page 1: ...1 User Reference Guide Ref LCP500 L LCP500 LC 800 18078 11 15 Rev F ...
Page 10: ...10 ...
Page 20: ...20 ...
Page 22: ...22 ...
Page 28: ...28 ...
Page 32: ...32 ...
Page 46: ...46 ...
Page 60: ...60 ...
Page 64: ...64 ...
Page 68: ...68 ...
Page 70: ...70 ...
Page 76: ...76 ...
Page 78: ...78 ZONES Zone Number Location and Description ...
Page 79: ...79 SMART SCENES Smart Scene Name Description Z WAVE DEVICES Type Name Location ...
Page 80: ...80 Notes ...
Page 81: ...81 Notes ...

