


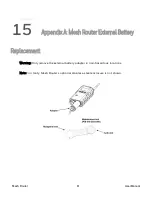
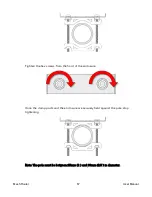


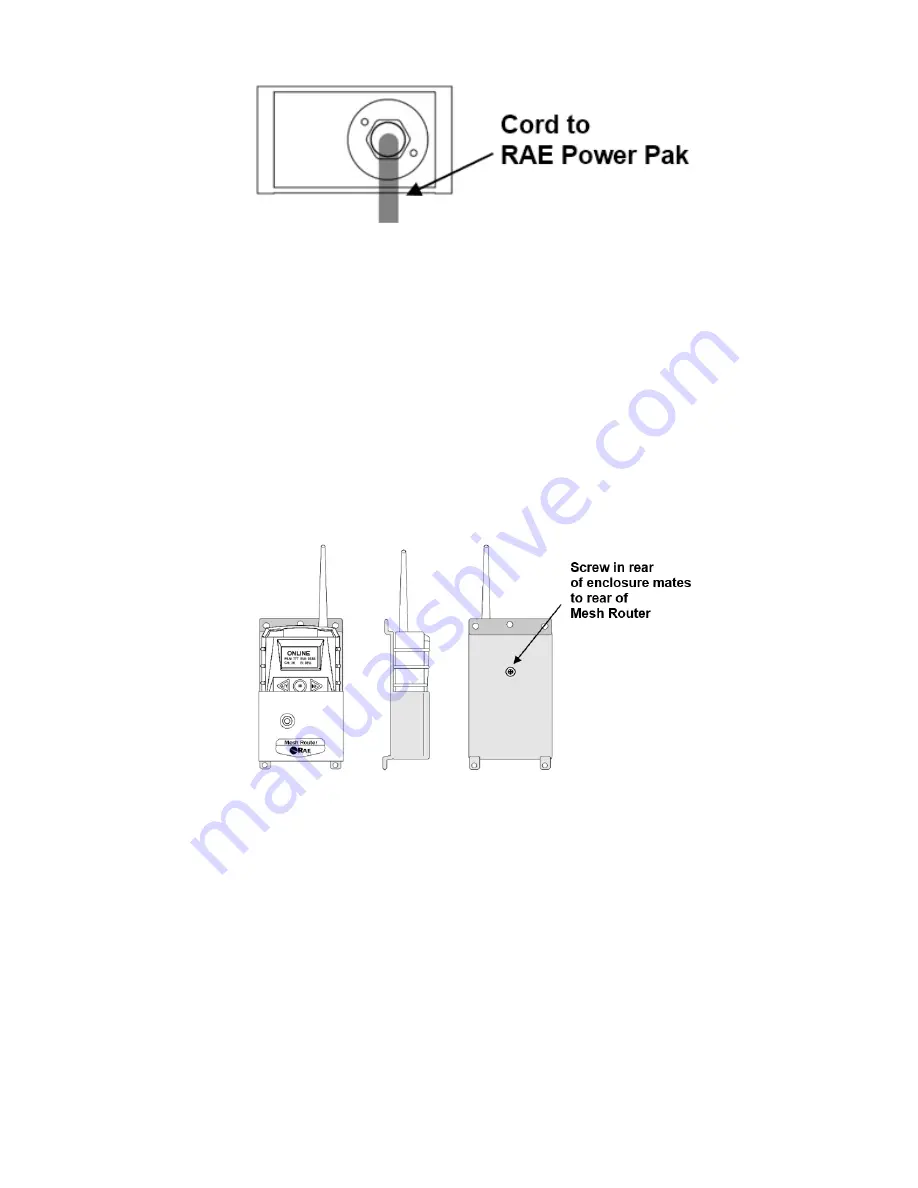
4. Use the open hex end of the wrench, and with both pins mated with the two holes on
the power end, tighten by turning clockwise until it is snug. Do not overtighten.
Consult the Honeywell PowerPak User’s Guide for further connection and charging information.
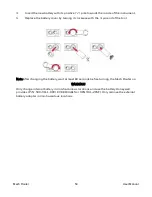
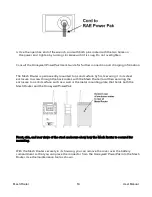
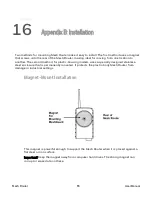
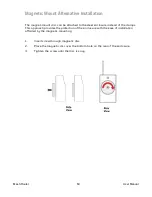
The Mesh Router is permanently mounted to a solid surface by first securing it in its steel
enclosure (a screw through the back mates with the Mesh Router) and then securing the
enclosure to a solid surface such as a wall or the metal mounting plate that holds both the
Mesh Router and the Honeywell PowerPak.
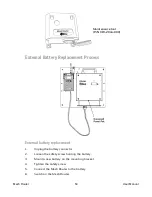
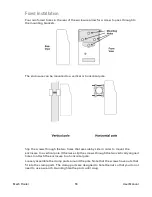
Front, side, and rear views of the steel enclosure show how the Mesh Router is secured for
mounting.
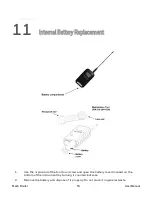
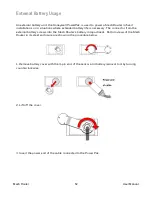
With the Mesh Router securely in its housing, you can remove the cover over the battery
compartment so that you can place the connector from the Honeywell PowerPak into the Mesh
Router. Use the maintenance tool as shown.
Mesh Router
63
User Manual
Summary of Contents for Mesh Router
Page 1: ...Honeywell Mesh Router Wireless Range Extender and Deployment Tool ...
Page 2: ......
Page 5: ......
Page 11: ......
Page 13: ...Mesh Router 13 User Manual ...
Page 17: ......
Page 20: ......
Page 26: ......
Page 28: ......
Page 52: ......
Page 58: ......
Page 60: ......
Page 71: ...Rev F Monday August 15 2022 User Manual P N F04 4002 000 Mesh Router 71 User Manual ...


