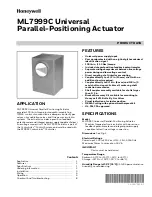
ML7999C UNIVERSAL PARALLEL-POSITIONING ACTUATOR
Home and Building Technologies
In the U.S.:
Honeywell
1985 Douglas Drive North
Golden Valley, MN 55422-3992
customer.honeywell.com
® U.S. Registered Trademark
© 2017 Honeywell International Inc.
32-00079EF—01 M.S. 05-17
Printed in United States
CHECKOUT AND
TROUBLESHOOTING
Checkout
Refer to R7999C literature and (form 32-00081EF) for
system checkout.
Troubleshooting
If the actuator does not operate properly during Checkout,
perform the following troubleshooting steps. Perform
these steps before replacing the actuator:
1.
Check the actuator label to make sure the power and
control signal requirements are correct for the
application.
2.
Check for the presence of 120-240 Vac at the actua-
tor (L1) and (L2) connections when the actuator
should be driving. If the voltage is not present or is
low, check the power supply.
3.
Ensure actuator stroke matches stroke of damper or
valve.
a. Remove the cover.
b. Press the button labeled CW. The actuator
should drive the device clockwise.
c. Press the button labeled CCW. The actuator
should drive the device counterclockwise.
4.
If the actuator operates properly, check the control-
ler for proper output signals.
5.
If the actuator does not drive, remove power, discon-
nect the actuator hub, and try to turn the shaft
clockwise and counterclockwise. If the shaft turns
freely throughout the 90-degree stroke and the
actuator is installed properly, replace the actuator.
6.
If the shaft does not turn freely for the full 90
degrees, check for binding. If necessary, adjust
mounting to prevent binding.
7.
If the device shaft does not turn freely, fix or replace
the device.
8.
If the device shaft turns, reconnect the actuator and
wiring and drive the actuator hub clockwise and
counterclockwise. If the actuator does not drive,
replace the actuator.
9.
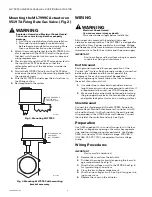
If the actuator and device shaft turn freely, remount
the actuator to the device according to instructions
in the Installation section. Make sure the actuator
does not bind and that the actuator and device are
both at the same clockwise or counterclockwise end
stop when assembled. Hook up the wires and repeat
the Checkout procedures. Troubleshoot if necessary.

