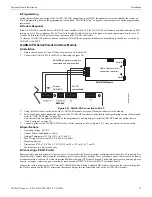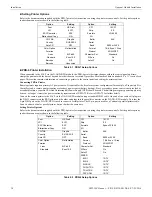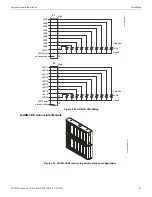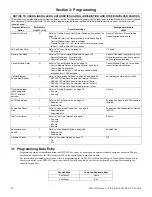
NFW-50X Manual —
P/N LS10129-001NF-E:C 7/25/2018
49
Master Programming Level
Programming
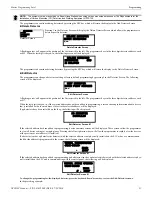
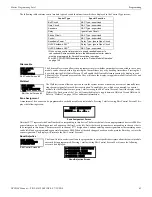
To access user Programming mode, press the
Enter
or
Mode
key. The LCD will display the following.
To enter the user Programming mode, press
2
. The display will read as follows:
Entering the
Master
level password (default
00000000
) will cause the following screen to appear:
If the
Maintenance
level password (default
11111111
) is entered, the following screen will appear:
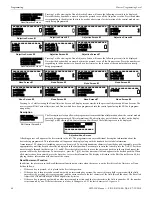
Note that in the two preceding screens, an arrow appears to inform the programmer that additional options can be viewed by pressing the
keypad down arrow key.
3.6 Master Programming Level
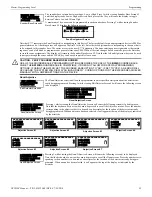
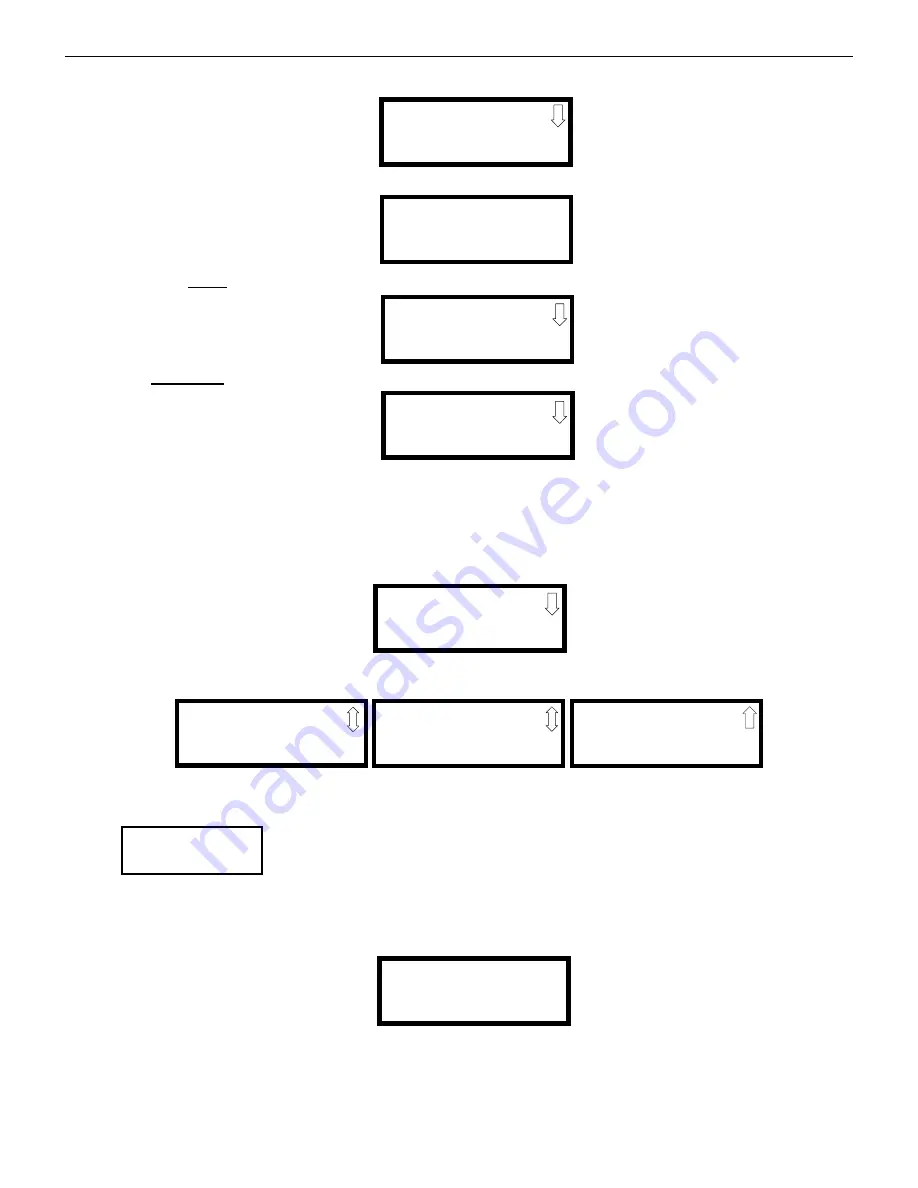
When the Master Program Level password is entered, the control panel will enter user Programming mode. In this mode, the piezo
sounder remains off, the trouble relay is activated and the system Trouble LED flashes until Programming mode is exited. The following
display will appear:
Pressing the down arrow will display more programming options:
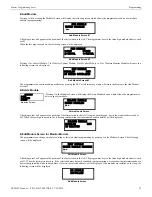
3.6.1 Autoprogram
Pressing
1
while viewing Programming Screen #1, will select the Autoprogram option, which prompts the
control panel to poll all devices installed on the SLC loop. The primary purpose of autoprogramming is to
allow the installer a fast and easy way to bring the system on-line as quickly as possible. The first time the
system is powered-up, it should be autoprogrammed.
If the system is already programmed and Autoprogram is initiated, the system will only add default values
for newly installed devices.
When Autoprogram is selected, the control panel will begin autoprogramming the system by communicating with each addressable
device installed on the SLC loop. While autoprogramming, the panel will display the following:
1=READ STATUS MODE
2=PROGRAMMING MODE
3=FSTOOL UP/DOWNLOAD
4=USB UP/DOWNLOAD
PROGRAMMING
ENTER PASSWORD
PROGRAMMING
1=AUTOPROGRAM
2=POINT PROGRAM
3=ZONE SETUP
PROGRAMMING
1=POINT PROGRAM
2=HISTORY
3=PROGRAM CHECK
PROGRAMMING
1=AUTOPROGRAM
2=POINT SETUP
3=ZONE SETUP
Programming Screen #1
PROGRAMMING
1=LOOP SETUP
2=SYSTEM SETUP
3=FUTURE USE
PROGRAMMING
1=HISTORY
2=COMMUNICATOR
3=ANNUNCIATORS
PROGRAMMING
1=PASSWORD CHANGE
2=CLEAR PROGRAM
3=PROGRAM CHECK
Programming Screen #2
Programming Screen #3
Programming Screen #4
PROGRAMMING
1=AUTOPROGRAM
2=POINT PROGRAM
3=ZONE SETUP
Programming Screen #1
AUTOPROGRAM
AUTOPROGRAMMING!
PLEASE WAIT
Autoprogram Progress Screen


