70
NFW-50X Manual —
P/N LS10129-001NF-E:C 7/25/2018
Programming
Master Programming Level
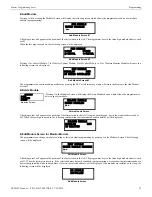
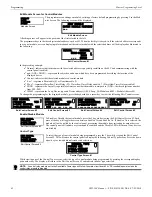
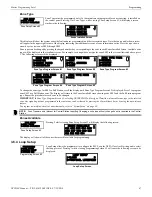
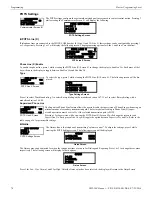
These screens allow the programmer to enter a two line custom banner. A flashing cursor will appear in the bottom left corner of each
display. A maximum of 20 characters (including spaces) can be entered into each screen for a total of two lines with 40 characters. After
entering up to 20 characters in the first screen, press
Enter
to view the second screen. Enter up to 20 characters in the second screen in
the same manner or just press
Enter
if a second banner line is not being entered. To quickly clear the current banner, press the
CLR
key.
To enter alphanumeric characters from the keypad, repeatedly press the appropriate key until the desired character is displayed in the
first position. For example, to enter the letter
B
, press the
2 (ABC)
key three times to toggle through the characters
1
,
A,
and
B
. Press the
right arrow key to move the cursor one position to the right and repeat the process to enter the next character. To enter a space, press the
9 (YZ)
key four times to place a blank in the desired position. When all characters have been entered, press the
Enter
key to store the
information. The display will return to the Banner Screen.
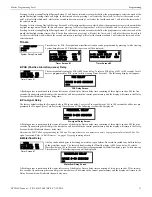
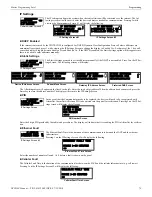
Time-Date
The control panel time and date can be changed by pressing
3
while viewing the System Setup Screen #1.
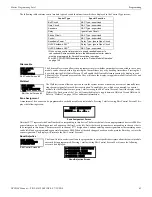
The following screen will be displayed:
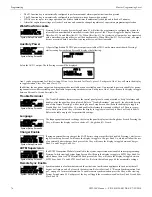
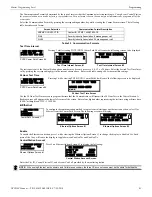
Time
To change the time, press
1
while viewing the Time-Date Screen. The following screen will be displayed:
A flashing cursor is located toward the top left of the display. Below the cursor is the current time. To change the time, enter the two-digit
hours followed by the two-digit minutes. The cursor will move one position to the right each time a digit is entered. After the last min-
utes digit is entered, the cursor will again move one position to the right. At this point enter
1
for AM or
2
for PM. The display will then
return to the Time-Date Screen which will show the new time entry. If an error is made while entering a digit, press the
CLR
key to delete
the entire entry and beginning again.
Date
To change the date, press
2
while viewing the Time-Date Screen. The following screen will be displayed:
A flashing cursor is located toward the top left of the display. Below the cursor is the current date. To change the date, enter the two-digit
month followed by the two-digit day and then the two-digit year (17 for 2017, 18 for 2018, etc.). The cursor will move one position to
the right each time a digit is entered. After the last year digit is entered, the display will return to the Time-Date Screen which will show
the new date entry. If an error is made while entering a digit, press the
CLR
key to delete the entire entry and beginning again.
Clock Format
The clock can be configured to display 12 hour (AM & PM) or 24 hour (military) time. Pressing
3
while viewing the Time-Date screen
will cause the display to toggle between 12HR and 24HR. Select 12HR for 12 hour display or 24HR for 24 hour display.
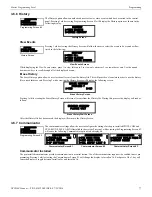
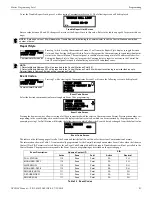
Daylight Savings Time
Pressing
1
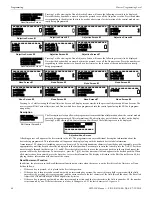
while viewing Time-Date Screen #2 will cause the following screens to be displayed:
Pressing
1
while viewing Daylight Savings Screen #1 will cause the display to toggle between
Enabled Yes
and
Enabled No
. The control
panel will automatically update the time for daylight savings time when
Enabled Yes
is selected.
Pressing
2
while viewing Daylight Savings Screen #1 will display another screen which allows the programmer to select the month that
daylight savings time will begin. In this sub-screen, pressing
1
will select March,
2
will select April, and
3
will select May.
SYSTEM SETUP
1=TROUBLE REM
2=BANNER
3=TIME-DATE
System Setup Screen #1
TIME AND DATE
1=TIME 10:00 AM
2=DATE 05-04-2017
3=CLOCK FORMAT 12HR
Time-Date Screen #1
TIME AND DATE
1=DAYLIGHT SAVINGS
Time-Date Screen #2
ENTER TIME
10:00 AM
1=AM 2=PM
Time Screen
ENTER DATE
MONTH DAY YEAR
05-04-17
Date Screen
NOTE:
If the clock is changed to 24 hour (military) format, the date will change to the European standard of
Day-Month-Year
(for display
purposes only).
TIME AND DATE
1=DAYLIGHT SAVINGS
Time & Date Screen #2
DAYLIGHT SAVINGS
1=ENABLED YES
2=START MONTH MAR
3=START WEEK WEEK-2
Daylight Savings Screen #1
Daylight Savings Screen #2
DAYLIGHT SAVINGS
1=END MONTH NOV
2=END WEEK WEEK-1


