10 of 12
Installation Instructions
Document 800-08279, Revision A
February 2011
© Honeywell International. All rights reserved.
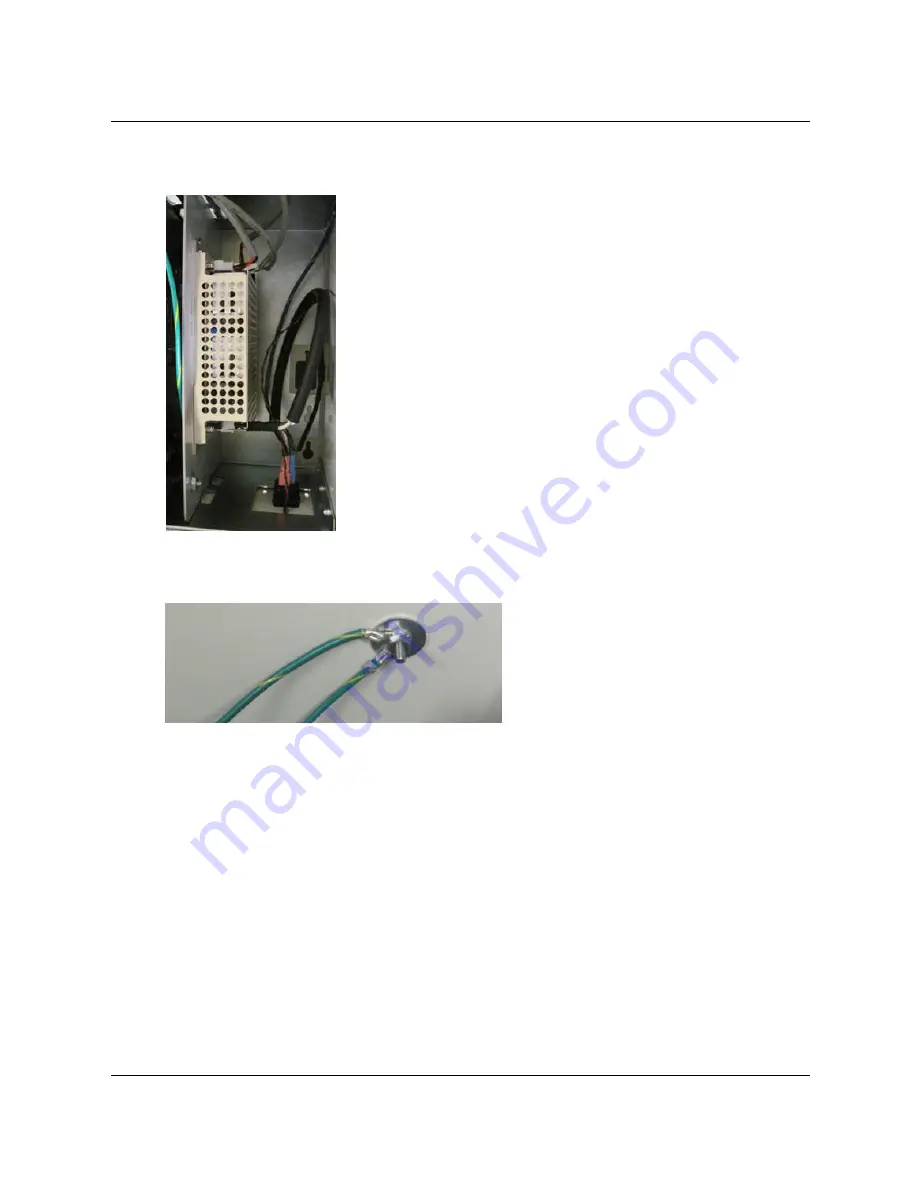
14. Slide the power supply and metal plate assembly into the metal enclosure, noting the orientation of
the ground wire towards you:
15. Secure the ground wires (GREEN with YELLOW stripe) from the mounting plate and AC Power
Inlet Cable to one of the grounding lugs inside the mounting enclosure, as shown on the left.
16. Connect the 12VDC power output from the power supply to the controller input, noting proper
polarity.
17. Connect the battery leads to an appropriately-sized battery for the application.
18. Connect the low battery wires to the appropriate panel input.
19. Connect the AC power fail wires to the appropriate panel input.
20. Connect the supplied power cable into the power inlet on the outside of the enclosure.
21. Check all power supply wiring to ensure it is installed properly.
22. Power on the system by plugging the supply AC power cord into the appropriate AC source.
23. Check to make sure that your system is powered up correctly.
24. Check to make sure that the red LED located near the AC power inlet is illuminated.
25. Route all power-limited wiring at least 0.25” (6.35 mm) away from any non-power-limited wiring.


