C7012A,C,E,F,G SOLID STATE PURPLE PEEPER® ULTRAVIOLET FLAME DETECTORS
60-2398-17
16
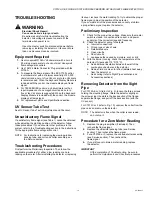
SERVICE
WARNING
Electrical Shock Hazard.
Can cause serious injury or death.
Open the master switch to disconnect power before
removing or installing the detector or its cover. More
than one disconnect can be involved.
Periodic Maintenance
1.
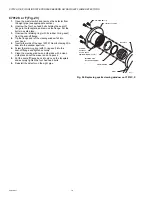
Clean the viewing window (or focusing lens) when
necessary. Remove the detector (see Troubleshooting
section) and use a clean cloth over the eraser end of a
pencil. Do not remove the window (or lens) to clean it. If
it is broken or damaged or is coated with a substance
that cannot be removed, replace it
(see Fig. 24).
2.
Keep the flame detection system adjusted for the
smoothest, most reliable operation as recommended by
the burner manufacturer.
3.
Replace the sensing tube, coil and shutter assembly,
or viewing window only when necessary to obtain proper
operation.
Removing Detector Cover (All
Models)
1.
Open the master switch.
a. C7012A,E OR G: Unscrew the four captive cover
screws (Fig. 7) and carefully slide off the cover.
b. C7012C OR F: Unscrew the six hex-head cover bolts
(Fig. 8) and carefully pull off the cover.
NOTE: These bolts are removable. Put them in a safe place
so you do not lose them.
Replacing Ultraviolet Sensing Tube
(All Models) (Fig. 20)
1.
Open the master switch and remove the cover from the
detector (see instructions above).
2.
Locate the UV sensing tube.
IMPORTANT
On a C7012E or F, be careful not to kink or otherwise
damage the flexible shutter.
3.
On a C7012E or F, gently bend the alignment guide just
enough to free the tip of the tube.
4.
Insert a screwdriver between the tube base and the
socket, and gently pry the tube out of its socket.
5.
Pull the tube completely out of its socket (and out of the
shutter assembly on a C7012E or F).
6.
On a C7012E or F, insert the new tube through the open-
ings in the shutter assembly.
7.
Align the three pins on the new tube with the holes in the
socket.
8.
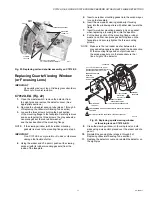
Carefully push the new tube firmly into the socket. (On a
C7012E or F, the alignment guide snaps into place
around the tip of the tube.)
9.
Make sure the new UV sensor tube is seated securely.
NOTE: The cover for a C7012C or F has a small hole that is
keyed to a pin on the body flange (Fig. 8).
10.
Replace the detector cover.
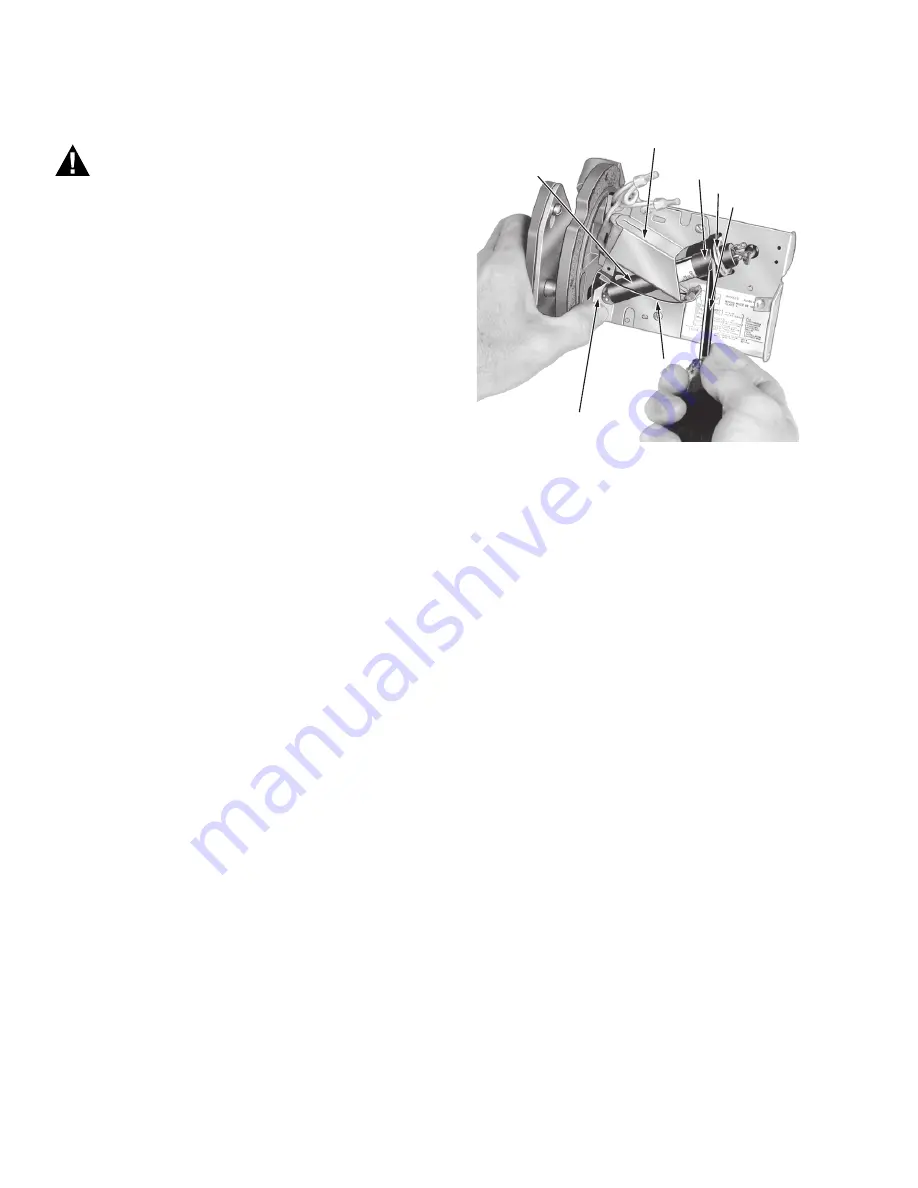
Fig. 21. Replacing ultraviolet radiation sensing tube.
Replacing Coil and Shutter Assembly
(C7012E,F Only) (Fig. 21)
NOTE: Use only a 190971B Coil and Shutter Assembly. This
assembly can also be used on existing C7012 Detec-
tors with electronic tubes. The actual operating volt-
age of the coil is either 110V or 120V, depending on
the primary control used in the system.
1.
Open the master switch and remove the detector cover
(see Removing the Detector Cover section).
2.
Remove the ultraviolet sensing tube (steps 1 through 5
of Replacing the Ultraviolet Sensing Tube section).
3.
Cut the white wires as close as possible to the crimped
connectors, and remove the crimped connectors.
4.
Remove the three mounting screws from the base of the
coil and shutter assembly and put in a safe place.
5.
Remove the coil and shutter assembly.
6.
Put the new coil and shutter assembly into place.
IMPORTANT
Be very careful not to kink or otherwise damage the
flexible shutter.
7.
Insert the three mounting screws into the base of the coil
and shutter assembly and tighten securely.
8.
Remove sufficient insulation from each of the two white
leadwires remaining on the detector, and also from each
of the two white leadwires on the new coil.
9.
Using solderless connectors, connect one of the coil
wires to one of the remaining white leadwires. Connect
the other coil wire to the other remaining white leadwire.
10.
Reinstall the sensing tube (steps 6 through 9 of
Replacing the Ultraviolet Sensing Tube section).
NOTE: The cover for a C7012F has a small hole that is keyed
to a pin on the body flange (Fig. 9).
11.
Replace the detector cover.
ULTRAVIOLET
SENSING
TUBE
SHUTTER ASSEMBLY
(C7012E OR F)
TUBE BASE
TUBE SOCKET
SCREWDRIVER
ALIGNMENT
GUIDE
(C7012E OR F)
FLEXIBLE
SHUTTER
(C7012E OR F)
M6819

