page 28 008-0671-00
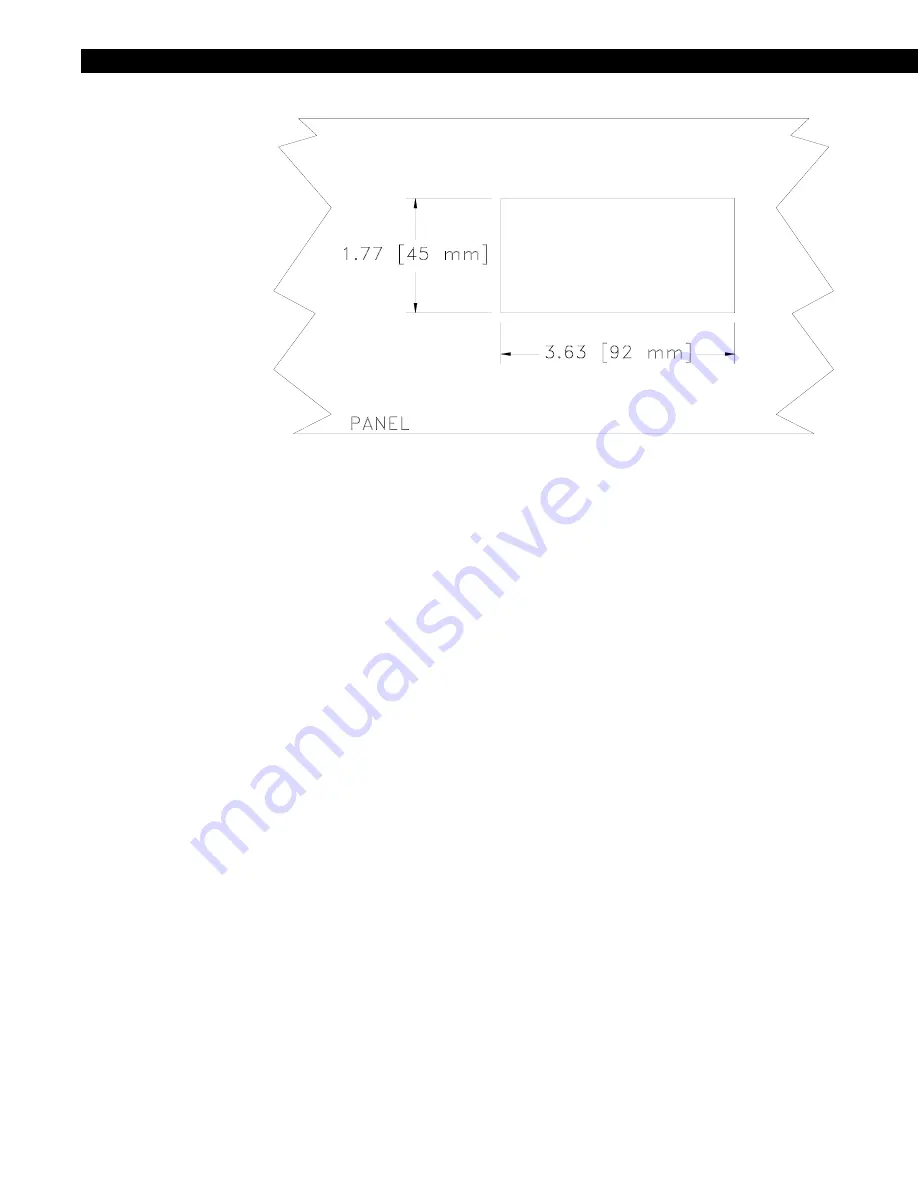
Figure 4-2: Panel Cutout Drawing for Model SC500 (not to scale)
Step 1. In the panel or rack, cut a hole as shown above. The panel may be up to 1/4”
in thickness.
Step 2. Use an 0.050" Allen wrench to remove two set screws that hold the Panel-
Mounting Jacks to the case. To do this, insert the wrench into the side slots at
the rear. Remove the screws completely.
Step 3. Remove the Panel-Mounting Jacks by sliding them toward the rear. If the jacks
don't slide easily, tap them gently.
Step 4. Put the instrument through the hole in the panel.
Step 5. Reinsert the Panel-Mounting Jacks into the slide slots. Slide them as far
toward the panel as possible.
Step 6. Reinsert the set screws and tighten them. This will force the Panel-Mounting
Jacks toward the rear side of the panel, drawing the instrument tightly into
place.
4.3.4 Rack Mounting
The following rack mount panels are available to mount Model SC500 instruments into
a 19”, 2U rack. For each instrument to be mounted into these panels, one set of
Panel-Mounting Jacks described above are needed.
•
part number 056-0062-00: 19”, 2U rack-mount panel for one 1/8-DIN panel meter
•
part number 056-0066-00: 19”, 2U rack-mount panel for four 1/8-DIN panel
meters
4.3.5 Bench Mounting
If bench mounting the instrument, you may want the optional Bench Stand (order code
AA924).
Summary of Contents for SC500
Page 8: ...page 8 008 0671 00 ...
Page 14: ...page 14 008 0671 00 ...
Page 18: ...page 18 008 0671 00 ...
Page 24: ...page 24 008 0671 00 ...
Page 38: ...page 38 008 0671 00 ...
Page 42: ...page 42 008 0671 00 ...
Page 50: ...page 50 008 0671 00 ...
Page 72: ...page 72 008 0671 00 ...
Page 82: ...page 82 008 0671 00 ...
Page 90: ...page 90 008 0671 00 ...
Page 116: ...page 116 008 0671 00 ...
Page 126: ...page 126 008 0671 00 ...


