T775R SERIES 2000 ELECTRONIC STAND-ALONE CONTROLLER
62-0249—13
18
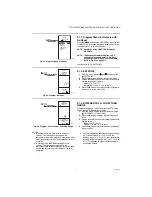
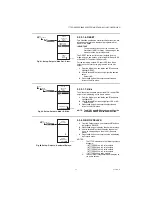
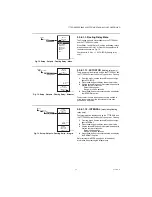
Fig. 41. Program - Sensor.
2.1.4. SENSOR
1.
From the menu, use the
and
buttons to high-
light SENSOR.
2.
Press the
button to display the sensor selections.
3.
Use the
and
buttons to select Sensor A or B.
4.
Press the
button to accept the highlighted sensor
and display the next option.
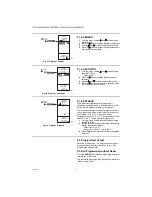
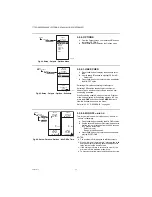
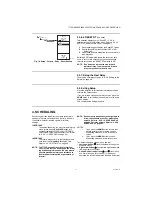
Fig. 42. Program - Heat/Cool.
2.1.5. HEAT/COOL
1.
From the menu, use the
and
buttons to high-
light HEAT/COOL.
Default: HEAT
2.
Press the
button to display the heat and cool
selections.
3.
Use the
and
buttons to select Heat or Cool.
4.
Press the
button to accept the highlighted selec-
tion and display the next option.
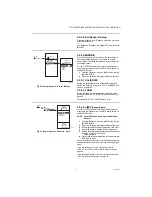
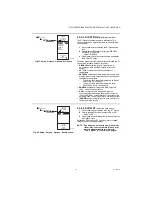
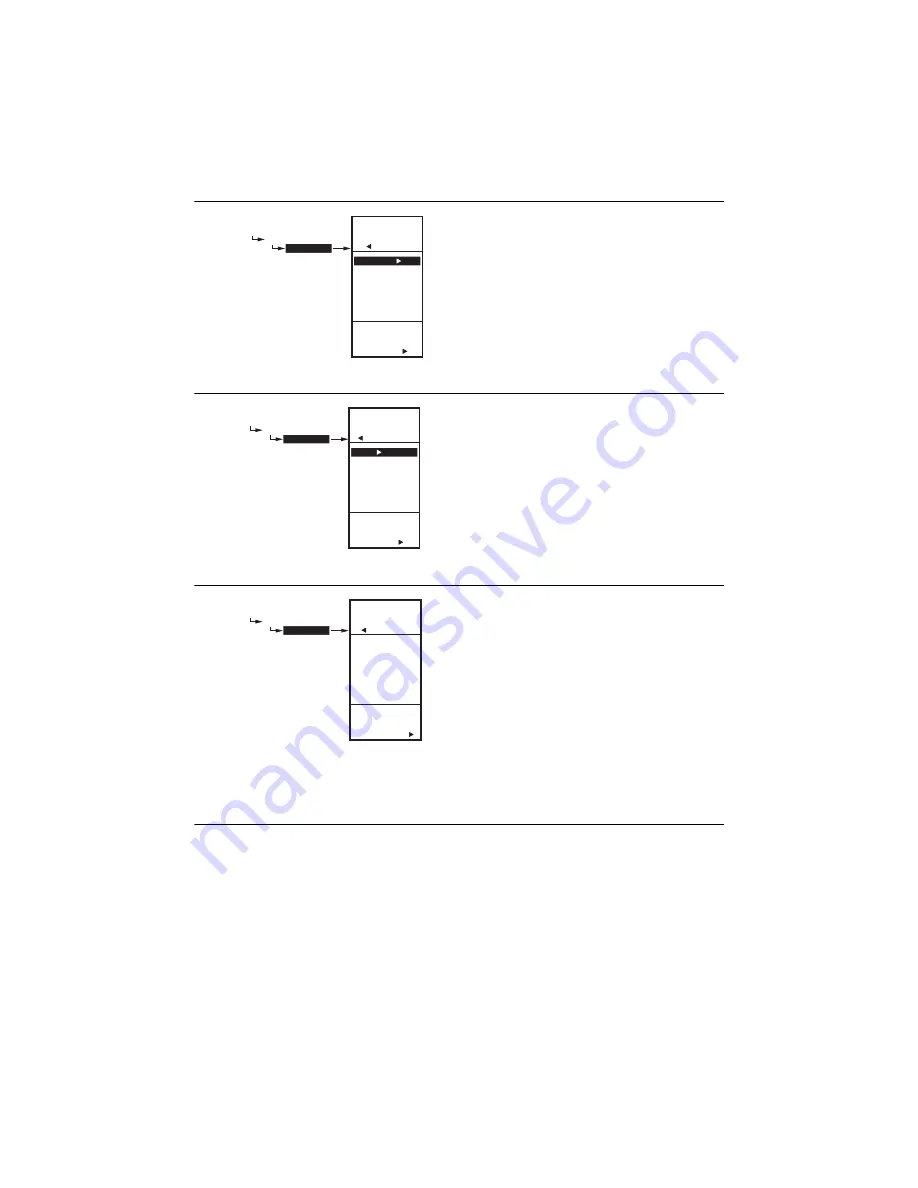
Fig. 43. Program - Setback.
2.1.6. SETBACK
The Setback temperature option displays only if
scheduling is enabled (see Fig. 65 on page 26) or the DI
Option is set to Setback (see Fig. 67 on page 27).
This is the desired setpoint temperature that you want to
use during setback mode for this output. For example, if
your setpoint is 70° F (21° C) and you want the
temperature to drop 10° F (-12° C) during setback mode,
enter 60° F (16° C) as the setpoint for this output.
1.
From the menu, use the
and
buttons to high-
light SETBACK.
2.
Use the
and
buttons to increase/decrease the
desired setpoint temperature.
Default: 60° F (16° C)
Range: -40° to 248° F (-40° to 120° C)
3.
Press the
button to accept the value and display
the menu.
2.2. Program Next Output
Refer to Fig. 38 on page 17 to program the next output.
When you finish the outputs, continue with “2.3. Exit
2.3. Exit Programming without Reset
Press the
HOME
button to leave programming mode and
return to the home screen.
This completes the programming procedure for controllers
that do not use Reset.
MENU
PROGRAM
RELAY 1
SENSOR
SELECT
SENSOR FOR
RELAY 1
SENSOR A
SENSOR B
PROGRAM
RELAY
1
SENSOR
M24318
PROGRAM
RELAY
1
HEAT/COOL
MENU
PROGRAM
RELAY 1
HEAT/COOL
SELECT
HEAT/COOL
FOR
RELAY 1
HEAT
COOL
M24319
ENTER
SETBACK
SETPOINT
FOR RELAY 1
PROGRAM
RELAY
1
SETBACK
MENU
PROGRAM
RELAY 1
SETBACK
60
F
o
M24320

