User Settings
TP1MAN Issue 3 Apr 06 (MAN0630)
38
The controller is supplied pre-configured with factory defaults, see
These can be used if suitable, or customized by the user to suit site requirements.
This chapter explains how to:
•
set gas units and range, see page 38
•
set zero and span, see page 40
•
browse Touchpoint 1’s event record, see page 41
•
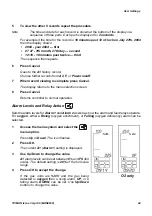
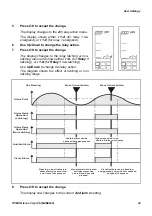
set alarm levels and relay actions, see page 42
•
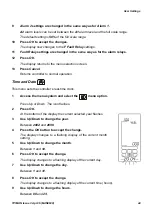
set the real-time clock, see page 44
•
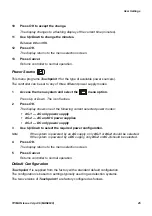
set the power source, see page 45
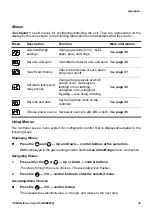
Before performing any of the above actions refer to the procedures that explain how to use
menus, see
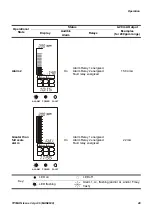
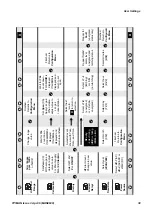
The following table provides a summary of the configuration options available.
For detailed step-by-step instructions for each menu see the subsequent sections.
Gas Units and Range
WARNING
If the range is changed, the alarm set points also change.
Verify desired alarm set points.
This menu is the first one displayed when the menu system is accessed. It sets the units of gas
measurement and the range.
1
Press the Up and Down buttons simultaneously.
This accesses the menu system and displays the
menu icon, which flashes.
2
Press OK.
The current units and range are displayed.
3
Press Up or Down to select a different unit of gas measurement.
See the subsequent table.
4
Press OK to accept the selected unit.
The display now shows the current range.
5
Press the Up or Down down buttons to select a different range.
Default units and ranges are shown in this table.
Caution
If the range is changed, the alarm level will also be changed.
Set desired alarm levels per page 42.
Unit
kppm
ppm
%LEL
%v/v
Range
1.0 - 999.9
1.0 - 999.9 or
10 - 9999
10 - 100
1.0 - 100
User Settings

