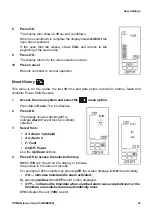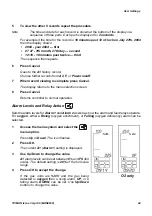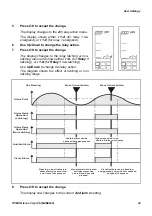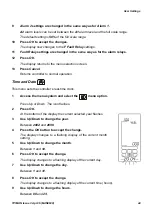
Operation
TP1MAN Issue 3 Apr 06 (MAN0630)
32
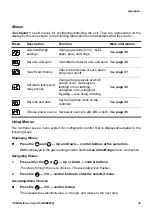
Menus
Touchpoint 1
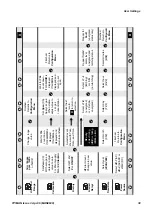
has
6
menus for configuring/controlling the unit. They are represented on the
display by the icons shown in the following table lists them and explains what they are for.
Using Menus
The controller uses a menu system for configuration/control that is displayed/navigated in the
following ways.
Displaying Menus
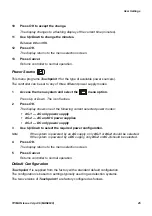
Press
the
and
—
Up and Down — control buttons at the same time.
000 is displayed in the gas reading position and the Gas Units/Range menu icon flashes.
Navigating Menus
1
Press either the
or
— Up or Down — control buttons.
This steps through the menu choices. The associated icon flashes.
2
Press the
— OK — control button to enter the selected menu.
Accepting Menu Choices
Press the
— OK — control button.
This accepts the selection/value, or change, and moves to the next step.
Menu
Description
Function
More information
Gas units/range
settings
Change gas units (%V/V, %LEL,
kppm, ppm) and range
Set zero and span
Calibrate the detector zero and span. See
View Event History
Check the time/date of each alarm
and power on/off
Set alarm levels and
relay actions
Change the gas levels at which
alarms occur. Set relays to:
latching or non-latching,
energized or de-energized,
O
2
only
— also rising or falling
Set time and date
Set the real-time clock on the
controller
Choose power source Set power source to
AC
,
DC
or both See


