User Settings
TP1MAN Issue 3 Apr 06 (MAN0630)
42
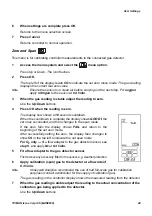
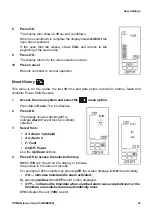
6
Press Cancel.
Goes to the A1 history record.
Choose further records from A2, F, or Power on/off.
7
When record viewing is complete press Cancel.
The display returns to the menu selection screen.
8
Press Cancel.
Returns controller to normal operation.
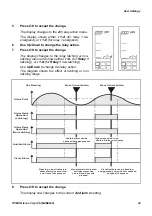
Alarm Levels and Relay Action
Sets the alarm levels for
Alarm 1
and
Alarm 2
as well as how the alarm and fault relays operate.
For
oxygen
, either a
Rising
(oxygen enrichment), or
Falling
(oxygen deficiency) alarm can be
selected.
.
5
To view the other 9 records repeat the procedure.
Note
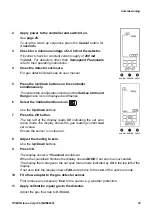
The time and date for each record is shown at the bottom of the display in a
sequence of three parts. Each part is displayed for 2 seconds.
For example if the time for the record is 18 minutes past 12 o'clock on July 27th, 2004
then the display shows:
•
2004 - year 2004 — first
•
07 27 - 7th month, 27th day — second
•
12:18 - 18 minutes past twelve — third
The sequence then repeats.
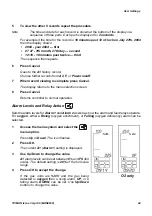
1
Access the menu system and select the
menu option.
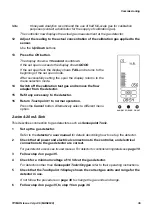
Press Up or Down. The icon flashes.
2
Press OK.
The current A1 (Alarm 1) setting is displayed.
3
Use Up/Down to change the value.
A1 alarm levels can be set between 0% and FS (full
scale). The default setting is 20% of the full scale
range.
4
Press OK to accept the change.
If the gas units are %V/V and the gas being
detected is oxygen then a rising alarm, UP, or a
falling alarm, DOWN, can be set. Use Up/Down
buttons to change the value.
O2 only
%V/V

