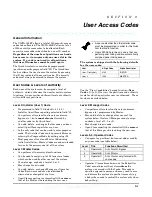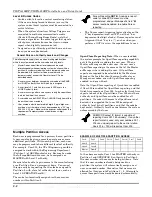
Section 9 – User Access Codes
9-3
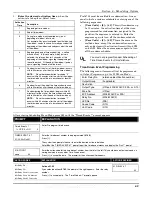
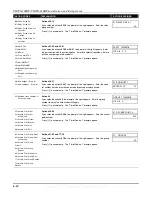
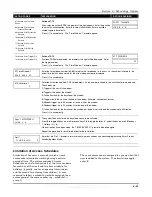
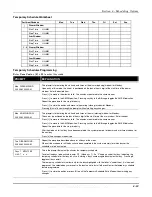
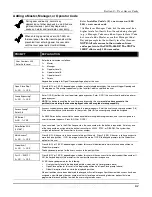
Adding a Master, Manager, or Operator Code
During user code entry, normal key
depressions at other keypads in a partition are
ignored. However, panic key depression
causes an alarm and terminates user entry.
When entering panel link users (001-050) on
the local panel, the other remote panels will be
prevented from entering panel link user data
until the local panel exits User Edit Mode.
Enter
Installer Code†+ [8] + new user no. (002-
250) + new user’s code
†Or Master or Manager Code, but the code must be a
higher level of authority than the code being changed
(e.g., a Manager Code can add an Operator-level Code,
but cannot add a Master or another Manager Code).
Keypad prompts for the authority level for this user.
NOTE: All references to the number of user
codes pertain to the VISTA-250BP. The VISTA-
128BP allows only 150 user codes.
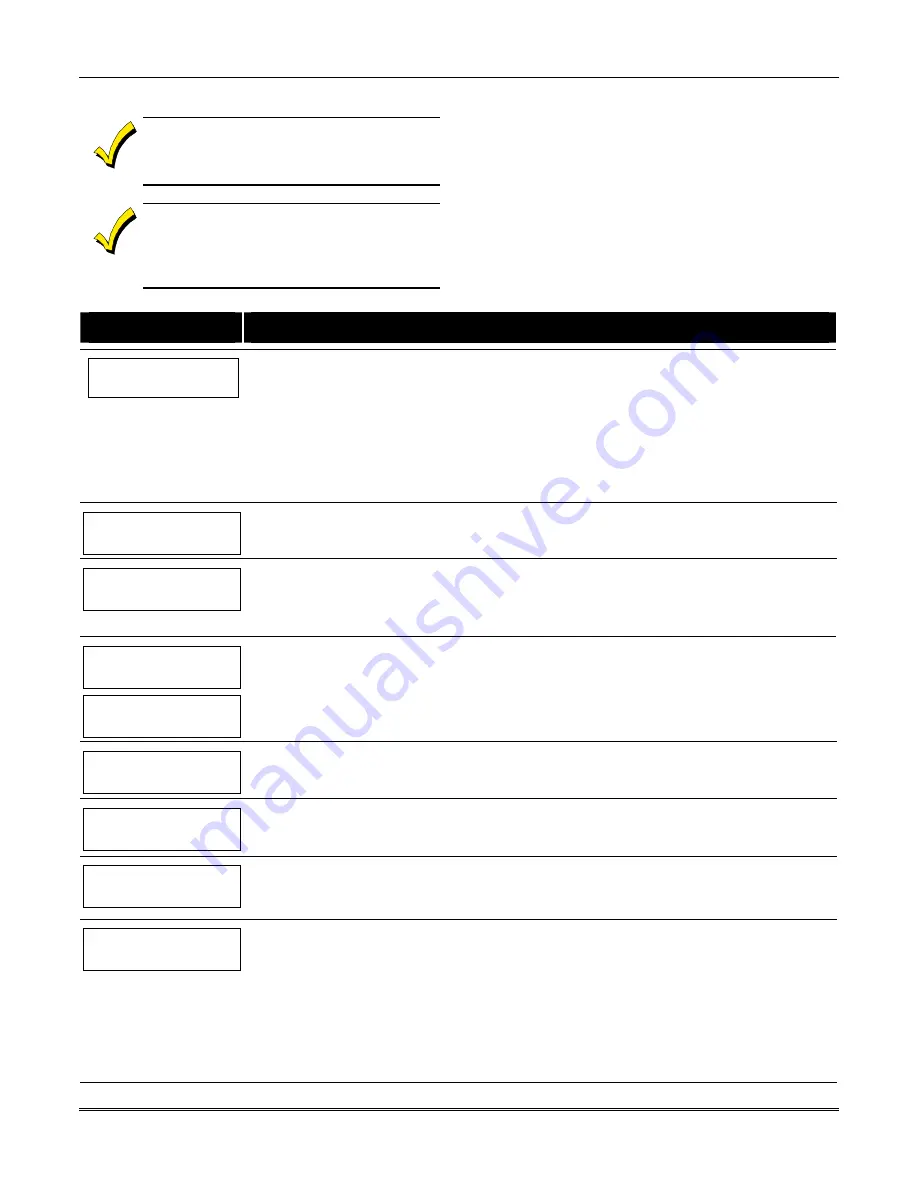
PROMPT
EXPLANATION
User Number = 003
Enter Auth. Level
Enter the level number as follows:
1 =
Master
2 =
Manager
3 =
Operator Level A
4 =
Operator Level B
5 =
Operator Level C
6 =
Duress
Keypad then prompts for Open/Close reporting option for this user.
Open/Close Rep.?
0 = NO , 1 = YES
Press
0
(NO) or
1
(YES), depending on whether or not arming/disarming by this user will trigger Opening and
Closing reports. This prompt appears only if the Installer Code is used to add a user.
Group Bypassing?
0 = NO , 1 = YES
Enter 1 (YES) to allow this user to perform group bypasses. Enter 0 (NO) this user will not be able to perform
group bypasses.
NOTE:
In addition to enabling the user for group bypassing, the user
must also have access to the
partition(s) containing the zones being bypassed and have global arming capability
.
Access Group?
Enter 0-8
If access schedules have been programmed, this prompt appears. Enter the user’s access group number (1-8)
if this user should have limited access to the system. Enter
0
if no access group should be assigned.
RF Button ?
0=NO , 1=YES
If a 5800 Series button transmitter has been enabled for arming/disarming functions, and is not assigned to a
user, this prompt appears. Press
0
(NO) or
1
(YES).
Enter Button ZN #
(001-087)
If you answered “yes” to the RF button question, the zone number for the button is requested. Enter any one
of the zone numbers assigned to the button transmitter as AWAY, STAY, or DISARM. The system then
assigns
all
buttons of the transmitter to this user number.
Multi-Access ?
0 = NO , 1 = YES
Press
0
(NO) if the user is to have access to this partition only. Press
1
(YES) if the user is to have access to
more than one partition. If NO, the program exits this mode. If YES, the keypad prompts for the Global Arm
option for this user.
Global Arm ?
0 = NO , 1 = YES
Press
0
(NO) or
1
(YES), depending on whether this user will be allowed to arm more than one partition via
Global Arm prompts.
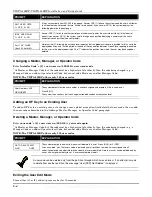
The keypad now prompts for the user’s access to the next partition.
Part. 2 – SHOP ?
0 = NO , 1 = YES
Press
0
(NO) or
1
(YES), depending on whether this user will have access to the displayed partition number. If
NO, the keypad displays this prompt for the next partition number in sequence.
If YES, the keypad prompts for the following:
•
User’s authority level in the displayed partition (see Authority Level prompt above).
•
Open/Close option for this user in the displayed partition (see Open/Close prompt above).
•
Global Arm option for this user in the displayed partition.
When all partitions have been displayed, the keypad will scroll through all partitions to which access has been
assigned, and will display the user number, authority level, open/close and global arm options that were
programmed for each partition to which the user was granted access.
WWW.DIYALARMFORUM.COM
WWW.DIYALARMFORUM.COM

