Section 6 – Scheduling Options
6-11
ACTION CODES
EXPLANATION
ACTION SPECIFIER
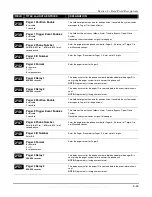
67=Access Point Partition
Grant
68=Access Point Partition
Grant w/Override
69=Access Point Protect by
Partition
70=Access Point Bypass by
Partition
71=Access Point Lock by
Partition
72=Access Point Exit by
Partition
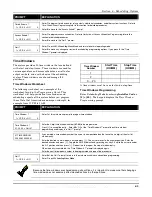
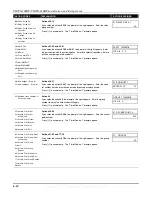
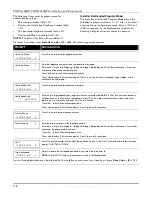
Actions 67-72
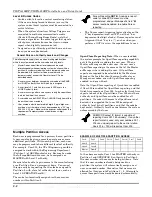
If you selected actions
67-72
, the prompt at the right appears. Enter the partition
to which the action applies. Enter
0
to select all partitions. Enter a partition
number again to deselect it.
Press [
✳
] to accept entry. The “Time Window ?” prompt appears.
PART? 12345678
HIT 0-8 X X
73=Access Point Trigger On
74=Access Point Trigger Off
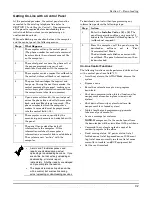
Actions 73-74
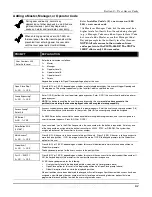
If actions
73-74
were selected, the prompt at the right will be displayed. Enter
the trigger number.
Press [
✳
] to accept entry. The “Time Window ?” prompt appears.
01 TRIGGER #
00
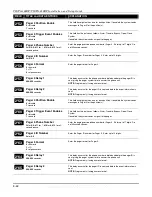
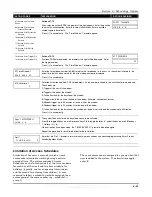
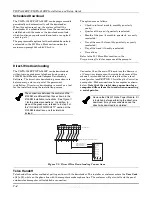
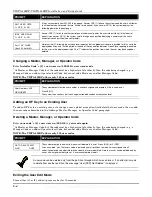
01 Time Window ?
00:00 00:00 01
Enter the time window number (
01-20
) for which this timed event is to occur. As the number is keyed in, the
actual time that has been stored for the time window number is displayed.
Press [
✳
] to accept entry.
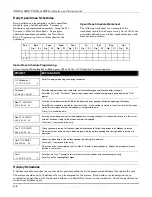
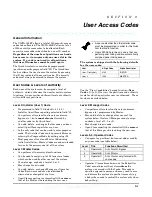
01 Active time ?
0
Enter the activation time from
1-10
(listed below). As the number is keyed in, the activation time is displayed.
The choices are:
1:
Trigger at the start of the window.
2:
Trigger at the end of the window.
3:
Take effect only for the duration of the window.
4:
Trigger at both the start and the end of the window. Example: coffee break buzzer.
5:
Random trigger, up to 30 minutes, after the start of the window.
6:
Random trigger, up to 30 minutes, after the end of the window.
7:
Take effect only for the duration of the window, but random start and end the window up to 30 minutes.
Press [
✳
] to accept entry.
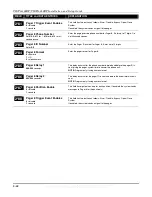
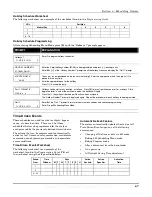
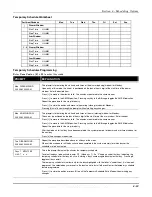
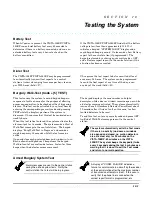
Days ? MTWTFSSH
Hit 0-8 x x
The system then asks for which days the event is to be activated.
Press
0
to toggle all days on or off; or press keys
1-8
to toggle the letter “x” under the day on or off (Monday =
1, Holiday = H = 8).
When all entries have been made, the “TIMED EVENT #?” prompt is displayed again.
Repeat the procedure for each timed event for the installation.
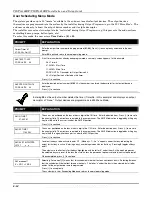
Quit ?
1 = YES 0 = NO
0
Enter
0
at the “Quit ?” prompt to return to the main menu choices and continue programming. Enter
1
to quit
Scheduling Menu Mode.
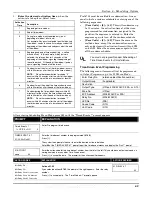
Limitation of Access Schedules
Limitation of Access is a means by which a user’s
access code is limited to working during a certain
period of time. The system provides 8 Access
Schedules, each of which consists of two time windows
for each day of the week and two time windows for
holidays (typically, one for an opening time window
and the second for a closing time window). A user,
required to follow a schedule, would be assigned to an
access group of the same number (e.g., schedule 1=
group 1).
The user’s access code is assigned to a group when that
user is added to the system. If no limitations apply,
enter
0
.
WWW.DIYALARMFORUM.COM
WWW.DIYALARMFORUM.COM

