Wireless Alarm Bar Installation Guide
8
3.1.
Wireless Alarm Bar Mounting
Make sure that there is approximately 12" (30 cm) of clearance on all sides of the Wireless Alarm
Bar so that the horn’s sound is not attenuated and to ensure clear view of the two visible alarm
lights.
3.1.1.
Mounting The Wireless Alarm Bar
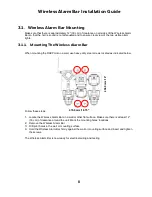
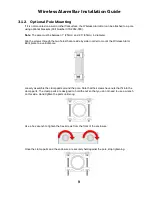
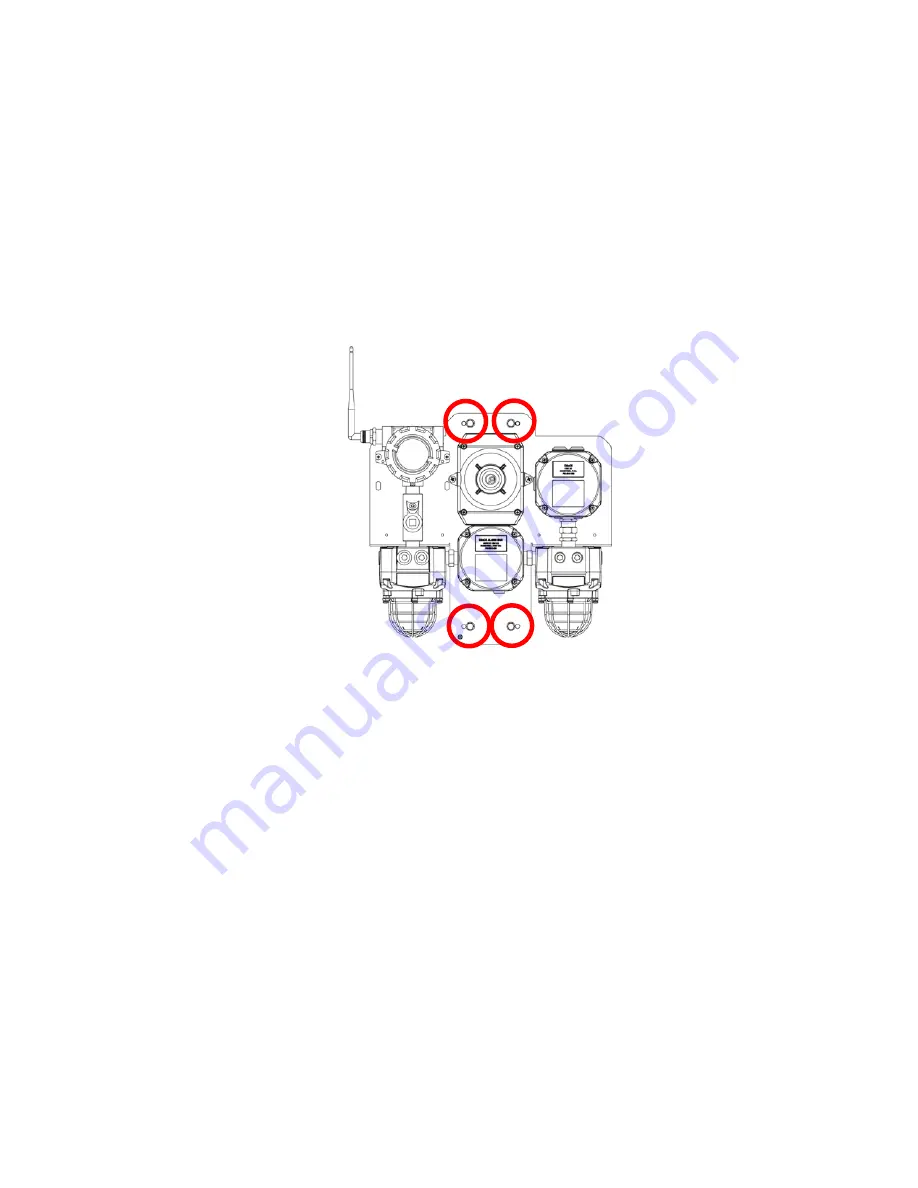
When mounting the RAEPoint on a wall, use heavy-duty steel screws located as indicated below.
Follow these steps:
1.
Locate the Wireless Alarm Bar on a wall or other flat surface. Make sure there is at least 12”
(30 cm) of clearance around the unit. Mark the mounting holes’ locations.
2.
Remove the Wireless Alarm Bar.
3.
Drill pilot holes in the wall or mounting surface.
4.
Hold the Wireless Alarm Bar firmly against the wall or mounting surface and insert and tighten
the screws.
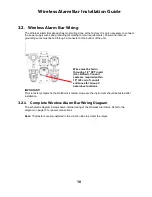
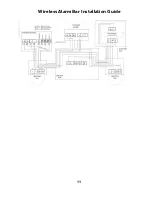
The Wireless Alarm Bar is now ready for electrical wiring and testing.
4
56.
0 m
m
/18
″
476.0 mm/18.75
″


