
9
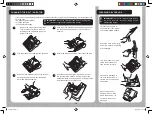
Lift the tab on the exhaust filter cover grille and
remove from the cleaner.
Wash the exhaust filter under hand warm water
until the water runs clean. Remove excess water
by shaking and leave to dry for 24 hours.
Refit filter only when completely dry.
DO NOT USE HOT WATER OR
DETERGENTS.
Remove the exhaust filter.
CLEANING THE EXHAUST FILTER
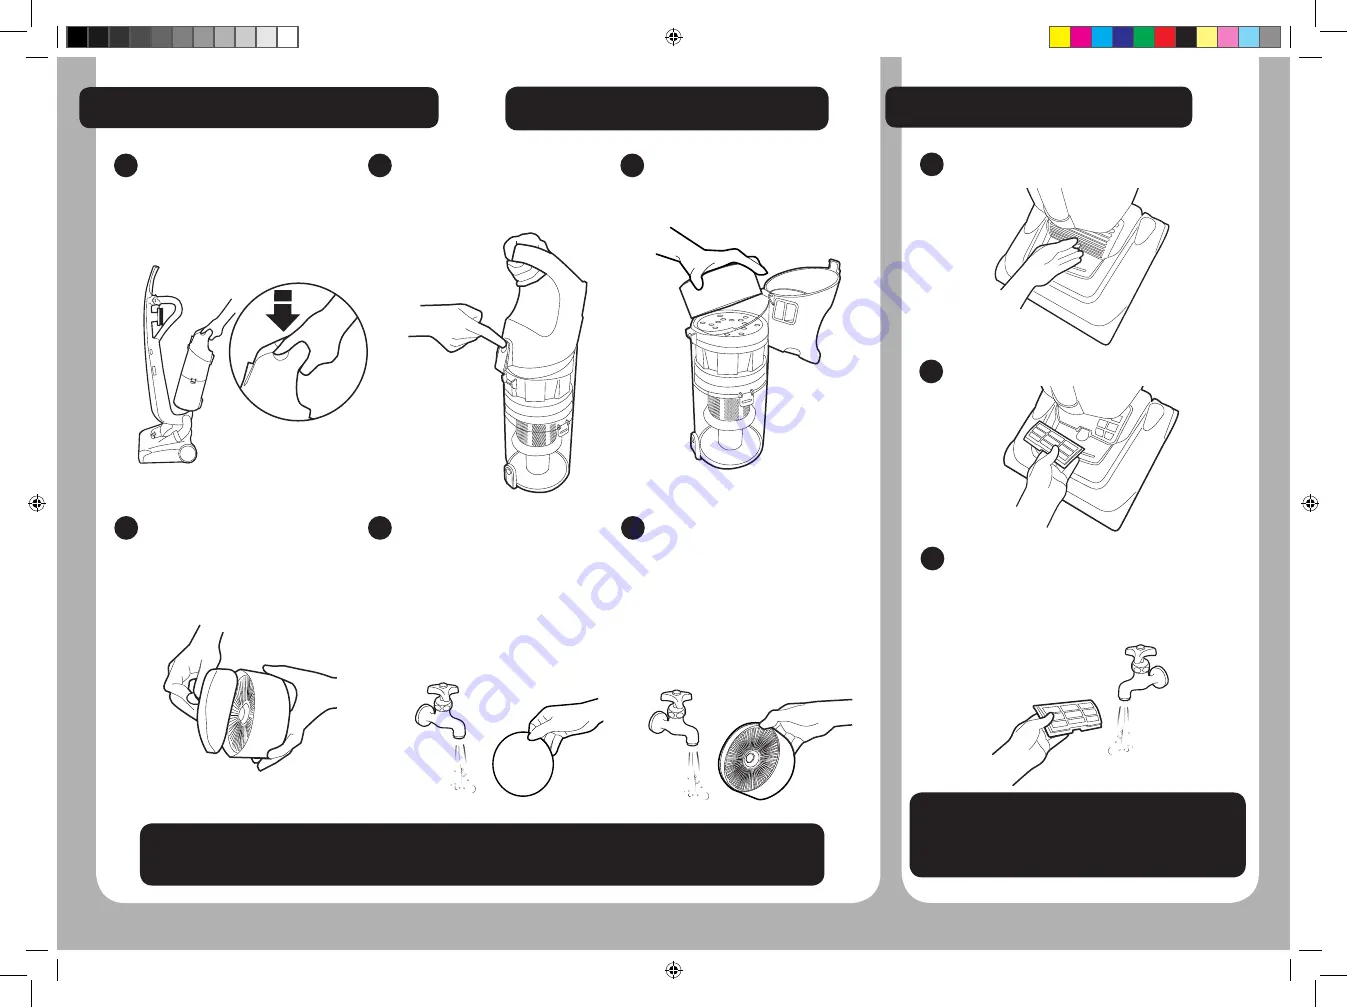
CLEANING THE PRE MOTOR FILTERS
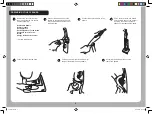
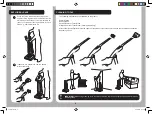
Press the bin release buttons
and remove the dust bin from
the cleaner.
Remove the pet hair remover
turbo brush from the top cover
of the cleaner.
1
1
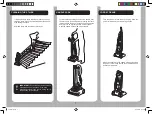
Place the bin on a flat surface
and press the filter access
button to open the top cover of
the bin.
2
2
Remove the BLUE filter pack
(containing the HEPA and foam
filter).
3
3
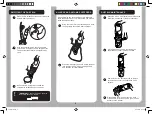
Separate the GREY foam filter
from the BLUE HEPA filter pack
using the tab provided.
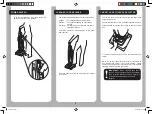
Gently tap both filters against
the side of a bin to release
excess dust.
Wash the GREY foam filter
thoroughly under hand warm
water until the water runs
clean.
Remove excess water by
shaking and leave to dry for
24 hours.
DO NOT USE HOT WATER
OR DETERGENTS.
4
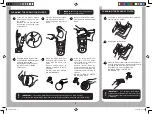
Wash the BLUE HEPA filter
thoroughly from the inside
under hand warm water until
the water runs clean.
Remove excess water by
shaking and leave to dry for 24
hours. When completely dry
reassemble and refit filters to
cleaner.
DO NOT USE HOT WATER
OR DETERGENTS.
6
5
!
IMPORTANT!
For optimum performance,
always keep your filters clean.
!
!
!
IMPORTANT!
For optimum performance,
always keep your filters clean. We recommend
that the exhaust filter should be washed every
3 MONTHS.
IMPORTANT!
For optimum performance, shake off excess dust from the filters regularly.
We recommend that the GREY foam filter and the BLUE hepa filter are washed every 3 MONTHS.
!
!
Freedom IM.indd 9
01/06/2008 07:54:38


