
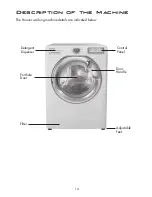


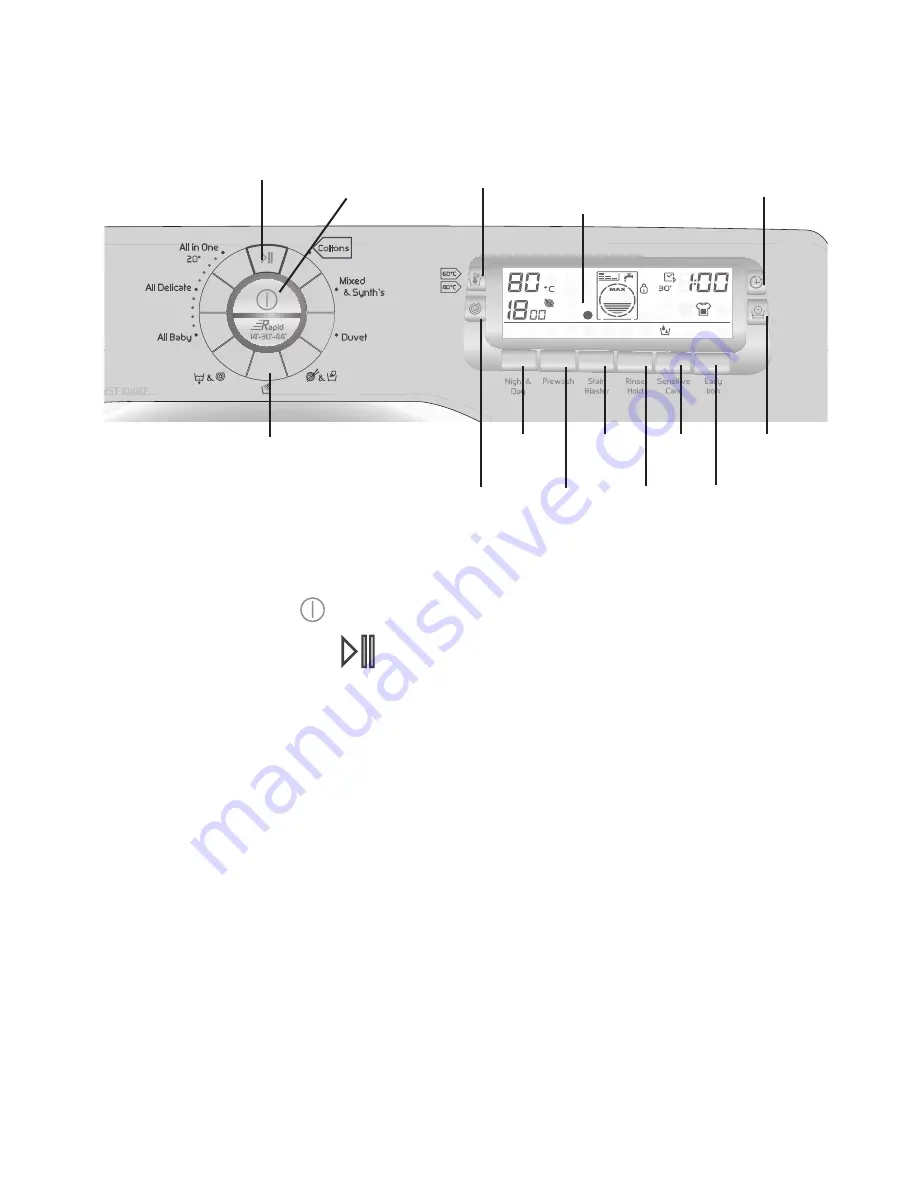
The Control Panel
Turning the Machine On
Pressing the ON/OFF ( ) button will turn the machine on.
Start Pause Button
START
After selecting the programme and the required options press the Start Pause button
once to start the wash cycle. There will be a short time delay to the start of the
programme while the machine sets the wash parameters for the selected programme
and options. The Door Locked and KG Mode indicator lights will also illuminate a few
seconds after pressing the Start Pause button.
In some programs in the initial phase of the cycle there are planned spin sequences to
ensure optimal wash results.
PAUSE
The programme may be paused at any time during the wash cycle by holding down
the Start Pause button for about two seconds. The door locked indicator light will
remain illuminated for approximately 2 minutes. The door can be opened when this
indicator goes out. To restart the programme, press the Start Pause button once again.
Cancelling and Changing the Programme
To cancel the programme hold down the START/PAUSE button for about five seconds.
Select a new programme and start as detailed above.
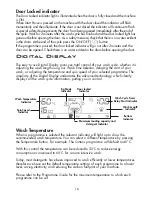
Temperature
Button
15
LCD
Display
Delay Start
Button
Start/Pause
Button
On/Off
Button
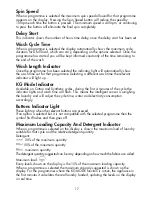
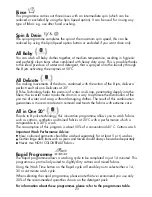
Night
& Day
Stain
Blaster
Sensitive
Care
Pre
Wash
Rinse
Hold
Easy Iron
Wash Time
Button
Programme
Buttons
Spin Speed
Button
20°
40°C
60°C
Cottons


