DeltaMyc Operation Manual J810018 (7 Oct 2014)
Operation
3-4
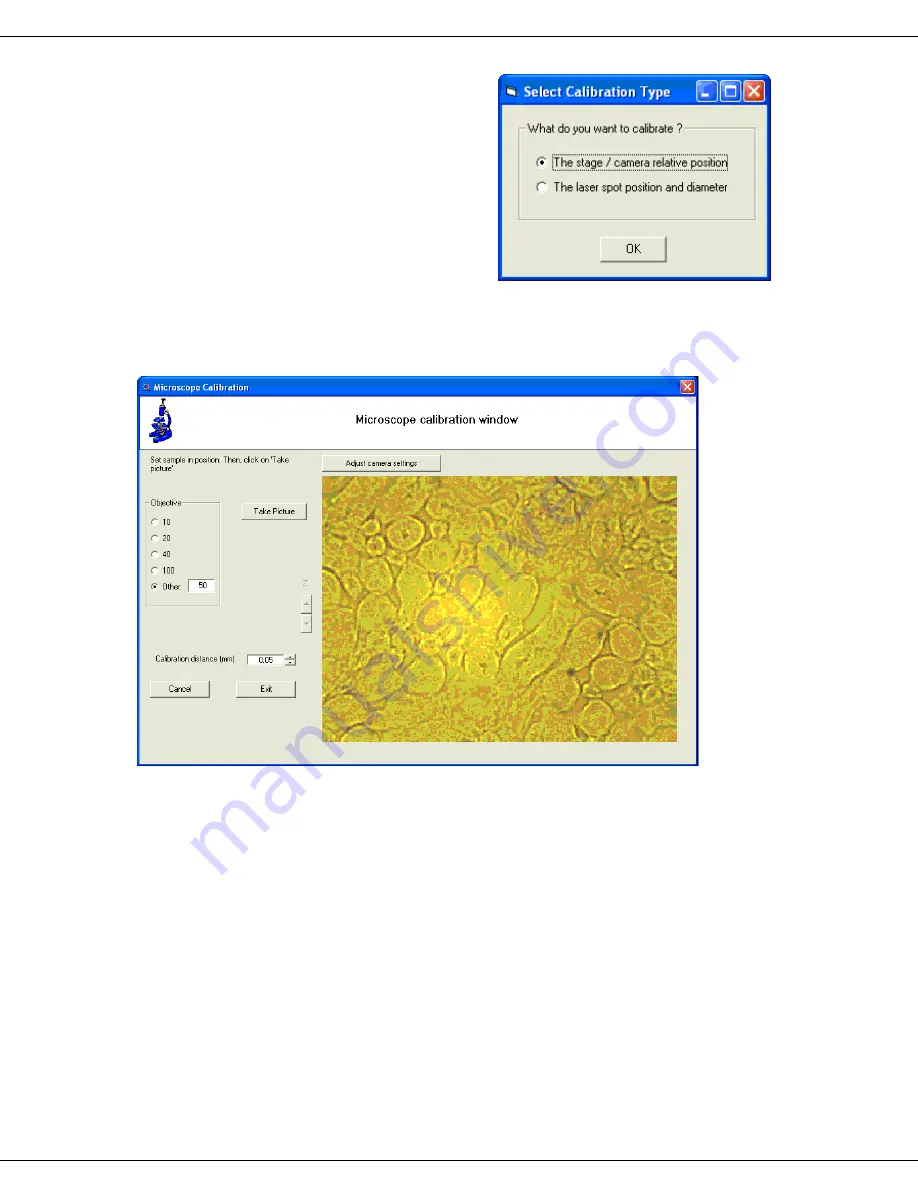
When running the calibration procedure, de-
pending on your system configuration, you may
be able to choose which calibration you wish to
run as per on the hardware changes which have
been carried out (Fig. 12), in the
Select Calibra-
tion Type
window. On certain systems, the se-
cond calibration can be accessed by clicking on
Video calibration in the hardware tree.
Fig. 12.
Select Calibration Type
window.
Calibration of stage/camera relative position
The
Microscope Calibration
window is shown in figure 13, and the calibration proce-
dure is detailed below:
Fig. 13.
Microscope Calibration
window.
For this step, the motorized stage moves a small distance and the user should locate on
the screen how much the picture has “moved”. To do this, identify a particular feature
on your sample. This is the reference point. Then, the motorized stage moves. You in-
dicate the new location of the reference point on the picture by clicking on it.
1
Place a sample under the microscope.
2
With the joystick, move the sample using the
motorized stage until you can see the image of
an appropriate part of the sample.


