background image


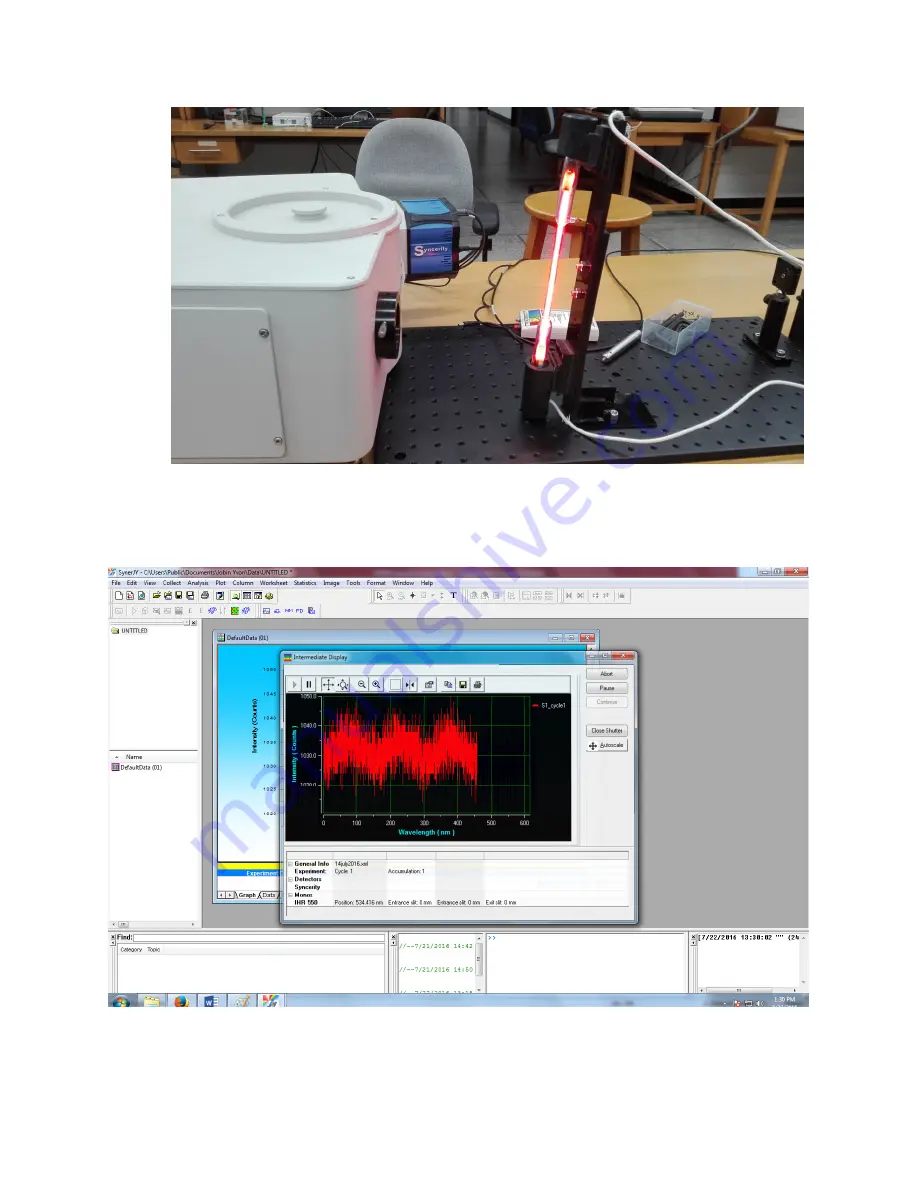
  Once all the setting are configured, simply click the ‘Run’ button. The 

spectrometer will then take measurements.  


  Shown is a ‘dark’ reading where the entrance slit is closed.


Summary of Contents for ihr550

Page 1: ...avelength spectrum measurement Install the pre requisite software First should be the USB spectrometer utilities This initializes the spectrometer and controls only the spectrometer not any attached detectors such as the Syncerity CCD camera or external mirrors and appendages In the case of this particular setup the spectrometer can be initialized and only the front entrance slit and Grating turre...

Page 2: ...he Initialize button If the spectrometer is being configured for the first time click the Add button and select the iHR550 option the 550 refers to its 55cm focal length and click Next Proceed through the options until you get to the spectrometer s details window enter the relevant details found on the back of the spectrometer or in the official operation manual ...

Page 3: ...tor SYNERJY is the overall spectrometer system s control software It interfaces synchronizes and operates the spectrometer along with associated detectors in this case the Syncerity Open SynerJY It will only launch and work if the USB hardware key a DRM USB provided alongside the spectrometer is plugged into the computer Click Collect System Reinitialization System Reinitialization ...

Page 4: ... Select the configuration the iHR550 Syncerity in this case or just wait for it to do it itself The New Experiment window will open up ...

Page 5: ...hutter should open with a clicking sound If it does not do that via software flip the switch on the Sdrive 500 Shutter control unit device This is very important for the entrance shutter must be open for any light to be collected by the spectrometer This shutter is different from the one on the exit slit s detector the Syncerity in this case The spectrometer s slit height should then be selected T...

Page 6: ...e slit of the spectrometer The SL2 lamp s output is extremely faint which is why it was placed very close to the monochromator s slit Optimizing this distance is important for the detector can saturate and give inaccurate results if the input intensity is too great Stray light is also to be avoided thus overhead lights should be turned off The neon spectrum tube was placed at distances ranging fro...

Page 7: ... Once all the setting are configured simply click the Run button The spectrometer will then take measurements Shown is a dark reading where the entrance slit is closed ...

Page 8: ...ent notes that can be used for later reference Shown now is a spectrum measurement with the electromechanical shutter entrance and exit slits all open at specific dimensions the setup is the neon spectrum tube described above with a grating with a groove density of 1200gr mm ...

Page 9: ... simply select Image instead of spectrum in the Experiment setup window This will only work for a specific narrow band around a center wavelength The width of the band can be varied slightly by changing the grating used in the Monos tab that allows you to modify monochromator settings but not too much The result of such an acquisition is shown below the setup was of a neon spectrum tube exactly th...

Page 10: ...ectral image is simple the CCD takes an exact image or picture of the grating seperated light falling on it The horizontal pixels correspond to wavelengths and the colour corresponds to the number of photons detected by the camera ...

Reviews: