18
INTRODUCTION
IMPORT
ANT
PRECAUTIONS
ASSEMBL
Y
BEFORE
YOU
BEGIN
TREADMILL
OPERA
TION
LIMITED
W
ARRANTY
TROUBLESHOOTING
&
MAINTENANCE
CONDITIONING
GUIDELINES
19
INTRODUCTION
IMPORT
ANT
PRECAUTIONS
ASSEMBL
Y
BEFORE YOU
BEGIN
TREADMILL OPERA
TION
CONDITIONING GUIDELINES
TROUBLESHOOTING &
MAINTENANCE
LIMITED WARRANTY
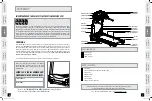
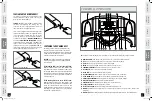
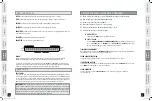
SPEED
•
Shown as MPH. Indicates how fast your walking or running surface is moving.
TIME •
Shown as Minutes:Seconds. View the time remaining or the time elapsed in your workout.
INCLINE •
Shown as Percent. Indicates the incline of your walking or running surface.
DISTANCE •
Shown as Miles. Indicates distance traveled during your workout.
HEART RATE
• Shown as Beats Per Minute. Used to monitor your heart rate (displayed when contact is
made with both pulse grips).
CALORIES •
Total Calories burned during your workout.
ODOMETER •
Logs User’s total accumulated distance.
MyView
™
Customize your display and see the feedback that matters most with the Sports Authority’s exclusive
MyView
™
display. MyView
™
allows you to view the feedback you need to reach your fitness goals.
To change the feedback metrics being displayed, select the “MyVIEW™ 1 or MyVIEW™ 2” button to toggle
between the feedback options. The indicator light to the left or right of the feedback options indicates which
feedback is currently displayed including Time, Distance, Calories, Pace and Heart Rate.
PULSE GRIPS
Place the palm of your hands directly on the grip pulse handlebars. Both hands must grip the bars for your heart
rate to register. It takes 5 consecutive heart beats (15-20 seconds) for your heart rate to register. When gripping
the pulse handlebars, do not grip tightly. Holding the grips tightly may elevate your blood pressure. Keep a
loose, cupping hold. You may experience an erratic readout if consistently holding the grip pulse handlebars.
Make sure to clean the pulse sensors to ensure proper contact can be maintained. (See page 29).
IMPORTANT:
The heart rate function on this product is not a medical device. While heart rate grips can
provide a relative estimation of your actual heart rate, they should not be relied on when accurate readings
are necessary. Some people, including those in a cardiac rehab program, may benefit from using an alternate
heart rate monitoring system like a chest or wrist strap. Various factors, including movement of the user, may
affect the accuracy of your heart rate reading. The heart rate reading is intended only as an exercise aid in
determining heart rate trends in general. Please consult your physician.
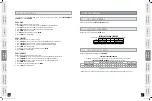
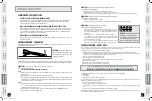
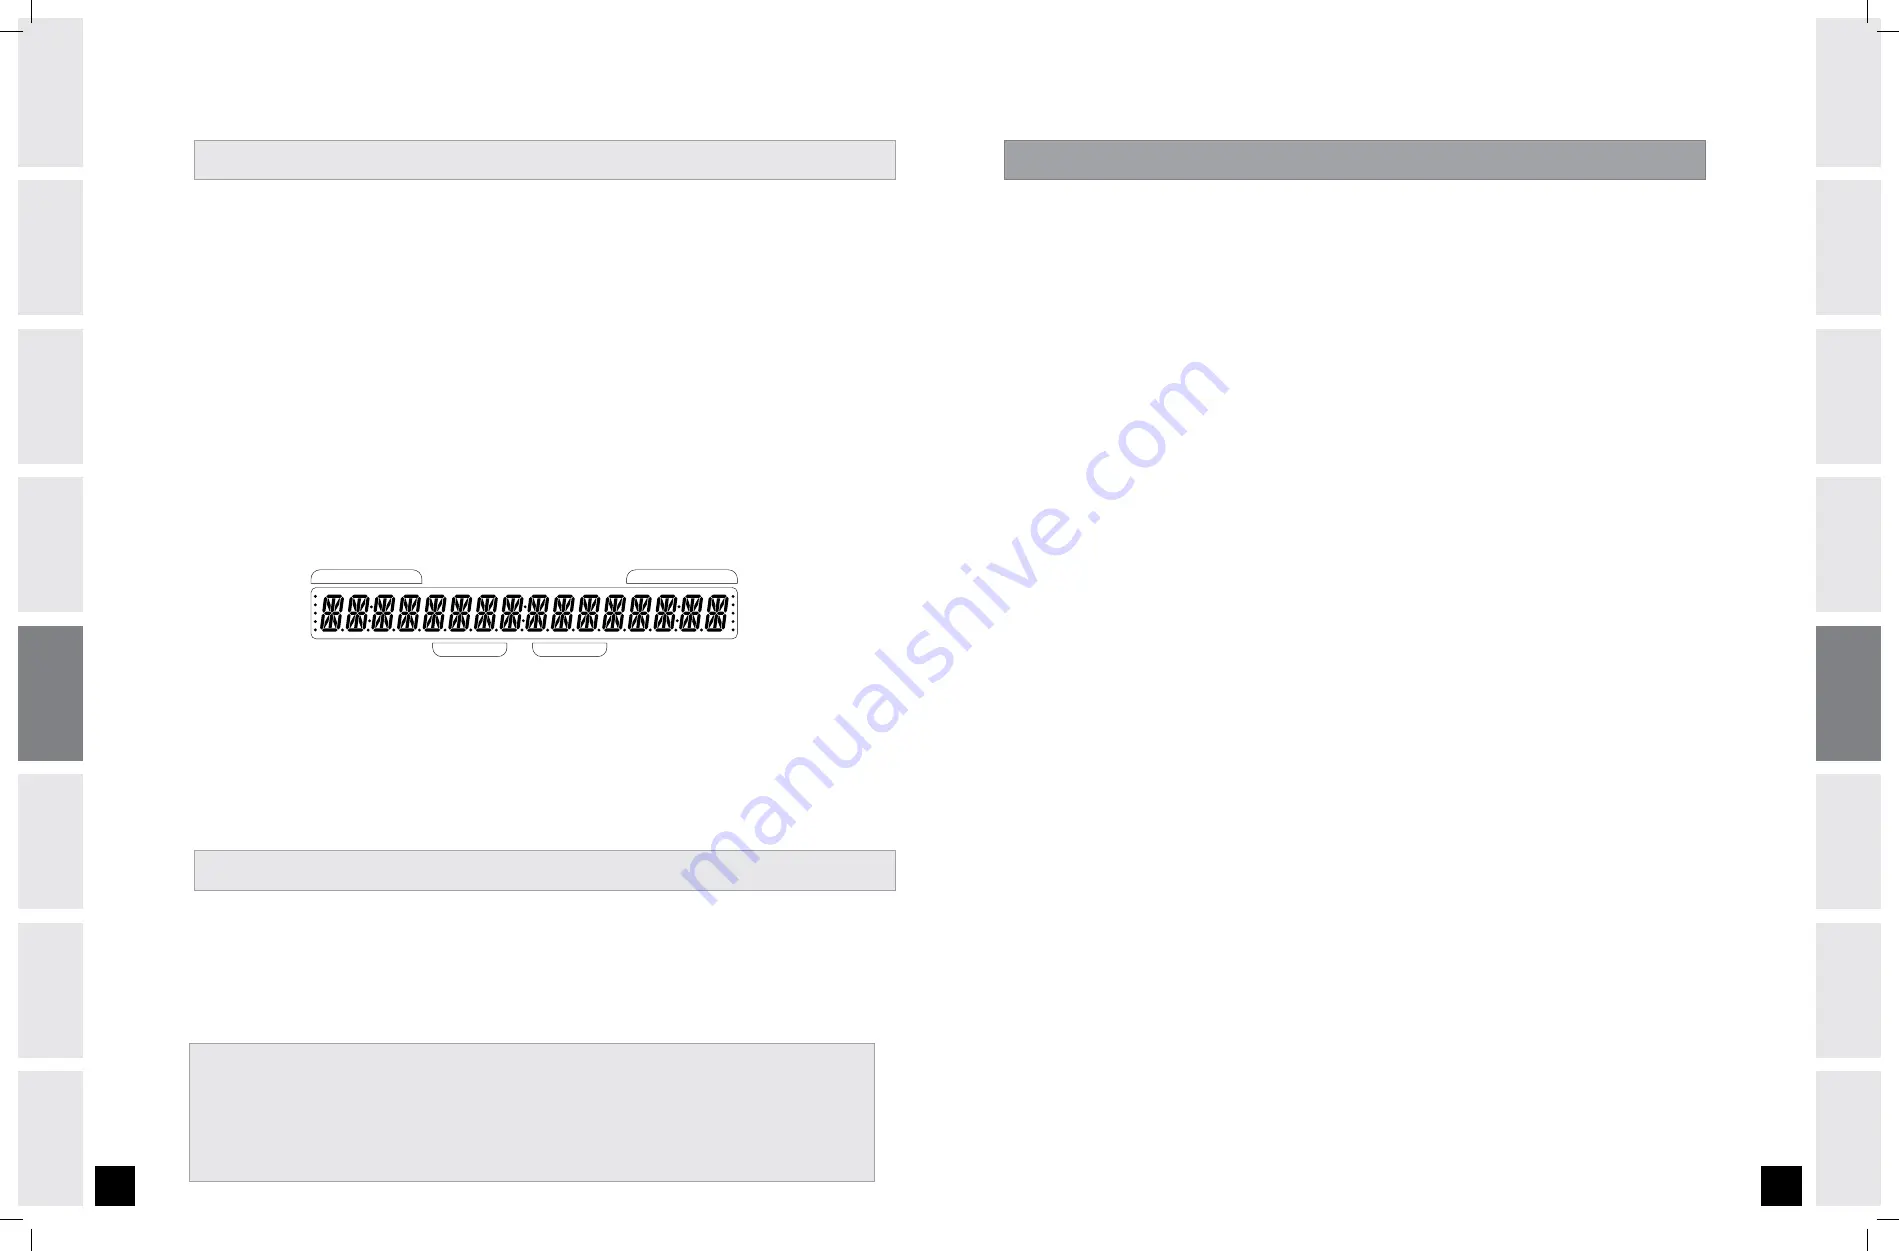
MONITOR DISPLAY
HEART RATE
M Y V I E W
™
2
TIME
DISTANCE
ODOMETER
CALORIES
PACE
HEART RATE
M Y V I E W
™
1
S P E E D
I N C L I N E
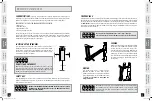
Check to make sure nothing is on or will hinder the movement of the treadmill.
Plug in the power cord and turn the treadmill ON.
Stand on the side rails of the treadmill.
Attach the safety key clip to part of your clothing.
Insert the safety key into the safety keyhole in the console.
You have two options to start your workout:
QUICK START UP
Simply press the
START
key to begin working out. OR…
SELECT A GOAL
Press the
QUICK PROGRAM KEYS
or
UP/DOWN ARROW KEYS
to toggle between the goal of your
choice, either
TIME
, number of
CALORIES
or a certain
DISTANCE
. Press
ENTER
to choose goal.
(Refer to Goal Programming Section on next page for more details.)
FINISHING YOUR WORKOUT
When your workout is complete, the
MONITOR DISPLAY
will flash and beep. Your workout information will
stay displayed on the console for 30 seconds and then reset.
CLEAR CURRENT SELECTION
To clear the current program selection or screen, hold the STOP button for 4-5 seconds.
SCAN VIEWING SCREENS
To have the display screen switch continually between display options, hold the
ENTER
button for 5 seconds.
Press
ENTER
one additional time to turn off scan feature.
CLEAR ODOMETER
The user can press and hold the
INCLINE
KEYS
for 10 seconds before a program is running to
reset the odometer.
GETTING STARTED / SELECTING A PROGRAM
1)
2)
3)
4)
5)
6)
A)
B)
SC2250T_OM_Rev.1.0.indd 18-19
3/23/10 9:55 AM


