background image

6

INTRODUCTION

IMPORT

ANT

PRECAUTIONS

ASSEMBL

Y

BEFORE

YOU 
BEGIN

TREADMILL

OPERA

TION

LIMITED

W

ARRANTY

TROUBLESHOOTING

MAINTENANCE

CONDITIONING

GUIDELINES

7

INTRODUCTION

IMPORT

ANT

PRECAUTIONS

ASSEMBL

Y

BEFORE YOU 

BEGIN

TREADMILL OPERA

TION

CONDITIONING GUIDELINES

TROUBLESHOOTING & 

MAINTENANCE

LIMITED WARRANTY

ASSEMBLY

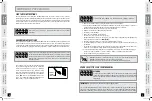
IMPORTANT: READ THESE SAFETY INSTRUCTIONS BEFORE USE!

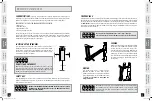
During the assembly process of the treadmill there are several areas that special attention must be paid. 

It  is  very  important  to  follow  the  assembly  instructions  correctly  and  to  make  sure  all  parts  are  firmly 

tightened. If the assembly instructions are not followed correctly, the treadmill could have frame parts that 

are not tightened and will seem loose and may cause irritating noises. There should be no side-to-side play 

in the console masts or any forward and back play in the console assembly or handlebars. If there is any 

play in these areas, the treadmill has not been properly assembled. To prevent damage to the treadmill, the 

assembly instructions must be reviewed and corrective actions should be taken.

UNPACKING

Place the treadmill carton on a level flat surface. It is recommended that you place a protective covering on 

your floor. Take CAUTION when handling and transporting this unit. Never open box when it is on its side. 

Once the banding straps have been removed, do not lift or transport this unit unless it is fully assembled 

and in the upright folded position, with the lock latch secure. Unpack the unit where it will be used. The 

enclosed treadmill is equipped with high-pressure shocks and may spring open if mishandled. Never grab 

hold of any portion of the incline frame and attempt to lift or move the treadmill. FAILURE TO FOLLOW THESE 

INSTRUCTIONS COULD RESULT IN INJURY! 

It is estimated that assembly will take one person a total of 45 minutes to complete.

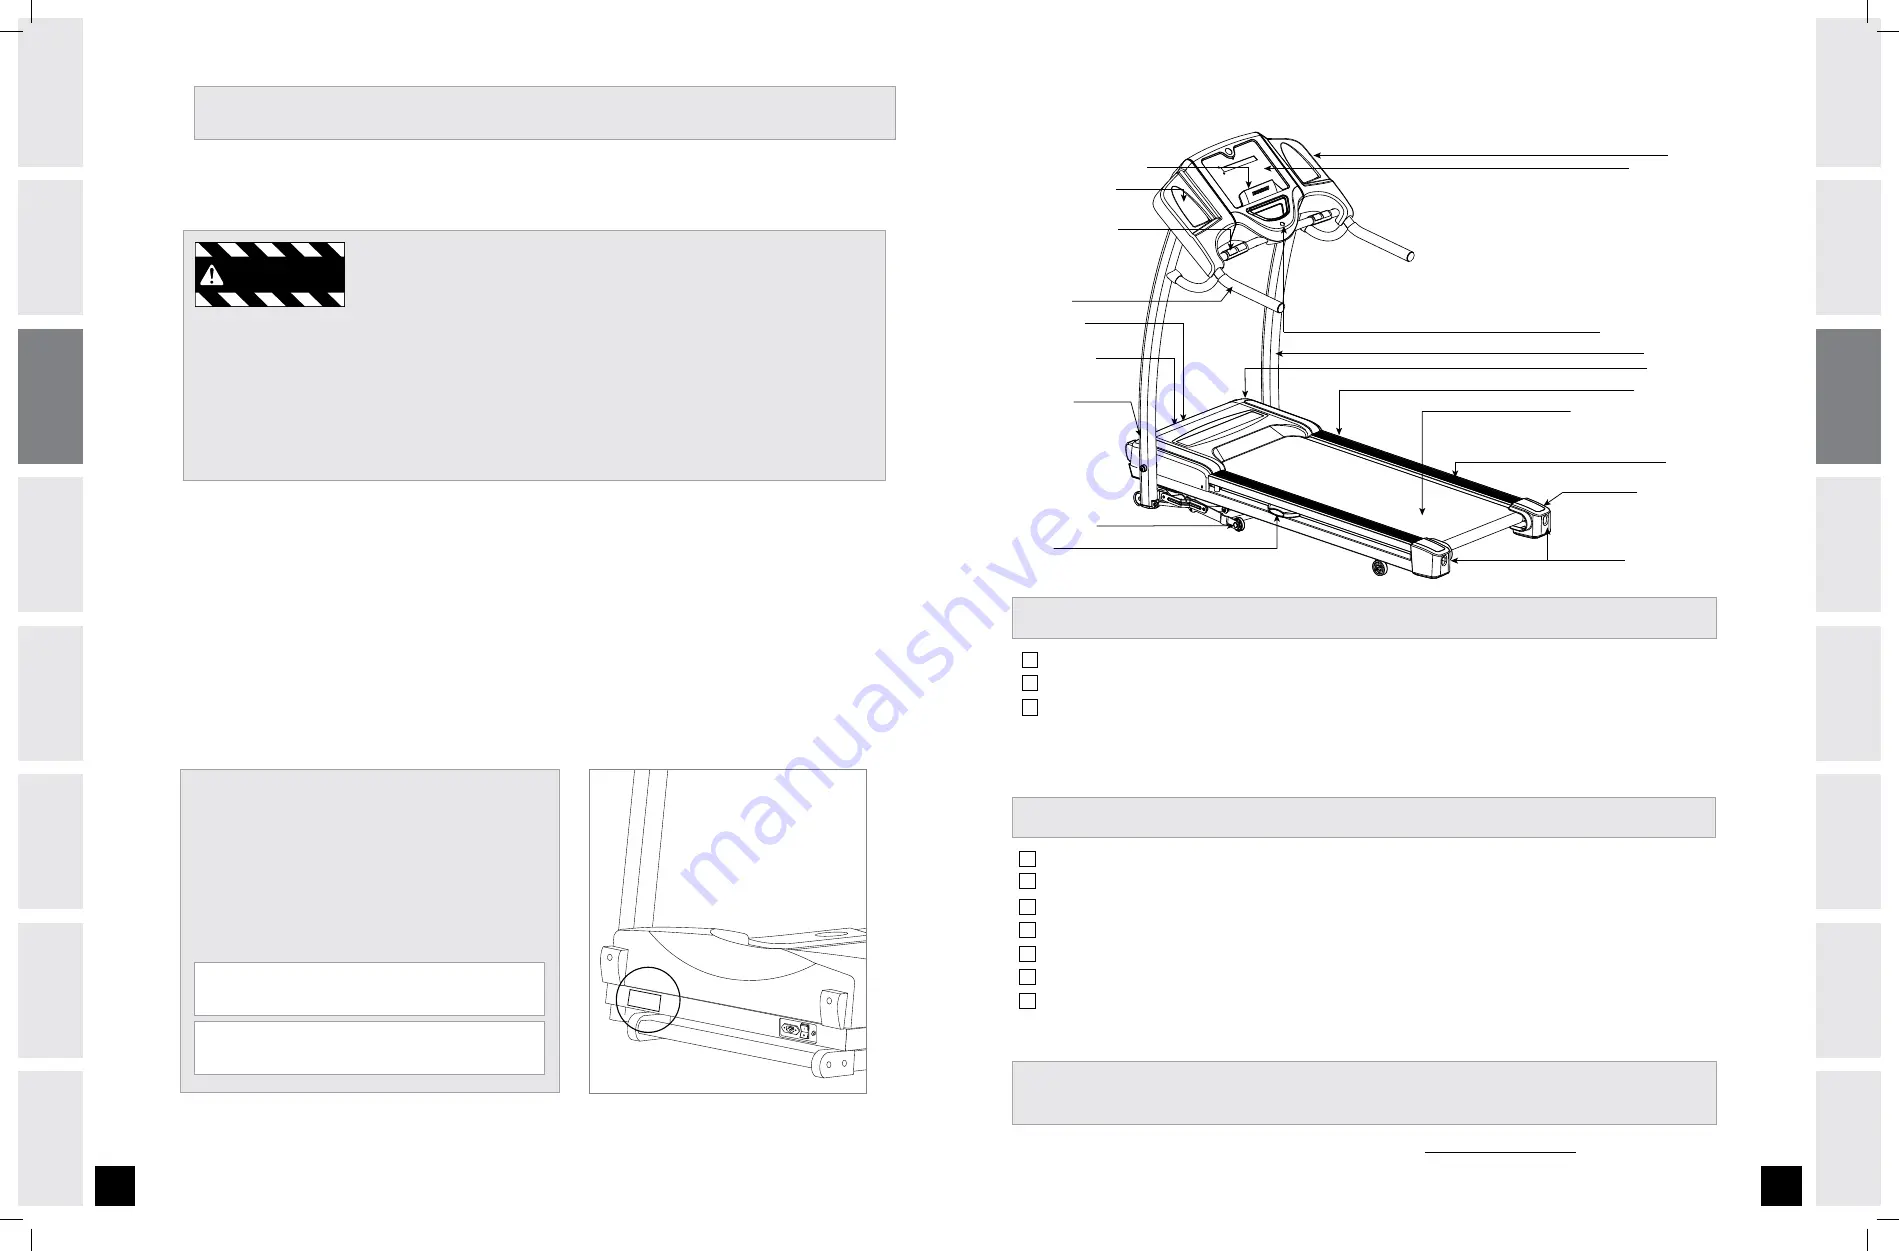
Before proceeding, find your treadmill’s serial number 

and  model  name  located  to  the  left  of  the  on/off 

power switch and power cord and enter it in the space 

provided below.

ENTER  YOUR  SERIAL  NUMBER  AND 

MODEL NAME IN THE BOxES BELOW:

 SERIAL NUMBER :

 MODEL NAME:

* Refer to the SERIAL NUMBER and MODEL NAME when calling for service.

* Also enter this serial number on your Warranty Card.

WARNING

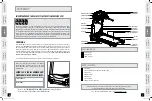
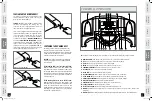
READING RACK / MP3 STORAGE

WATER BOTTLE HOLDER

GRIP PULSE HANDRAILS

ON/OFF SWITCH

CIRCUIT BREAKER

TRANSPORT WHEEL
AIR CELL 

HANDLEBARS

POWER CORD

CONSOLE

If you have questions or if there are any missing parts, contact Customer Tech Support.

Contact information is located on the back panel of this manual.

For a complete exploded diagram, visit us at www.horizonfitness.com

TOOLS INCLUDED

PARTS INCLUDED

1 Safety Key
1 Console Assembly (located under treadmill deck)
1 Power Cord
4 Hardware Bags
2 Handlebars
2 Console Masts
1 Bottle of Silicone Lubricant

5 mm T-wrench
6 mm T-wrench
10 mm L-wrench

CONSOLE

TOUCH PAD PANEL

SAFETY KEY PLACEMENT

FOOT LOCK LATCH

RUNNING BELT / RUNNING DECK

SIDE RAIL

ROLLER END CAP

CONSOLE MAST

REAR ROLLER

ADJUSTMENT BOLTS

MOTOR COVER

SC2250T_OM_Rev.1.0.indd   6-7

3/23/10   9:54 AM

Summary of Contents for 29999

Page 1: ...HORIZON SERIES TREADMILL USER S GUIDE FOR MODEL SC2250T 29999 SC2250T_OM_Rev 1 0 indd 1 3 23 10 9 54 AM...

Page 2: ...need to get stronger and healthier faster Because we re committed to designing fitness equipment from the inside out we use only the highest quality components It s a commitment we back with one of t...

Page 3: ...IMPORTANT The treadmill is not compatible with GFCI equipped outlets It is essential that your treadmill is used only indoors in a climate controlled room If your treadmill has been exposed to colder...

Page 4: ...the upright folded position with the lock latch secure Unpack the unit where it will be used The enclosed treadmill is equipped with high pressure shocks and may spring open if mishandled Never grab...

Page 5: ...R B BOLT A LEFT CONSOLE MAST BOLT D MAIN FRAME LEFT LINKAGE ARM FLAT WASHER E WAVY WASHER F ELEVATION FRAME A Open HARDWARE BAG 1 B Cut banding straps Do not move or lift treadmill from packaging C Mo...

Page 6: ...h to attach RIGHT LINKAGE ARM C Cut band holding FOOT LOCK LATCH assembly Lift the running deck until lock latch on side of treadmill is fully engaged D Remove console from box and place out of the wa...

Page 7: ...RE BAG 4 B Attach LEFT HANDLEBAR to CONSOLE using 2 SCREWS I C Repeat on other side ASSEMBLY STEP 4 CONTINUED YOU RE FINISHED POWER SWITCH CIRCUIT BREAKER Connect power plug to the treadmill and conne...

Page 8: ...his safety key is designed to cut the power to the treadmill if you should fall Check the operation of the safety key every 2 weeks NEVER USE THE TREADMILL WITHOUT SECURING THE SAFETY KEY CLIP TO YOUR...

Page 9: ...EVER TURN the roller bolts more than 1 4 turn at a time Belt is properly tensioned when the slipping sensation is gone NOTE There is a thin protective sheet of clear plastic on the overlay of the cons...

Page 10: ...ge 29 IMPORTANT The heart rate function on this product is not a medical device While heart rate grips can provide a relative estimation of your actual heart rate they should not be relied on when acc...

Page 11: ...elect a distance based goal with speed Intervals 3 Press DISTANCE key again to select a distance based goal with Foot Hills terrain 4 Press ENTER key to select program 5 Set distance using the arrow k...

Page 12: ...your treadmill to prepare for a 5K run you will probably work out at a higher intensity than if your goal is general fitness Regardless of your long term goals always begin an exercise program at low...

Page 13: ...eart rate into your Target Heart Rate Zone COOL DOWN Never stop exercising suddenly A cool down period of 3 5 minutes allows your heart to readjust to the decreased demand Make sure that your cool dow...

Page 14: ...Y FRIDAY SATURDAY DATE DISTANCE CALORIES TIME COMMENTS WEEK WEEKLY GOAL WEEKLY TOTALS DAY SUNDAY MONDAY TUESDAY WEDNESDAY THURSDAY FRIDAY SATURDAY DATE DISTANCE CALORIES TIME COMMENTS MONTH MONTHLY GO...

Page 15: ...t are occurring Some troubleshooting questions that may be asked are How long has this problem been occurring Does this problem occur with every use With every user If you are hearing a noise does it...

Page 16: ...125 kg 275 lbs FRAME LIFETIME Horizon Fitness warrants the frame against defects in workmanship and materials for the lifetime of the original owner The frame is defined as the welded metal base of th...

Page 17: ...know if you have a problem and we want to have an opportunity to correct it for you Note Please read the troubleshooting section before contacting Customer Tech Support To receive additional product...

Reviews: