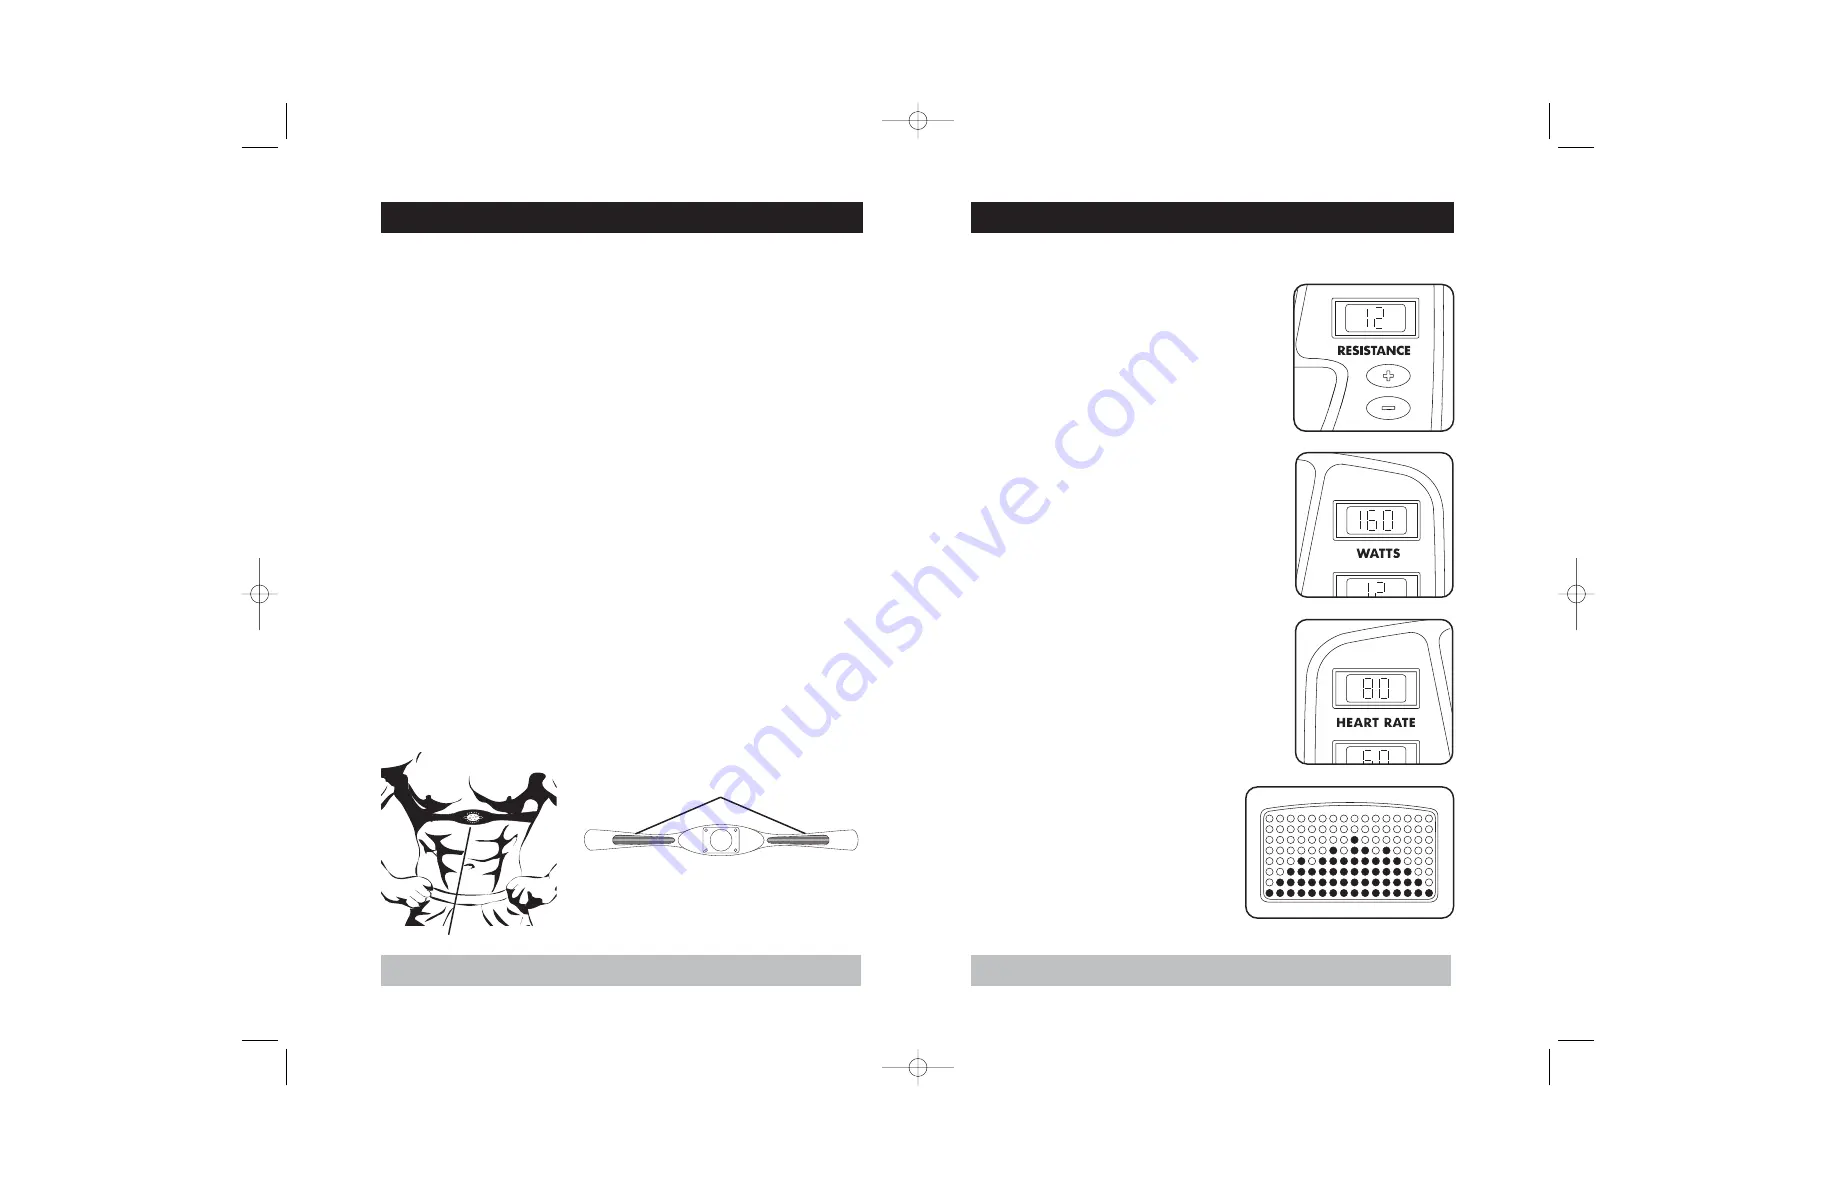
RESISTANCE
During a workout, the amount of resistance can be adjusted
by pressing the plus (+) or minus (-) buttons on the console.
The resistance levels vary from level 1 to 16 (level 1 being
the easiest and level 16 being the most difficult).
WATTS
A measurement of your expending energy. May be used to
evaluate and quantify your fitness progress over time.
HEART RATE
Shown as Beats per Minute. You can monitor your heart rate
at any time during your workout by holding the heart rate
grips or wearing the chest transmitter.
PROFILE
Allows you to view your program intensity while you
exercise. Each horizontal row of LED’s represents 2
resistance levels.
D I S P L A Y
U S I N G Y O U R T H R Z o n e
T M
P R O G R A M
Once the ‘THR Zone’ quick program key is selected (3.0R only), wait for 5 seconds and you will see
the target heart rate flashing in the Heart Rate window. Using the chart on page 21, determine your
target heart rate. Your target heart rate should be set at a number that you will be able to exercise
at throughout the majority of your workout. To adjust the target heart rate, press the up or down but-
tons.
Once you have chosen your target heart rate, wait for five seconds and you will see the time flash-
ing in the Time window. Press the up or down buttons to adjust your time. Once you choose your time,
press the 'Start' button and begin your workout.
The ‘THR Zone’ program will have a 5 minute warm up time before it will get you in your ‘target heart
rate zone’.
After the 5 minute warm up period, the resistance level will increase gradually to get the user to the
entered ‘target heart rate zone’. Once the user is at the ‘target heart rate zone’, plus or minus 5
beats, the resistance level will remain at the current resistance level.
The last 5 minutes of the program will begin the cool down period. At this time, the program will grad-
ually decrease the resistance level to give the
user a smooth cool down.
NOTE:
The Chest Strap Transmitter is required to use the ‘THR Zone’ program.
CHEST STRAP TRANSMITTER PLACEMENT AND
MOISTENING THE ELECTRODES
LOGO
APPLY MOISTURE HERE
BACKSIDE OF CHEST TRANSMITTER
19
ELITE
3.0R
16
ELITE
3.0R
elite series recumbent owner’s guidev1.1.qxd 10/13/2003 11:49 AM Page 17


