10
11
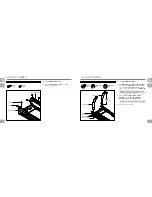
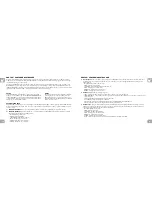
NOTE: Be careful not to pinch any wires while
assembling.
NOTE: Be careful not to pinch any wires while
assembling.
BOLT (J)
M8 x 20mm
Qty: 6
ARC WASHER (I)
Φ
8.2 x
Φ
16
Qty: 6
SPRING WASHER (B)
8.2 mm
Qty: 6
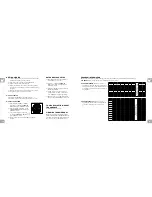
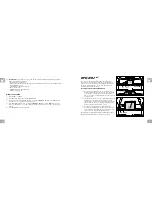
ASSEMBLY
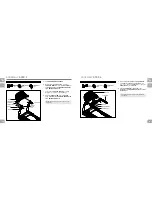
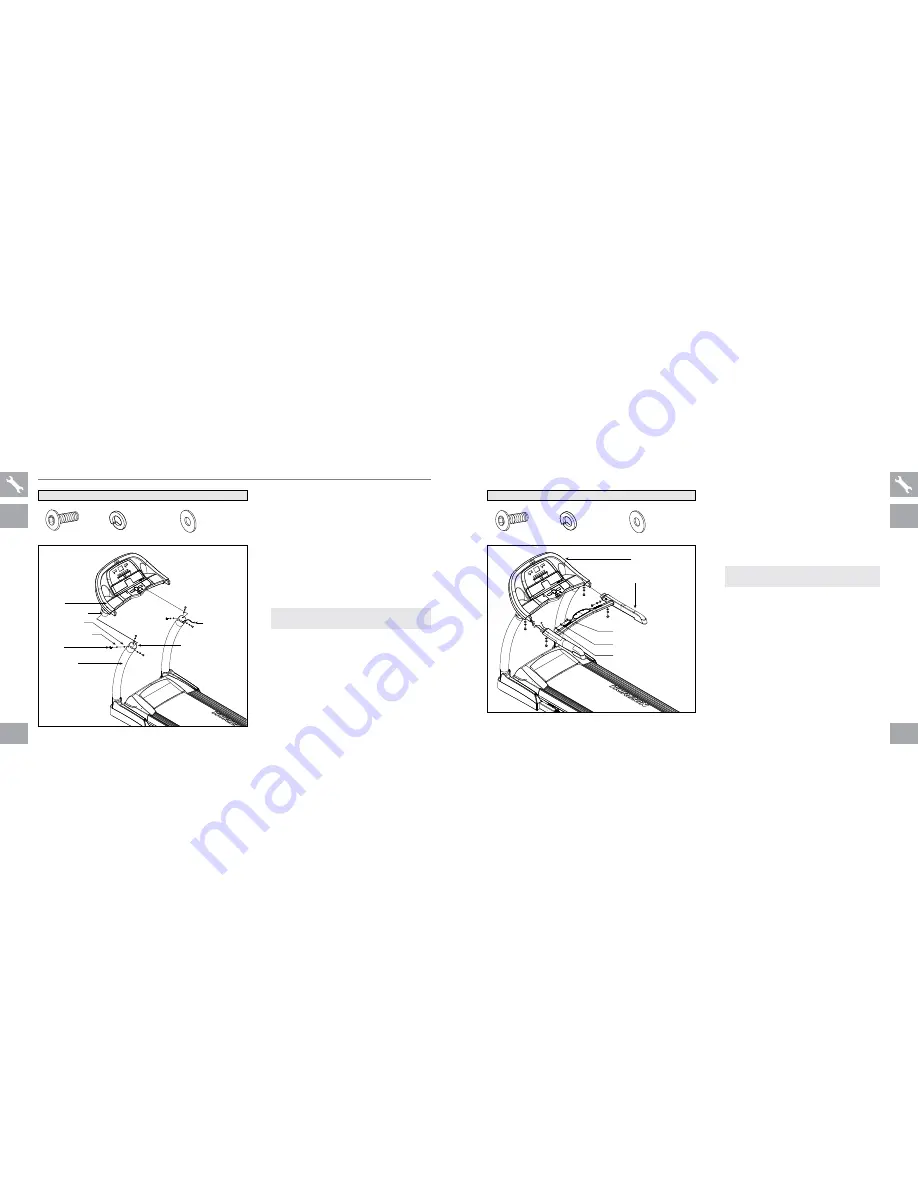
STEP 5
HARDWARE BAG 5
:
A
Open
hardware for step 5
.
B
gently place the
console
on top of the
console masts
. Attach the
left side
first
using 3
bolts (J)
, 3
spring washers (b)
and 3
arc washers (c)
.
C
Connect the
console cables
, carefully
tucking wires in masts to avoid damage.
D
Attach the
right side
of the
console
using 3
bolts (J)
, 3
spring washers (b)
and 3
arc washers (c)
.
Elite
T
5000
BOLTS (J)
SPRING WASHERS (B)
ARC WASHERS (C)
CONSOLE MAST
ASSEMBLE
THIS SIDE
FIRST
CONSOLE MAST CAP
CONSOLE
CONSOLE CABLES
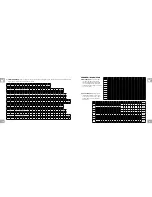
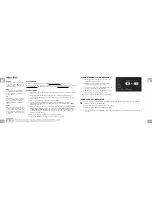
ASSEMBLY
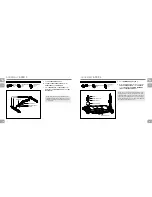
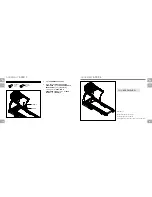
STEP 6
A Attach
console cables
from
handlebars
to
console cables
from
console
. gently
tuck excess cable into
console
before sliding the
handlebars
onto
console
.
B Attach
handlebars
to
console
using 6
bolts (h)
, 6
spring washers (b)
and 6
flat
wahsers (i)
.
HARDWARE foR STEP 6
:
Elite
T
5000
FLAT WASHERS (I)
SPRING WASHERS (B)
BOLTS (H)
HANDLEBARS
CONSOLE
BOLT (H)
M8 x 15mm
Qty: 6
FLAT WASHER (I)
Φ
8.2 x
Φ
16
Qty: 6
SPRING WASHER (B)
8.2 mm
Qty: 6


