background image

3

2

3 ENGLISH
10 FRANÇAIS
18 ESPAÑOL

ASSEMBLY

There are several areas during the assembly process that special attention must be paid. It is very important to follow the 

assembly instructions correctly and to make sure all parts are firmly tightened. If the assembly instructions are not followed 

correctly, the elliptical could have frame parts that are not tightened and will seem loose and may cause irritating noises. To 

prevent damage to the elliptical, the assembly instructions must be reviewed and corrective actions should be taken.

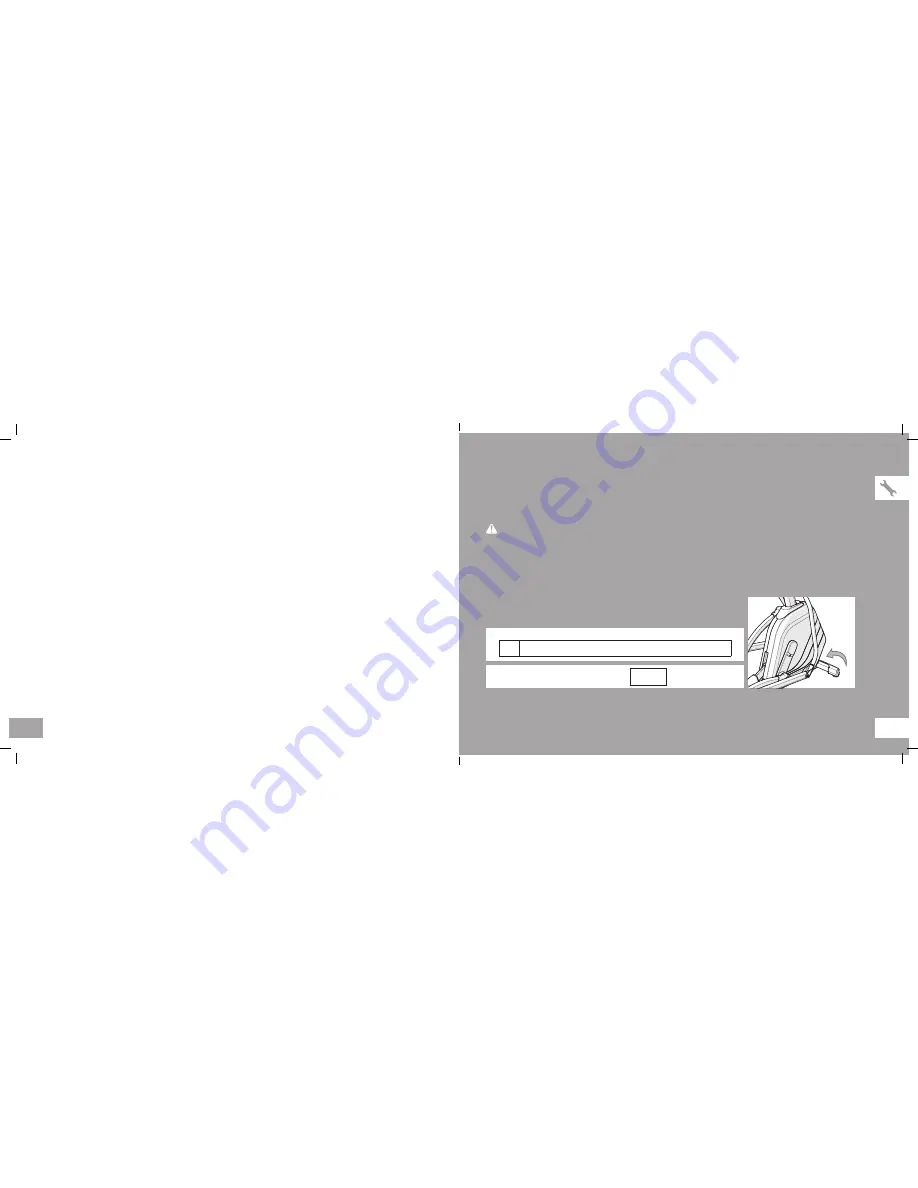
Before proceeding, find your elliptical’s serial number located on a white barcode 

sticker on the front stabilizer tube and enter it in the space provided below.

ENTER YOUR SERIAL NUMBER AND MODEL NAME IN THE BOXES BELOW:

» Refer to the SERIAL NUMBER and MODEL NAME when calling for service.

WARNING

SERIAL NUMBER:

EP

MODEL NAME: 

HORIZON EVOLVE                 ELLIPTICAL

SERIAL NUMBER LOCATION

HZ14_AG_Evolve_3_5_Rev1_1.indd   2-3

7/31/14   9:01 AM

Summary of Contents for Evolve 3

Page 1: ...ASSEMBLY GUIDE GUIDE DE MONTAGE GU A DE MONTAJE EVOLVE 3 EVOLVE 5 HZ14_AG_Evolve_3_5_Rev1_1 indd 1 7 31 14 9 01 AM...

Page 2: ...loose and may cause irritating noises To prevent damage to the elliptical the assembly instructions must be reviewed and corrective actions should be taken Before proceeding find your elliptical s se...

Page 3: ...el flat surface It is recommended that you place a protective covering on your floor Never open box when it is on its side If you have questions or if there are any missing parts contact Customer Tech...

Page 4: ...3 4 1 ASSEMBLY STEP 2 4 A 5 C D B E 6 A Open HARDWARE FOR STEP 2 B Slide 1 RUBBER WASHER A and 1 FLAT WASHER B onto the CONSOLE MAST 4 C Slide HANDLEBAR 5 onto CONSOLE MAST 4 and attach using 1 FLAT...

Page 5: ...M 7 into bottom end of HANDLEBAR 5 C Secure the joint with 1 BOLT F 1 FLAT WASHER H 1 SPRING WASHER G and 1 NUT I D Repeat steps B C on the opposite side of the elliptical E Slide FRONT TOP CAP PIECE...

Page 6: ...se brise relisez les instructions d assemblage et prenez les mesures correctives qui s imposent Avant de continuer recherchez le num ro de s rie de votre exerciseur elliptique qui figure sur un autoc...

Page 7: ...command que deux personnes travaillent ensemble pour plus de facilit et d efficacit lors de l assemblage de l exerciseur elliptique Assurez vous chaque tape de l assemblage que TOUS les crous et les b...

Page 8: ...les tapes B D sur le c t oppos QUINCAILLERIE N CESSAIRE POUR L TAPE 2 PI CE TYPE QT A RONDELLE EN CAOUTCHOUC 2 B RONDELLE PLATE 4 C RONDELLE PLATE 2 D RONDELLE LASTIQUE 2 E BOULON T TE BOMB E 2 ASSEM...

Page 9: ...BARRE DE LIAISON INF RIEURE 7 dans l extr mit inf rieure de la POIGN E 5 C Fixez le joint l aide d un BOULON F d une RONDELLE PLATE H d une RONDELLE RESSORT G et d un CROU I D R p tez les tapes B et C...

Page 10: ...ones de ensamblaje y tomar medidas correctivas Antes de seguir adelante busque el n mero de serie de la m quina el ptica que se encuentra ubicado en una etiqueta adhesiva blanca con c digo de barras e...

Page 11: ...TARJETA DE INFORMACI N NECESITA AYUDA PREENSAMBLAJE Se recomienda que dos personas trabajen juntas durante el ensamblaje de la m quina el ptica para que la tarea resulte sencilla y eficaz Durante cad...

Page 12: ...del otro lado TORNILLER A PARA EL PASO 2 PIEZA TIPO CANT A ARANDELA DE GOMA 2 B ARANDELA PLANA 4 C ARANDELA PLANA 2 D ARANDELA EL STICA 2 E PERNO DE CABEZA SEMIESF RICA 2 ENSAMBLAJE PASO 1 A Retire l...

Page 13: ...7 en el extremo inferior de la BARRA DE SUJECI N 5 C Asegure la junta con 1 PERNO F 1 ARANDELA PLANA H 1 ARANDELA EL STICA G y 1 TUERCA I D Repita los pasos B C en el lado opuesto de la m quina el pti...

Page 14: ...HZ14_AG_Evolve_3_5_Rev1_1 indd 26 27 7 31 14 9 02 AM...

Page 15: ...or contact information Si vous avez des questions ou prouvez des probl mes consultez du CARTE D INFORMATION pour trouver les coordonn es Si surge una pregunta o un problema vea el TARJETA DE INFORMACI...

Reviews: