


BEFORE
YOU
BEGIN
16
INTRODUCTION
IMPORT
ANT
PRECAUTIONS
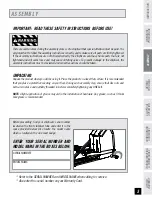
ASSEMBL
Y
BEFORE
YOU
BEGIN
ELLIPTICAL
OPERA
TION
LIMITED
W
ARRANTY
TROUBLESHOOTING
&
MAINTENANCE
CONDITIONING
GUIDELINES
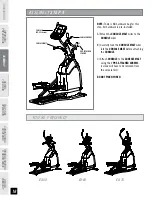
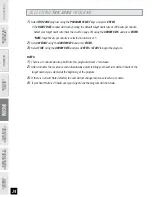
ASSEMBLY
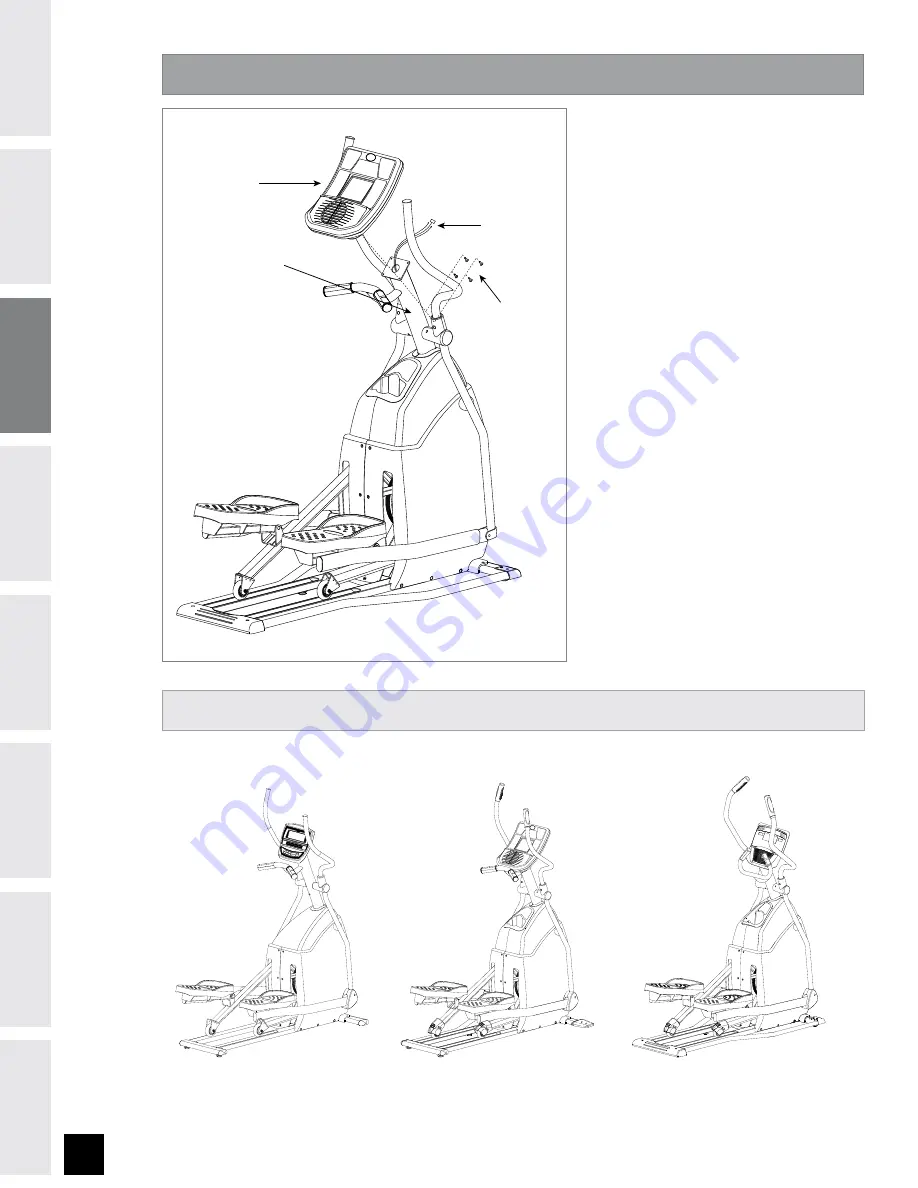
STEP
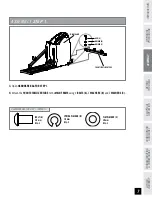
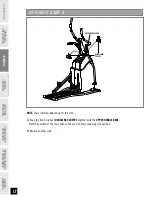
NOTE:
There is NO hardware bag for this
step. All hardware is pre-installed.
A) Attach the
CONSOLE MAST
wires to the
CONSOLE
wires .
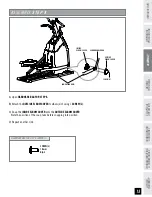
B) Carefully tuck the
CONSOLE MAST
wires
into the
CONSOLE MAST
before attaching
the
CONSOLE
.
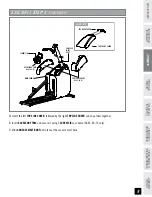
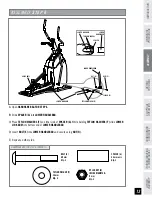
C) Attach
CONSOLE
to the
CONSOLE MAST
using the 4
PRE-ATTACHED SCREWS
(screws will have to be removed from
the console first).
DO NOT PINCH WIRES!
YOU’RE FINISHED!
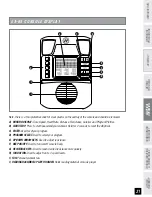
EX-75
EX-55
EX-65
P1 MAN
UAL
P2 RO
LLING
P5 RA
MP
P3 VALLE
Y
P4 FAT BUR
N
P6 FITNESS T
EST
P7 RAN
DOM
P8 TARG
ET HR
P R O G
R A M S
ENTER
START / STO
P
MODE
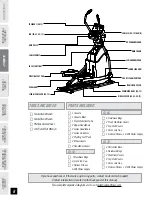
CONSOLE
(EX-65 shown)
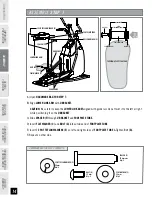
CONSOLE MAST
CONSOLE WIRES
PRE-ATTACHED
SCREWS


