8
9
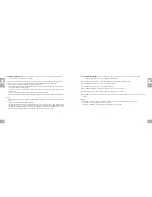
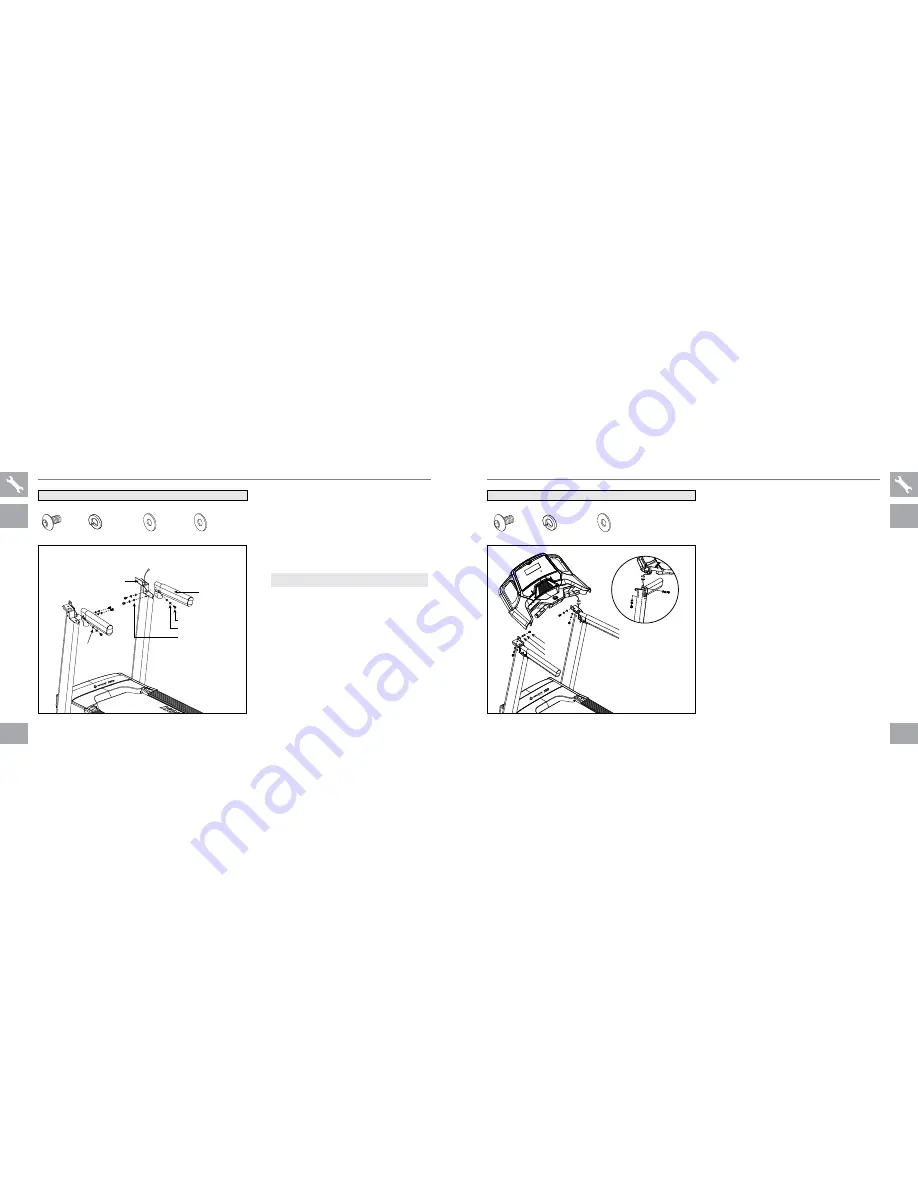
A Open
HARDWARE BAG 3.
B Slide
HAnDlEBAR
onto
conSolE mASt
BRAckEt
and attach using 3
BoltS (E)
, 3
SpRinG WASHERSS(f)
, 2
flAt WASHERS(G)
&
1
ARc WASHER (H).
(Refer to graphic at left for more details)
C Repeat on other side.
NOTE: Be careful not to pinch any wires.
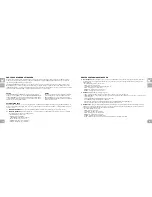
BOLT (E)
M8 x 20 mm
Qty: 6
FLAT WASHER (G)
Φ
8.2 mm
Qty: 4
ARC WASHER (H)
Φ
8.2 mm
Qty: 2
SPRING WASHER (F)
Φ
8.2 x
Φ
14
Qty: 6
ASSEMBLY
STEP 3
ASSEMBLY
STEP 4
A
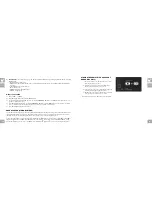
Open
HARDWARE BAG 4.
B
gently hold the
conSolE
above the
conSolE mASt
.
C
Connect the
conSolE
cABlES
, carefully
tucking wires in masts to avoid damage.
D
Attach the
conSolE
to the
conSolE
mASt
using 4
BoltS (i)
, 4
SpRinG
WASHERS (c)
and 4
flAt WASHERS (D).
E
Fold the
DEck
into the upright position until
the foot latch engages. Make sure the spacing
between the
HAnDlEBARS
and the
DEck
are the same then tighten
BoltS
from step 2
to step 4.
BOLT (I)
M8 x 15 mm
Qty: 4
FLAT WASHER (D)
Φ
8.2 mm
Qty: 4
SPRING WASHER (C)
Φ
8.2 mm
Qty: 4
HARDWARE foR STEP 4
:
HARDWARE foR STEP 3
:
SPRING WASHER (F)
FLAT WASHER (G)
ARC WASHER (H)
HANDLEBAR
CONSOLE MAST BRACKET
BOLT (E)
BOLT (I)
SPRING WASHER (C)
FLAT WASHER (D)
BOLT (I)
SPRING WASHER (C)
FLAT WASHER (D)
(PARAgON 6)
Paragon 6
Shown
Paragon 6
Shown


