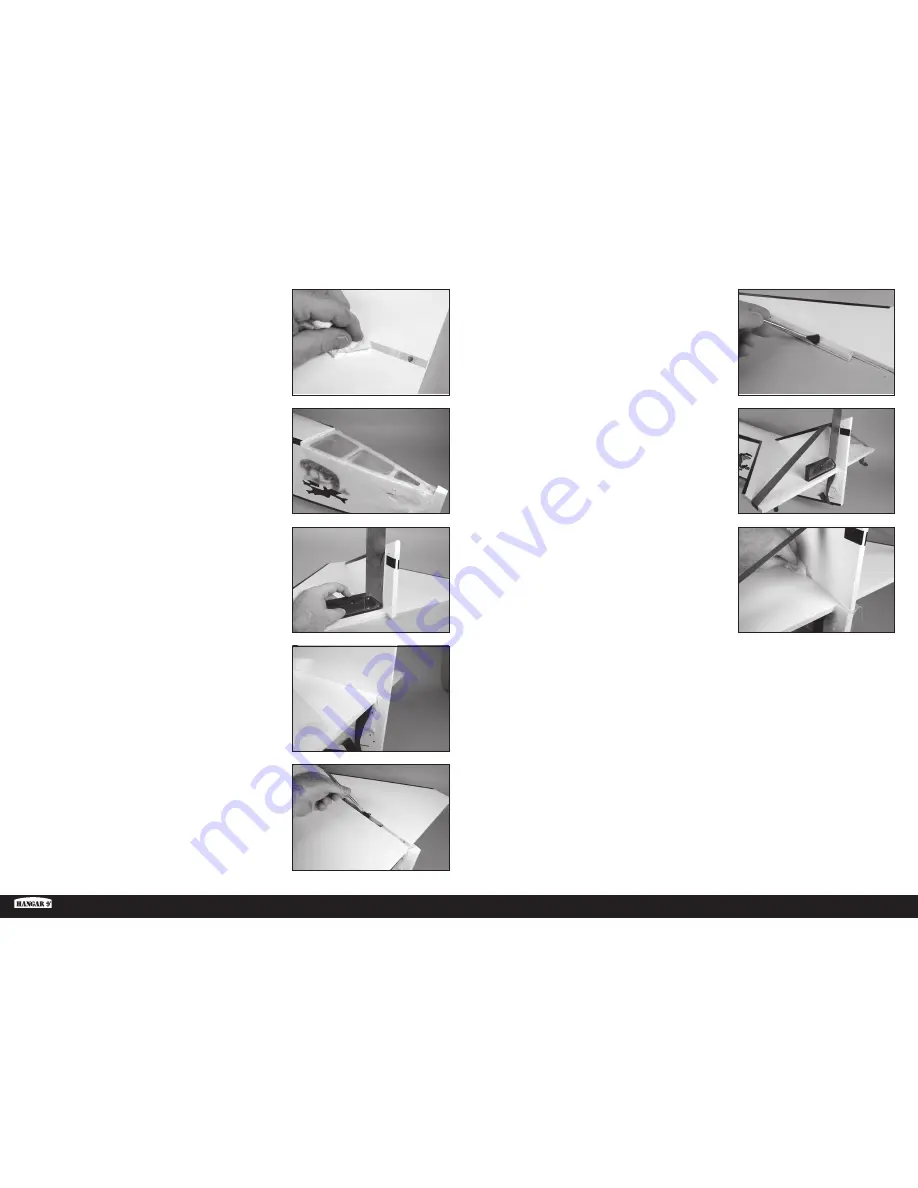
6.
Use a paper towel and isopropyl alcohol to remove any lines from
the fi n and stabilizer.
7.
Use low-tack tape to secure a piece of plastic (packaging from the
parts is suitable) over the area on the fuselage where the stabilizer
fi ts.
9.
Check the fi t of the stabilizer and fi n to the fuselage. The rear edge
of the fi n must align with the rear edge of the fuselage. Lightly sand
the bottom of the fi n where it fi ts in the stabilizer to correct any
positioning errors.
10.
Remove the fi n from the stabilizer. Mix 1/4 oz. (7.5mL) of 30-minute
epoxy. Apply epoxy to the exposed wood using an epoxy brush.
8.
Check the fi t of the fi n to the stabilizer. Use a square to make sure
the fi n fi ts square to the stabilizer. Lightly sand the bottom of the fi n
if necessary to correct any alignment issues.
11.
Apply epoxy to the exposed wood on the bottom of the fi n using an
epoxy brush.
12.
Fit the fi n in position. Use a square to check the alignment of the fi n
to the stabilizer. Use low-tack tape to hold the fi n in position while
the epoxy cures.
Check the position of the fin to make sure it is still
square to the stabilizer while the epoxy is curing.
13.
Remove any epoxy from the fi n and stabilizer using a paper towel
and isopropyl alcohol.
The fin and stabilizer can be carefully removed from the fuselage.
If removed, use a paper towel and isopropyl alcohol to remove
any epoxy from the bottom of the stabilizer where the fin fits.
13
EN
Fokker D.VII 30
–
60cc ARF


