6.
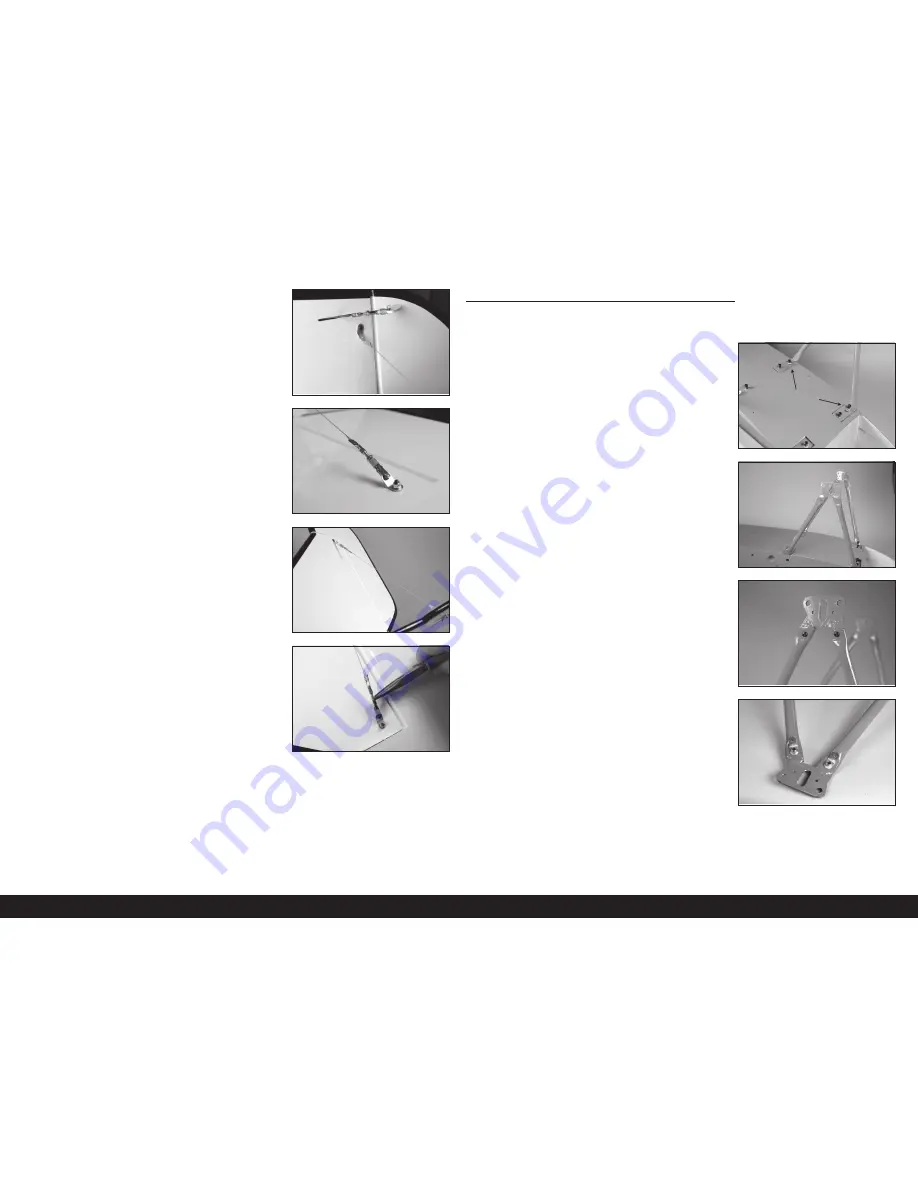
Separate the four cables for the tail rigging. Secure a cable to each
of the tabs on the fuselage using a cable sleeve and the techniques
outlined for the rudder cables.
7.
Prepare a clevis and cable fi tting as outlined in the rudder cable
installation section. Attach the clevis to the tab, then secure the
cable using a sleeve. Apply light tension on the cables, but do not
force the stabilizer out of position by applying too much tension.
9.
Apply a drop of thread lock near the clevis, then thread the nut over
the thread lock and against the clevis. Use pliers to tighten the nut
against the clevis to prevent the fi tting from vibrating loose.
The cables may stretch slightly over time. Periodically
check the cables to ensure they still have light tension.
8.
Repeat the process to attach the cables from the fi n to the stabilizer.
Attach the cable at the fi n, then use the clevis at the stabilizer.
LANDING GEAR INSTALLATION
We recommend using high-strength thread lock when assembling
the landing gear to prevent any of the screws from vibrating loose.
1.
Attach the landing gear struts to the fuselage using eight M4 x 20
socket head cap screws and eight M4 washers. The screws nearest
the struts will have the cable tab installed. Tabs have been supplied
to fi t with the M4 screws, so make sure to use the correct tabs.
Refer to checking the blind nuts on Page 6
before installing the screws.
Leave the screws loose until instructed to tighten.
3.
Slide two M3 x 10 button head screws into the holes in the landing
gear legs.
4.
Slide a cable tab on the screw, then thread an M3 locknut on the
screw. With the tab aligned with the landing gear leg, tighten the
hardware using a 2mm hex wrench and 5.5mm nut driver.
2.
Check to make sure the gear are installed in the correct direction
using the photo.
Use blue thread lock on the bolts with the tabs as they
will require removal when working with the cowling.
22
EN


