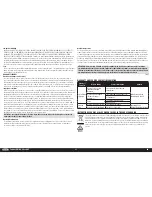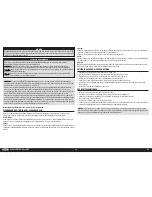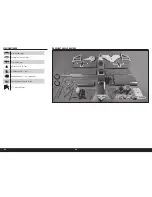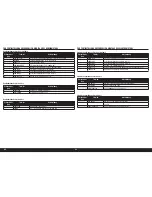
10.
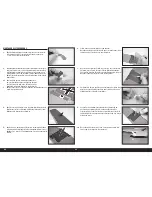
Install the bottom wing to the fuselage. When installing the outer
cabanes, make sure they are installed in the correct direction as
shown.
12.
The outer cabane can now be attached to the tabs from the bottom
wing using two M3 x 10 button head screws and two M3 lock
washers. Secure the right and left struts at this time. Use a 2mm hex
wrench to tighten the screws.
Refer to checking the blind nuts on Page 6
before installing the screws.
11.
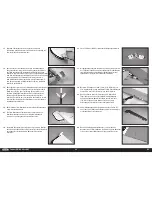
Secure the outer cabane to the tabs under the top wing using two
M3 x 10 button head cap screws and two lock washers. Install the
right and left outer struts at this time. Use a 2mm hex wrench to
tighten the screws.
Refer to checking the blind nuts on Page 6
before installing the screws.
13.
A support has been provided to aid in the transport of the wings.
The support is held in place using rubber bands. Secure the support,
then remove the wings from the fuselage and top wing center
section.
Pre-stretch the rubber bands as they maybe a little light
at first and can mark the covering if pulled too tight.
35
EN
Fokker D.VII 30
–
60cc ARF
CAUTION
: You must adjust your aircraft’s center of
gravity and balance your model properly before attempting fl ights.
CENTER OF GRAVITY
An important part of preparing the aircraft for fl ight is properly balancing the model. The Center of Gravity is checked
with the wing panels removed from the model.
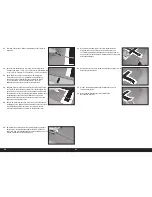
1.
The recommended Center of Gravity (CG) location for your model is 7 inches (178mm) behind the leading edge of
the top wing center section. This is with the top and bottom wings not installed on the model.
2.
Support the plane upright at the marks made on the wing with your fi ngers or a commercially available balancing
stand. We have tested this model balanced between 6 inches (152mm) back from the leading edge of the
top wing up to 8 inches (203mm). The model was completely controllable anywhere within this range. We
recommend starting at 7 inches (178mm) back from the leading edge. Feel free to experiment with adjusting the
Center of Gravity until you fi nd a balance that suits your fl ying style.
It may be necessary to add weight to the nose of your model to achieve the correct Center of Gravity, or
to adjust the flight handling to suit your flying style. See Page 6 regarding nose weight requirements.
7 inches
(178mm)


