6
EN
7.
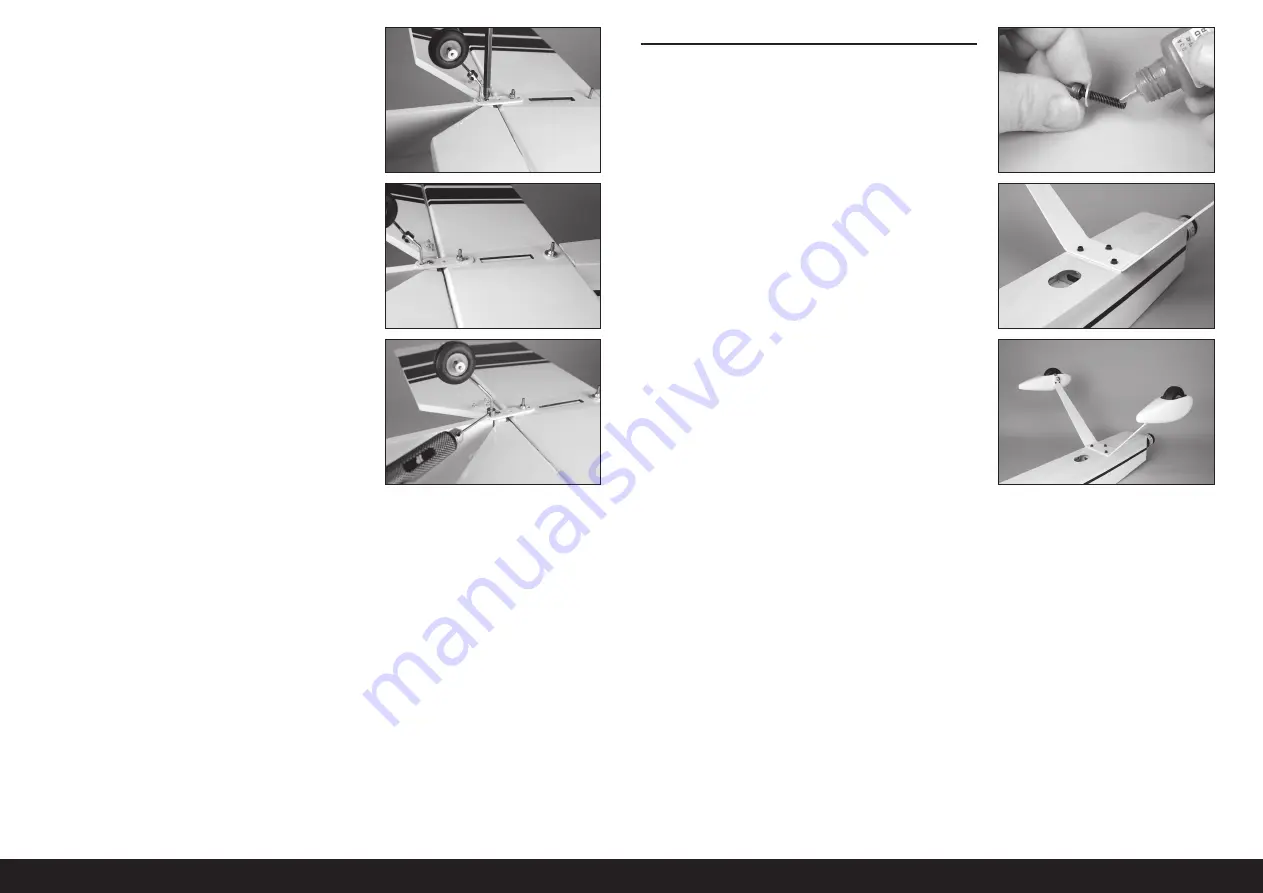
Place the thin M3 washer on the forward fi n mounting post.
Thread an M3 locknut on the fi n mounting post. Use a 5.5mm
hex wrench to tighten both M3 locknuts. Make sure no to
over-tighten the nuts, which could damage the stabilizer, fi n,
or fuselage.
6.
Use a #2 Phillips screwdriver to install the M3 x 10 self-
tapping screw through the hole in the bracket and into the
fuselage. Do not over-tighten the screw and damage the
fuselage.
8.
Slide the wheel collar against the bracket, then tighten the
setscrew using a 1.5mm hex wrench.
It is recommended to place a drop of threadlock
on the setscrew to keep it from vibrating loose.
It is not essential to use threadlock if the model
will be disassembled for transport.
LANDING GEAR INSTALLATION
1.
Slide an M4 washer on the M4 x 20 socket head cap screw.
Place a drop of threadlock on the screw. Prepare all three
screws.
It is not essential to use threadlock if the model
will be disassembled for transport.
2.
Use the screws to attach the landing gear to the bottom of the
fuselage. Use a 3mm hex wrench to tighten the screws. Do
not over-tighten the screws and damage the fuselage.
3.
The completed landing gear will look like the photo, with the
wheel pants facing as shown.


