20
Section 5: Horizontal Stabilizer Installation
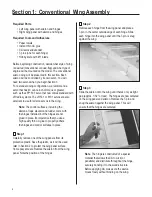
Step 4
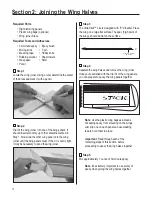
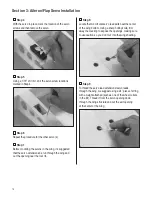
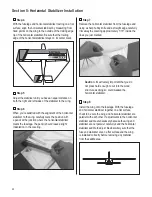
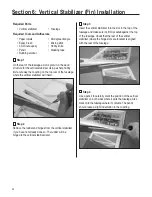
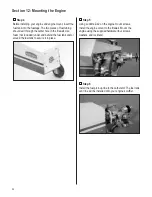
With the fuselage and horizontal stabilizer resting on a flat
surface, align the horizontal stabilizer by measuring from
fixed points on the wing to the outside of the trailing edge
tip of the horizontal stabilizer. Be sure that the trailing
edge of the horizontal stabilizer stays on its center mark.
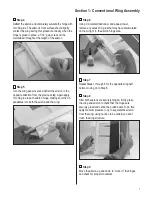
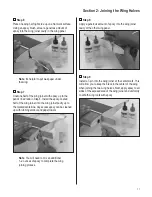
Step 5
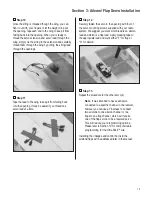
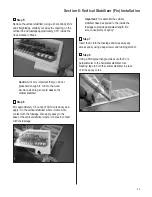
Adjust the stabilizer until you have an equal distance on
both the right and left sides of the stabilizer to the wing.
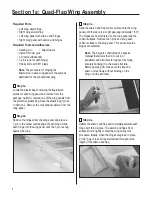
Step 6
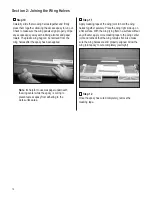
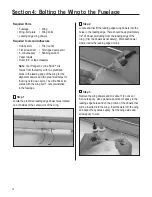
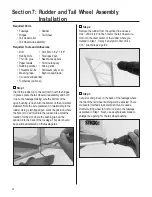
When you’re satisfied with the alignment of the horizontal
stabilizer to the wing, carefully mark the position with
a pencil at the junction where the horizontal stabilizer
meets the fuselage. The pencil should leave a slight
indentation in the covering.
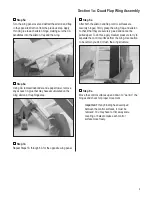
Step 7
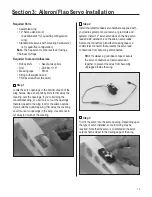
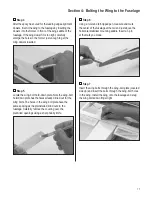
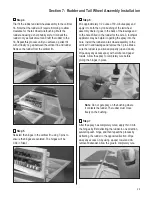
Remove the horizontal stabilizer from the fuselage and
using a sharp hobby knife and a straight edge, carefully
trim away the covering approximately 1/16" inside the
lines you just marked.
Caution
: It’s extremely important that you do
not press hard enough to cut into the wood
structure as doing so could weaken the
horizontal stabilizer.
Step 8
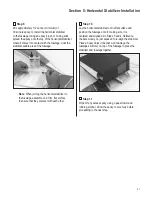
Install the wing onto the fuselage. With the fuselage
and horizontal stabilizer together on a flat surface,
check to be sure the wing and horizontal stabilizer are
parallel with each other. If adjustments to the horizontal
stabilizer saddle are necessary because the wing and
stabilizer are not parallel, carefully sand the horizontal
stabilizer saddle to adjust. Be absolutely sure that the
fuse and stabilizer are on a flat surface and the wing
is installed correctly before removing any material
from the saddle area.

