Section 7: Rudder and Tail Wheel Assembly Installation
25
Step 4
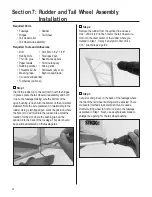
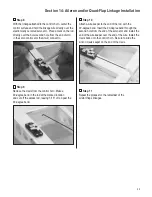
Trial fit the rudder and tail wheel assembly to the vertical
fin. Note that the rudder will require trimming to allow
clearance for the tail wheel wire/bushing. Mark the
rudder and using a sharp hobby knife, trim back the
rudder only a small amount and refit the rudder to the
fin. Repeat this process until you achieve a perfect fit
with virtually no gap between the vertical fin and rudder.
Remove the rudder from the vertical fin.
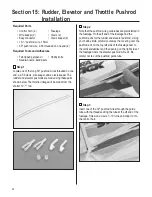
Step 5
Reinstall the hinges in the vertical fin using T-pins to
ensure the hinges are centered. The hinges will be
CA’d in Step 7.
Step 6
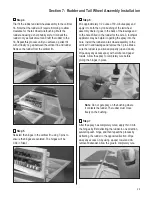
Mix approximately 1/2 ounce of 30-minute epoxy and
apply it to both the nylon bushing of the tail wheel
assembly where it goes in the back of the fuselage and
to the hole drilled in the rudder for the wire. A toothpick
applicator may be helpful in getting the epoxy into the
hole. Install the rudder and tail wheel assembly to the
vertical fin and fuselage and remove the T-pins. Make
sure the rudder is positioned properly (up and down).
Wipe away any excess epoxy with alcohol and paper
towels. Allow the epoxy to completely cure before
gluing the hinges in place.
Note
: Do not get epoxy on the bushing where
it contacts the rudder. The rudder must move
freely on the bushing.
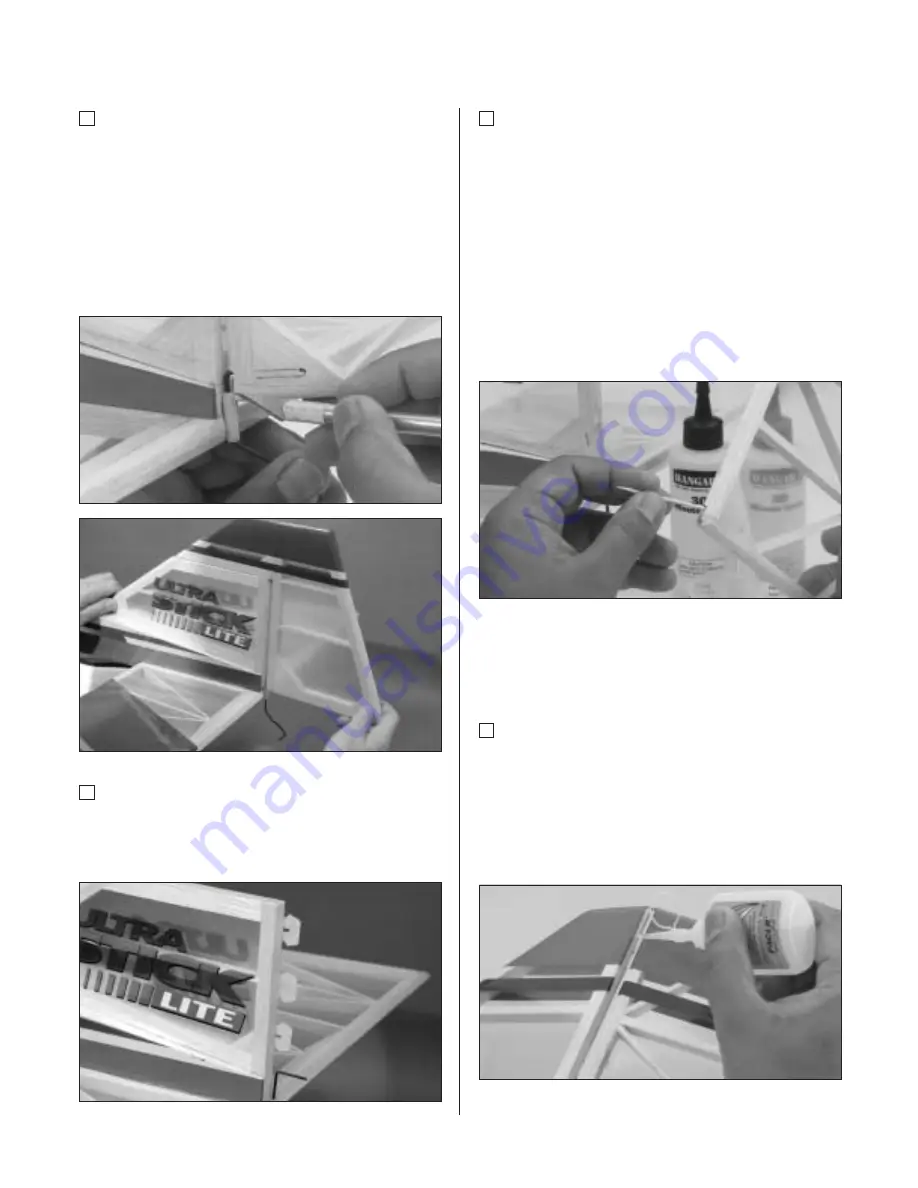
Step 7
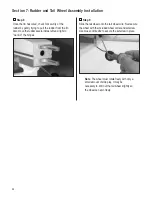
After the epoxy has completely cured, apply thin CA to
the hinges by first deflecting the rudder in one direction,
saturating each hinge, and then repeat the process by
deflecting the rudder in the opposite direction. Wipe
away any excess CA by using a paper towel and CA
remover/debonder. Allow the glue to completely cure.

