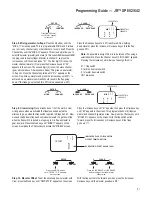
Section 15: Rudder, Elevator and Throttle Pushrod Installation
41
Step 4
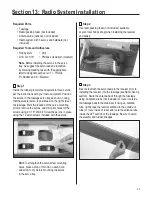
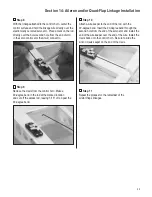
With the clevis attached to the control horn, center the
control surface and hold the pushrod wire directly over
the electronically centered servo arm. Place a mark on the
rod directly over the hole (second hole from the end of
arm) in the servo control arm it will connect to.
Step 5
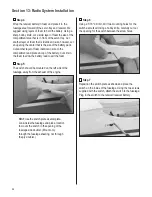
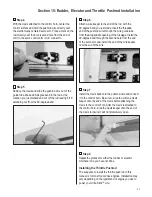
Remove the clevis and slide the pushrod wire out of the
guide tube. Make a 90-degree bend in the rod at the
location you just marked and cut off the rod leaving 5/16”
extending out from the 90-degree bend.
Step 6
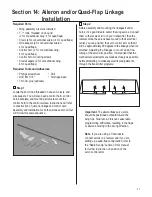
Attach a wire keeper to the end of the rod with the
90-degree bend you just made. Insert the threaded
end of the pushrod wire through the wire guide tube
from the wing saddle opening of the fuselage. Install the
90-degree bend through the second hole from the end
of the servo arm and install the end of the wire keeper
over the end of the wire.
Step 7
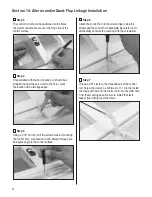
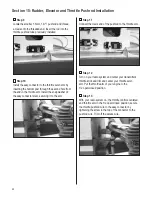
Install the clevis back onto the pushrod wire and connect
it to the control horn. Be sure to slide the silicone clevis
keeper onto the end of the clevis before attaching the
clevis to the control horn. After the clevis is attached to
the control horn, slide the clevis keeper onto the end of
the clevis to insure it will not prematurely open.
Step 8
Repeat the process for either the rudder or elevator,
whichever one you have not done.
Installing the Throttle Pushrod
The sequence to install the throttle pushrod in this
manual is for most four-stroke engines. Installation may
vary depending on the type/brand of engine you use to
power your Ultra Stick™ Lite.

