background image

6

BACK

4.  Lay the back panel onto a soft flat surface. Lift the side panel assembly 

onto the BACK (Part 5). Align all bolts and holes before loosely hand 
tightening the nuts onto the bolts.

5.  Place the DOOR FRAME panel (Part 6) onto the side panel assembly to 

complete the exterior housing of the safe. Align all bolts and holes before 
loosely hand tightening the nuts onto the bolts. After all nuts have been 
loosely installed, use the included wrench and socket to tightening all 
nuts.  
CAUTION: Do not over tighten nuts.

6.  If the inner FIRESHIELD blankets were removed in the previous steps, 

replace them back into corresponding panels. The FIRESHIELD blankets 
must tuck under edges to allow interior panels to fit.

7.  With the safe still on its back, install the interior panels in the following 

order. 
WARNING: Do not force panels into place as they may crack.
a.  Place the TOP INTERIOR PANEL into the safe. It may help to first insert 
the front edge into the door frame before sliding the back into place.
b.  Install the two SIDE INTERIOR PANEL by inserting the front edge into 
the door frame before slide the back into place.
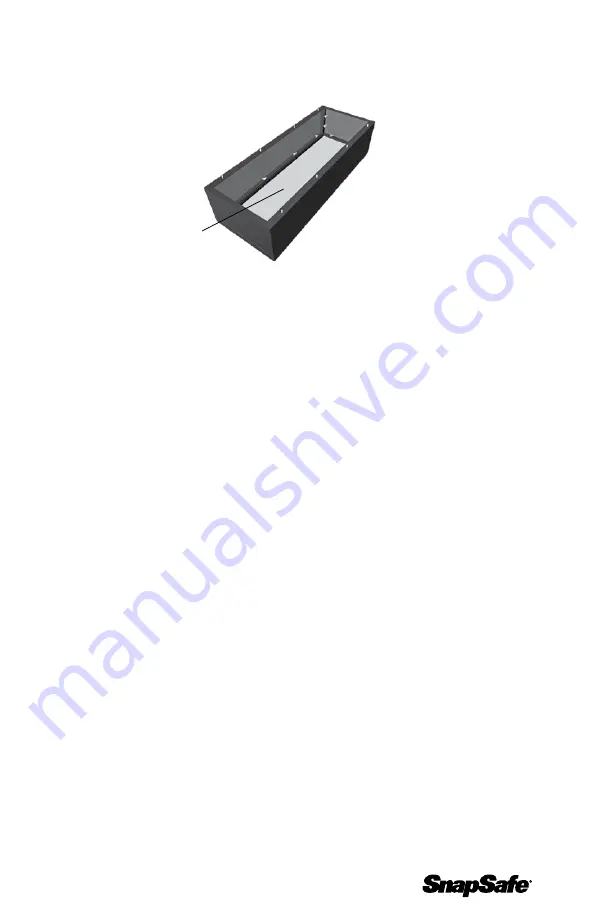
c.  Finally, insert the INTERIOR BOTTOM PANEL through the door 
opening between the front and back shelf strips and then drop into 
position front-to-back. Make sure the lifting strap remains accessible.

8.  The safe can now be stood up and moved into position. The doors can 

also be reinstalled.

9.  Once the safe is in its final position and you are comfortable with the 

operation of the safe, bolt the safe to the floor for maximum security. 
Remove the BOTTOM INTERIOR PANEL and FIRESHIELD blanket to 
access the mounting holes. Use quality hardware compatible with your 
particular floor type.

Summary of Contents for SnapSafe Super Titan XL

Page 1: ...1 Owner s Manual Super Titan XL Item No 75014 XXL Item No 75013...

Page 2: ...ocker Powder coated finish Lined interior Adjustable lined shelves Includes one full shelf and full gun rack and a half gun rack with two half shelves Professional grade non breach seal dead bolt door...

Page 3: ...helf Clip 770034 21 5 XXL Floor Supports 770139 Dimensions are in inches unless otherwise noted SUPERTITAN XL 75014 PRODUCT PART DIMENSIONS PART 1 Exterior Top 34 x 16 770086 2 Exterior Bottom 34 x 16...

Page 4: ...3 1 3 6 11A 11B 4 2 5 PARTS XL XXL 21...

Page 5: ...4 7 9 10 8 12 13 15 15 19 20 14 18 18 17 17 16...

Page 6: ...easier removal from the shipping crate remove the doors by following the steps below a Thread DOOR HANDLE SPOKES onto the hub on DOOR Part 11B b IMPORTANT Remove temporary door hinge screws from door...

Page 7: ...l the interior panels in the following order WARNING Do not force panels into place as they may crack a Place theTOP INTERIOR PANEL into the safe It may help to first insert the front edge into the do...

Page 8: ...oor supports before replacing the BOTTOM INTERIOR PANEL 11 The interior shelving and gun racks can now be installed 12 For additional help watch our Live Action Assembly Video on the Features page at...

Page 9: ...pull door open 3 The Entry Keypad relocks in 4 seconds after a valid code has been entered 4 The Entry Keypad will return to standby status with a long beep sound if there is no operation in 10second...

Page 10: ...needs immediate replacement INSTALLING AND REPLACING ENTRY KEYPAD BATTERY Your safe is equipped with an electronic lock made with non volatile memory meaning your combination code is retained even if...

Page 11: ...rotate clockwise With key rotated rotate door handle clockwise to retract locking lugs and open door LOCK Fully close door Then rotate door handle counterclockwise to extend locking lugs Rotate key c...

Page 12: ...Customer Service PO Box 1848 Grand Island NE 68802 1848 1 877 214 4470 Email info snapsafe com 07 2019 16SNAP0036...

Reviews: