39
For more information visit:
www.hornby.com
38
1.
Press
Menu
. Screen shows
“
Loco
”.
2.
Press
Control 1
. Screen shows
“
Direct
”.
3.
Rotate
Control 1
until screen
shows “
Operate
”.
4.
Press
Control 1
to confirm.
Screen shows “
Operate
Adr:0003
” or the last locomotive
number operated.
5.
Rotate
Control 1
until screen
shows the number of the locomotive
whose CV you wish to adjust. In
this example number 20 has been
chosen. Press
Control 1
to
confirm.
6.
Screen shows “
Config
”. Rotate
Control 1
until “
CV
” is shown
and press
Control 1
to confirm.
7.
Screen shows “
CV Write
”.
8.
Rotate
Control 1
until “
CV Read
”
is shown and press
Control 1
to
confirm.
9.
Screen shows “
CV 0001 R
”.
10.
Rotate
Control 1
until screen
shows “
CV 0004 R
” and press
Control 1
to confirm.
11.
The red LED will light while the
decoder is being read. Screen shows
“
CV 0004 R
” and the number
that CV4 was programmed as.
12.
Press
Menu
to return to the main
screen.
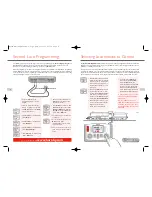
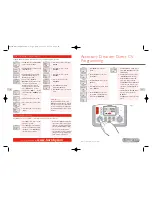
The following example is for the reading of CV4 (Deceleration) using
Operate Mode
, i.e. on the main line.
Reading CVs on the Main Line
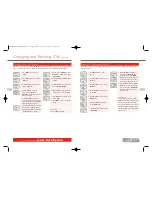
Changing and Reading CVs
(continued)
Please Note:
To read CVs it is important that
RailCom
®
is enabled on both the Elite
and the decoder you wish to read.
Note that not all decoders are capable
of having their CVs read. Please refer to
the specification sheet supplied with
the decoder.
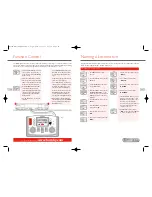
Step 1: Allocation of Programming Numbers
1.
Press
Menu
and rotate
Control 1
until “
Acc
” is displayed.
2.
Press
Control 1
to confirm. Screen
shows “
Direct
”.
3.
Rotate
Control 1
until “
Reg
” is
shown and press
Control 1
to
confirm. Screen shows
“
Address
”.
4.
Press
Control 1
to confirm.
Screen shows “
Address Write
”.
5.
Press
Control 1
to confirm. Screen
shows “
Address Adr:0000
”.
6.
Rotate
Control 1
until the address
you wish to use is displayed. If you
are setting up your layout it is best
to start with “1”.
7.
Press
Control 1
to confirm. The
red LED will flash several times to
denote acceptance. (If the LED
flashes eight times or more the
number has not been accepted.)
Screen shows “
Address
”.
8.
Should you wish not to name the
point / accessory press
Menu
to
return the main screen, however if
you do, follow instructions as shown
in Step 2 on page 23.
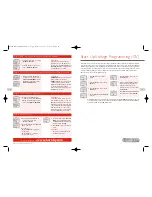
Accessory Programming (Acc)
Please Note:
If using a Hornby Points / Accessory
Decoder it is advisable for consistency
that the first point motor / accessory
is addressed as number
1
. Once
addressed the other three outlets will
be automatically programmed 2, 3, 4.
Thereafter all further Hornby accessory
/ point decoders should be programmed
in consecutive blocks of 4 (i.e. 5, 6, 7, 8).
To programme a
Hornby R8216 Accessory/Point Decoder
the
Register Mode
must be selected. For third
party Accessory/Point Decoders an alternative programming mode may be required. In this instance please refer
to the programming information supplied with the third party Accessory/Point Decoder.
Elite HBook updated 6.3.07_Q6.qxd 13/3/07 13:09 Page 36

