11
5
Installation
5.1 Check before installing
Check before installing if there is enough space available to install
the product, if the UCS does not block any other products after
installing, and if the wall thickness is enough for the supplied screws.
For safety reason, please note the presence of wiring and electrical
components in the installation area. When drilling and/or screwing,
pay particular attention to wiring out of sight.
5.2 Installation
Follow the following steps to install the product.
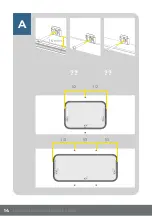
A:
Z-clips are provided when the product is wider than 900
mm. Mount these Z-clips at the right distance from the hole
for the window. For DC windows, this distance is 16 mm from
the window hole. For RK, mount them directly against the
rubber. For PV, the Z-clip should fall around the window hole.
The Z-clips are not applicable for S7 windows.
Distribute the Z-clips evenly over both horizontal sides. Fasten
the Z-clips with the supplied screws.
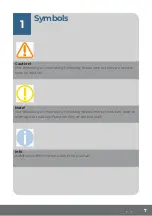
Note!
In the case of the screws not sticking in the wall, you
should use wall plugs. Pay attention that you do not drill
through the wall when doing this.
Info
It is advised to let a second person assist you when in-
stalling a bigger product.
Summary of Contents for UCS curved
Page 1: ...Montagehandleiding UCS curved Installation Manual...
Page 2: ...4 HORREX MONTAGEHANDLEIDING...
Page 12: ...14 HORREX MONTAGEHANDLEIDING A 16 mm 1 2 1 2 1 3 1 3 1 3...
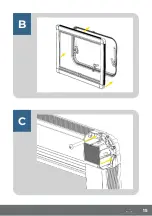
Page 13: ...15 B C...
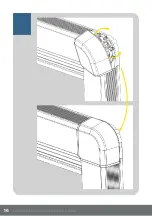
Page 14: ...16 HORREX MONTAGEHANDLEIDING...
Page 17: ...19...
Page 18: ...20 HORREX MONTAGEHANDLEIDING...
Page 19: ...21...


