background image


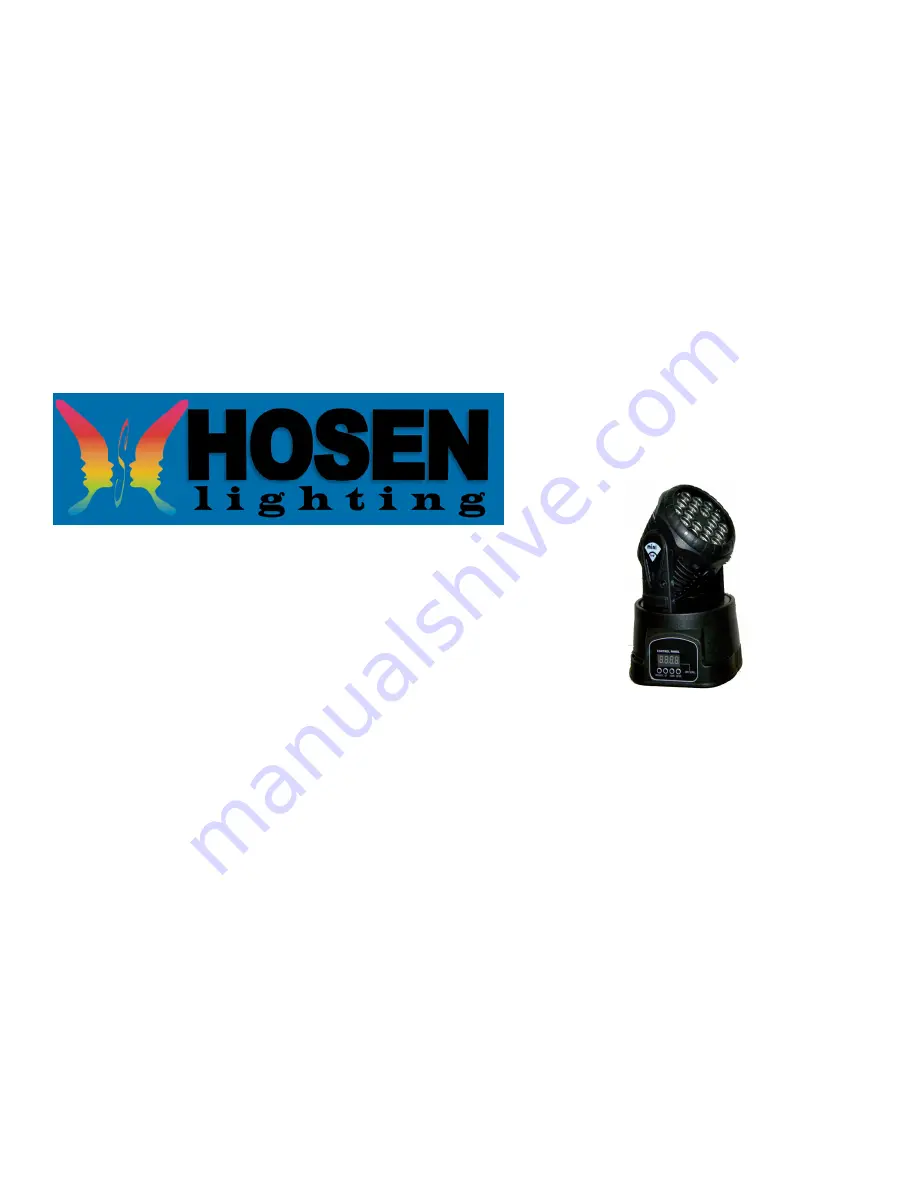
MINI WASH MOVING HEAD 


USER MANUAL 


(Suitable for 1w or 3w* mode) 


Summary of Contents for MINI WASH MOVING HEAD

Page 1: ...1 MINI WASH MOVING HEAD USER MANUAL Suitable for 1w or 3w mode...

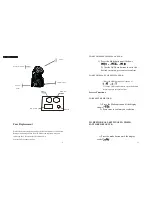
Page 2: ...ling Save the carton and all packing materials In the event that a fixture must be returned to the factory it is important that the fixture be returned in the original factory box and packing AC Power...

Page 3: ...ll fixtures must be powered directly off a switched circuit and cannot be run off a rheostat variable resistor or dimmer circuit even if the rheostat or dimmer channel is used solely for a 0 to 100 sw...

Page 4: ...1 Use standard DMX cables to daisy chain your units together via the DMX connector on the rear of the units Proper performance it may be necessary to use a terminator at the last fixture For more info...

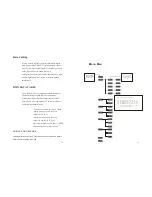
Page 5: ...display reads slow Master Slave Mode Master Sound This mode will allow you to link up to 32 units together without a controller 5 Compact and lightweight LED display menu with invert Reset to factory...

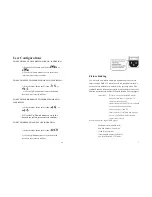
Page 6: ...MUM PAN ANGLE 1 Press the Mode button until it shows or or 2 Use the Up Down buttons to set to the desired inversion press enter to confirm TO SET THE MA X I MUM TILT ANGLE 1 Press the Mode button unt...

Page 7: ...nversion press enter to confirm 7 Fixture Linking You will need a serial data link to run light shows of one or more fixtures using a DMX 512 controller or to run synchronized shows on two or more fix...

Page 8: ...he cable will have the following characteristics 2 conductor twisted pair plus a shield Maximum capacitance between conductors 30 pF ft Maximum capacitance between conductor and shield 55 pF ft Maximu...

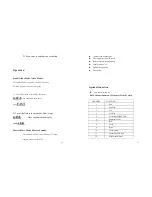
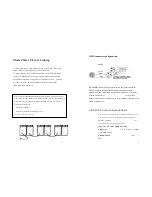
Page 9: ...that follow may also require a slave setting Please consult the Operating Instructions section in this manual for complete instructions for this type of setup and configuration 9 DMX connector configu...

Page 10: ...er 2 Connect the end of the cable coming from the controller which will have a female 3 pin connector to the input connector of the next fixture consisting of a male 3 pin connector 3 Then proceed to...

Reviews: